How to Draw a Dilophosaurus: Easy 10-Step Dinosaur Guide
Ready to bring a prehistoric predator to life? This tutorial is perfect for young artists ages 7+ who want to master dinosaur anatomy. Grab your pencil, eraser, and paper, and follow along to build your Dilophosaurus from the head down, focusing on those iconic twin crests.
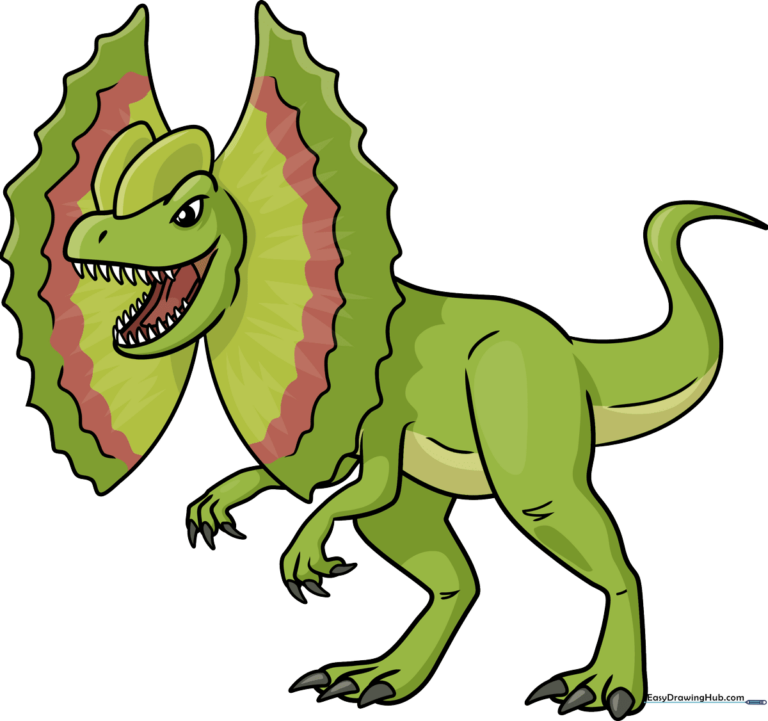
🎯 Final Result
Step-by-Step Instructions
Step 1: Sketching the Head and Crest
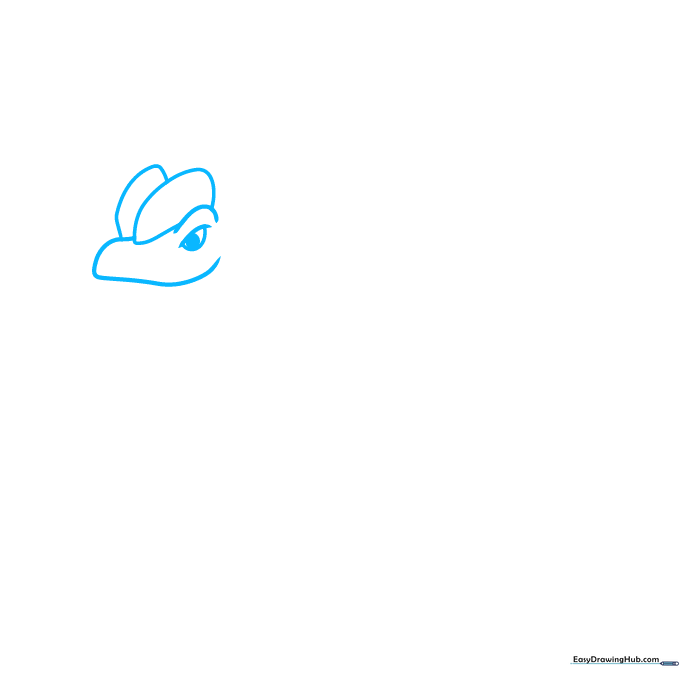
Start by drawing the dinosaur’s head using a gentle curved line. Add a small oval for the eye and a dot for the pupil. Then, draw the two thin, bony crests on top of the head. Teacher's Tip: Keep your pencil pressure light here so you can easily refine the shape of the jaw later.
Step 2: Defining the Jaw and Teeth
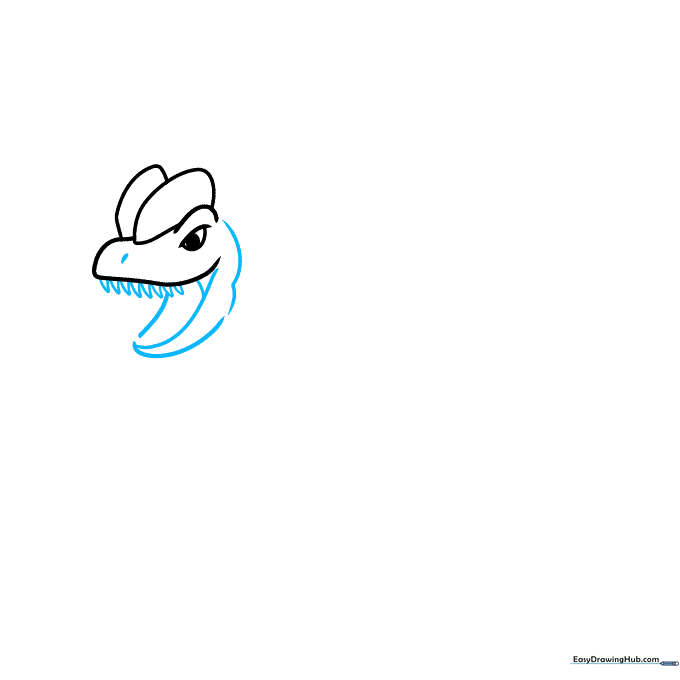
Sketch the open mouth using a wide curve and add a small oval for the nostril. Draw sharp, triangular shapes along the top jaw for teeth. Teacher's Tip: Don't worry about making the teeth perfect; slightly irregular triangles look more natural and 'dinosaur-like'.
Step 3: Adding the Tongue and Neck Frill
Draw a curved line for the tongue and add teeth to the bottom jaw. Extend lines from the head to begin the neck frill. Teacher's Tip: Use a smooth, sweeping motion for the neck lines to help the dinosaur look like it's turning its head.
Step 4: Shaping the Frill and Forearm
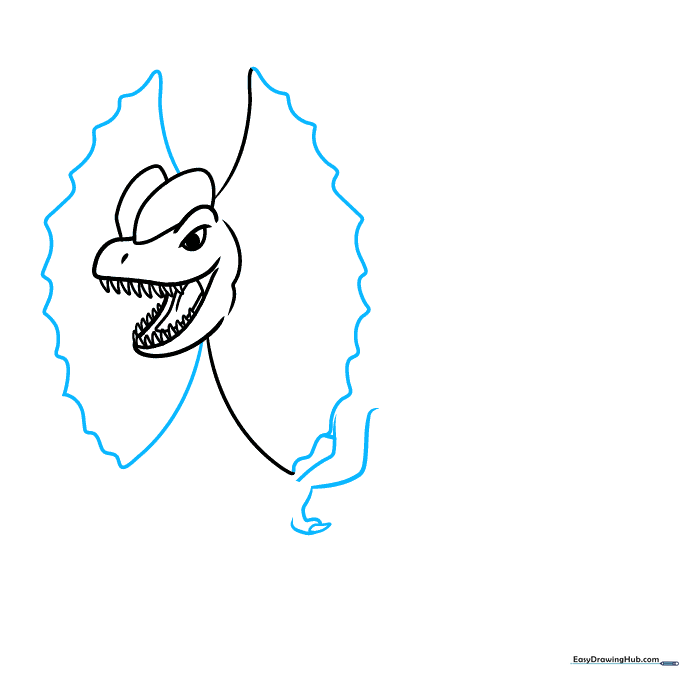
Connect your neck lines with a scalloped edge to create the frill. Start sketching the forearm with a triangle-shaped claw. Teacher's Tip: Scalloped lines are great for practice—try to keep the 'bumps' consistent in size for a professional look.
Step 5: Building the Body and Leg
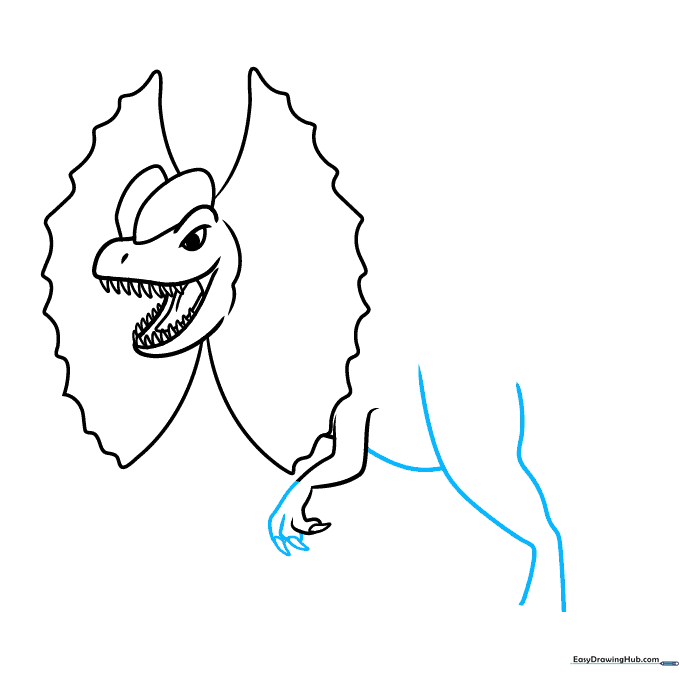
Complete the hand with curved lines. Draw the belly and the strong, muscular shape of the rear leg. Teacher's Tip: Think of the leg as a series of connected ovals to get the proportions right before adding the final outline.
Step 6: Adding Feet and Second Arm
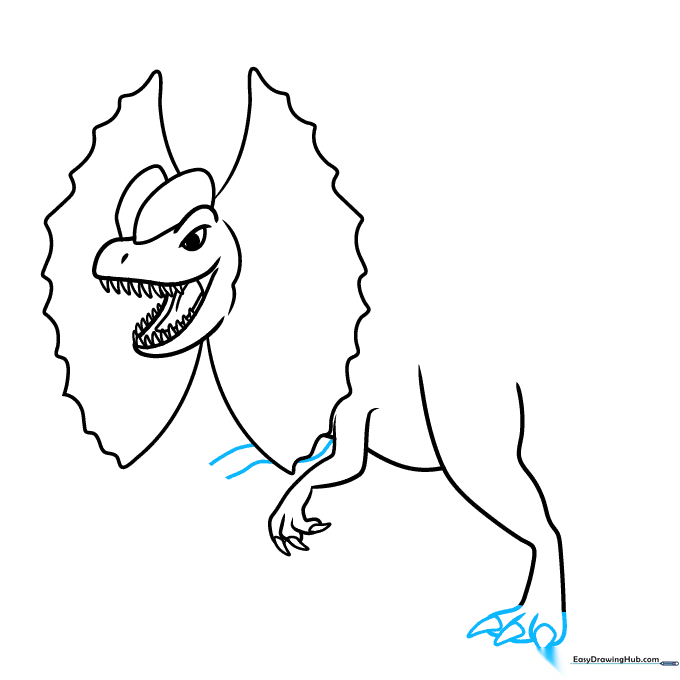
Finish the rear foot with curved toes and sharp claws. Add the second forearm behind the frill. Teacher's Tip: Overlapping lines help create depth, making your drawing look 3D rather than flat.
Step 7: Refining the Limbs
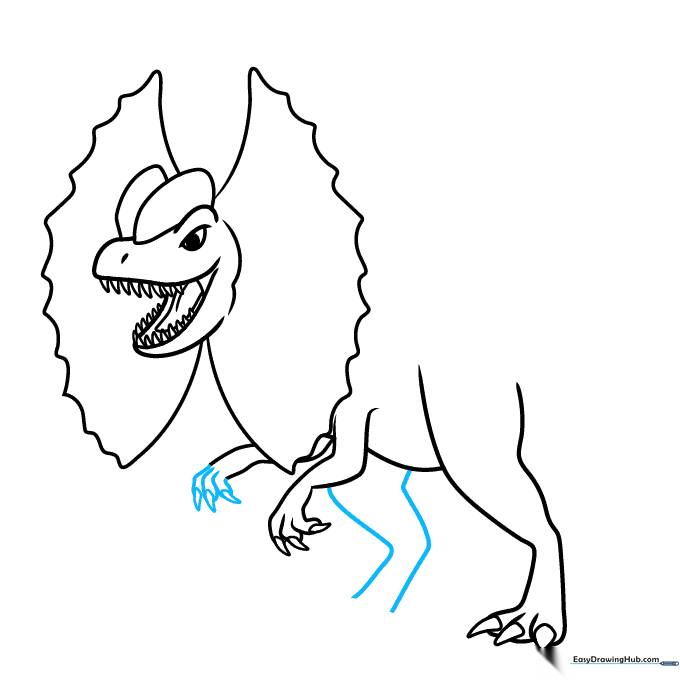
Complete the second forearm and outline the remaining rear leg. Teacher's Tip: Use a slightly darker pencil stroke for the final outlines to make the limbs stand out from the body.
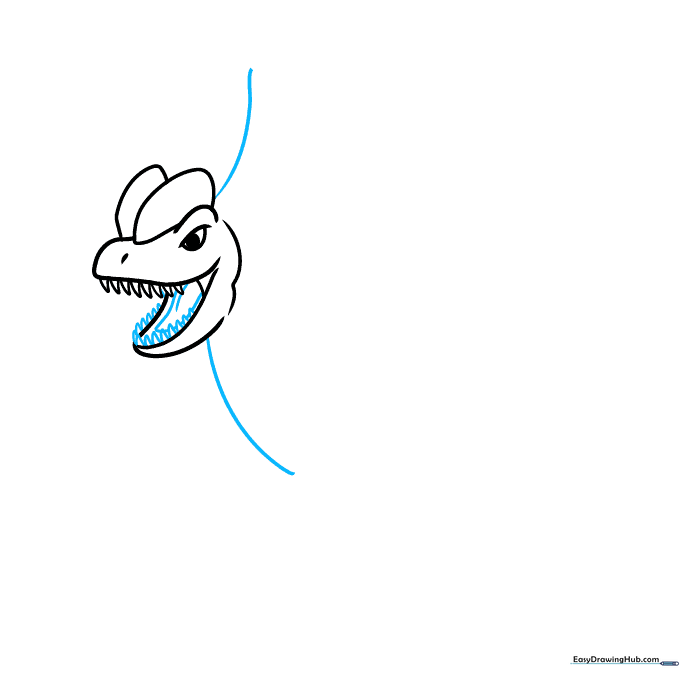
Step 8: Finalizing the Feet and Back
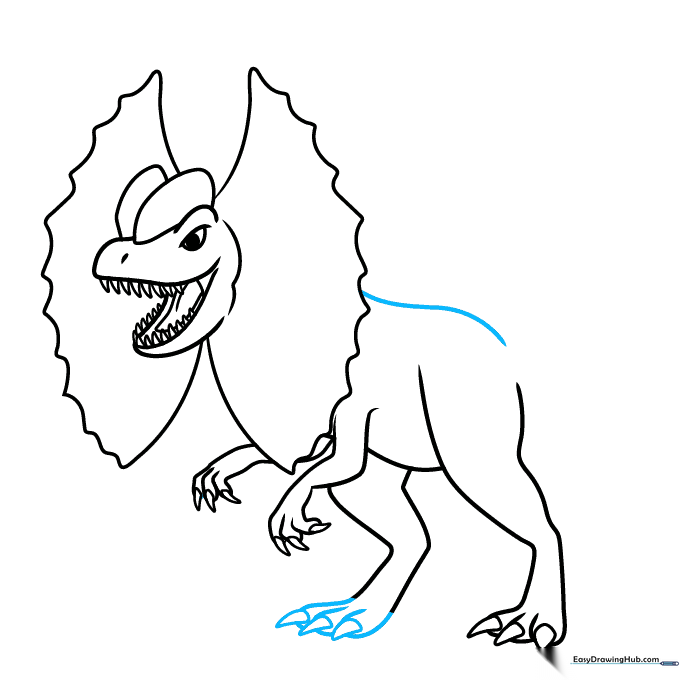
Complete the rear foot details and extend a line from the crest to define the back. Teacher's Tip: A long, smooth line for the back helps the eye travel across the whole drawing.
Step 9: Drawing the Tail
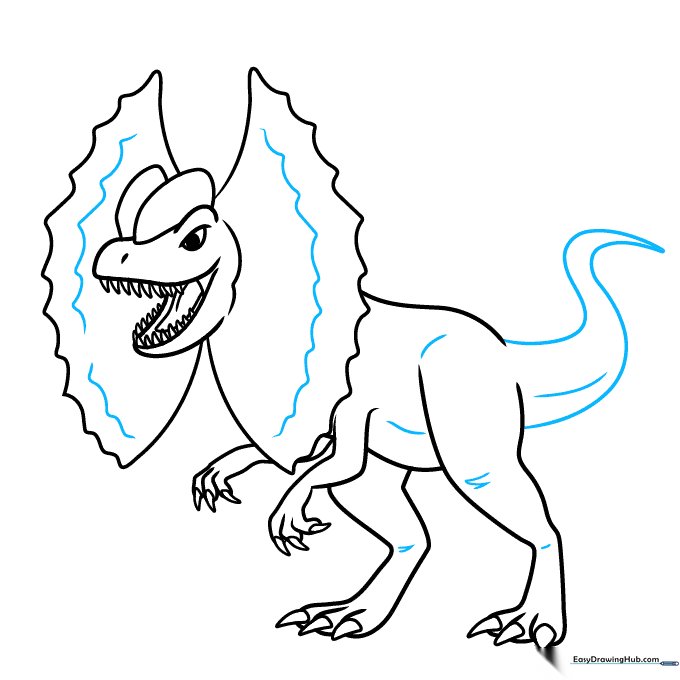
Extend lines from the back and hip to form a long, pointed tail. Add final contour lines to the frill and joints. Teacher's Tip: A tail adds balance to your drawing—make sure it tapers to a nice, sharp point.
Step 10: Bringing it to Life with Color
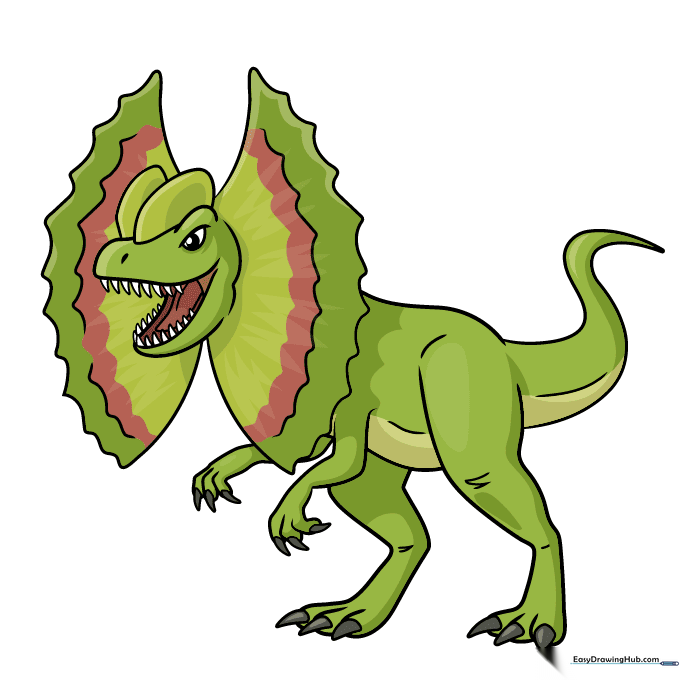
Your outline is ready! Use greens, browns, or grays for the body, and pick a bright, bold color for the crest to make it pop. Teacher's Tip: Try using a darker shade of your main color to add shadows near the legs for a more realistic look.
More Tutorials


