How to Draw a Desk: Easy 10-Step Guide for Kids
Ready to design your own workspace? This tutorial is perfect for young artists ages 5 and up. You will need a pencil, an eraser, and your favorite coloring supplies to bring this desk to life.
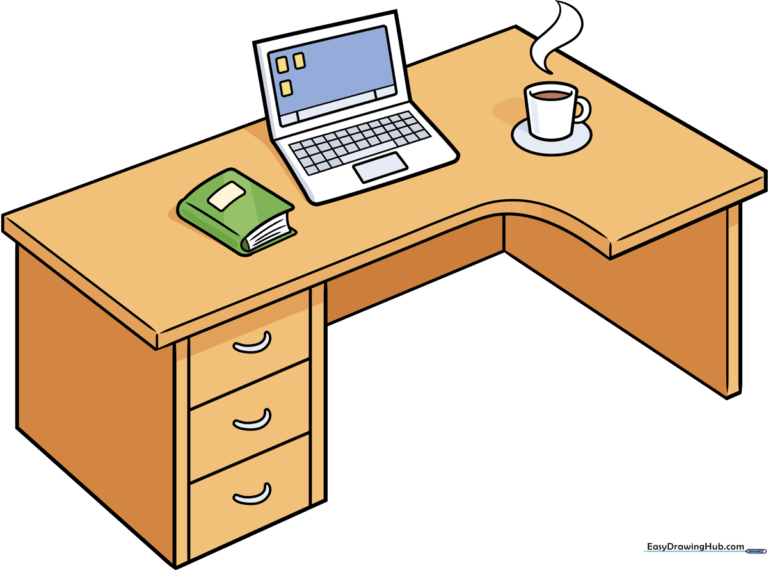
🎯 Final Result
Step-by-Step Instructions
Step 1: Sketching the Desktop Surface
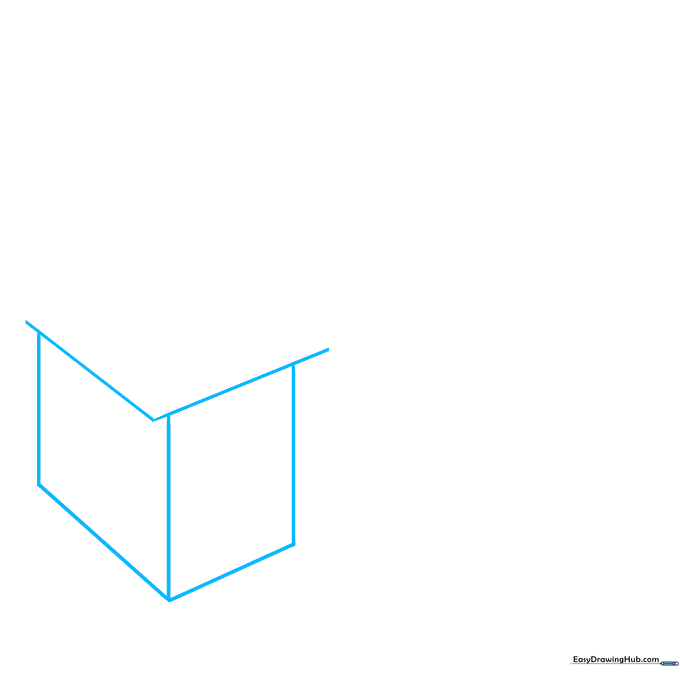
Draw a wide V-shape to represent the top surface of the desk. Teacher's Tip: Keep your pencil strokes light and loose; this helps you adjust the angle if the desk looks a bit tilted.
Step 2: Defining the Desk Structure
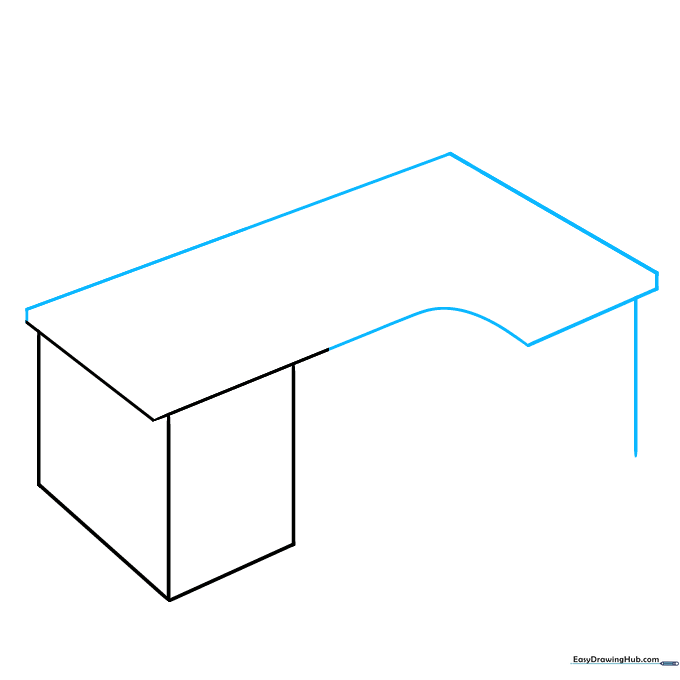
Add a short dash on the left, then draw two diagonal lines to create the side profile. Connect these with a curve to form the base. Teacher's Tip: Use a ruler if you want perfectly straight edges, or keep it freehand for a fun, cartoon style.
Step 3: Adding the Drawer Unit
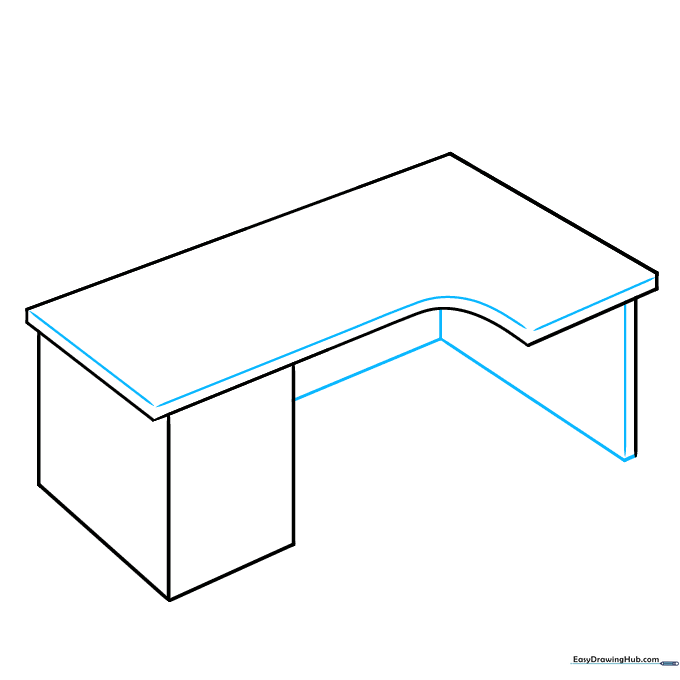
Draw vertical lines beneath the desk to create the cabinet area. Connect them with diagonal lines to show depth. Teacher's Tip: Imagine the desk is a 3D box—this helps you place your lines correctly.
Step 4: Drawing the Handles
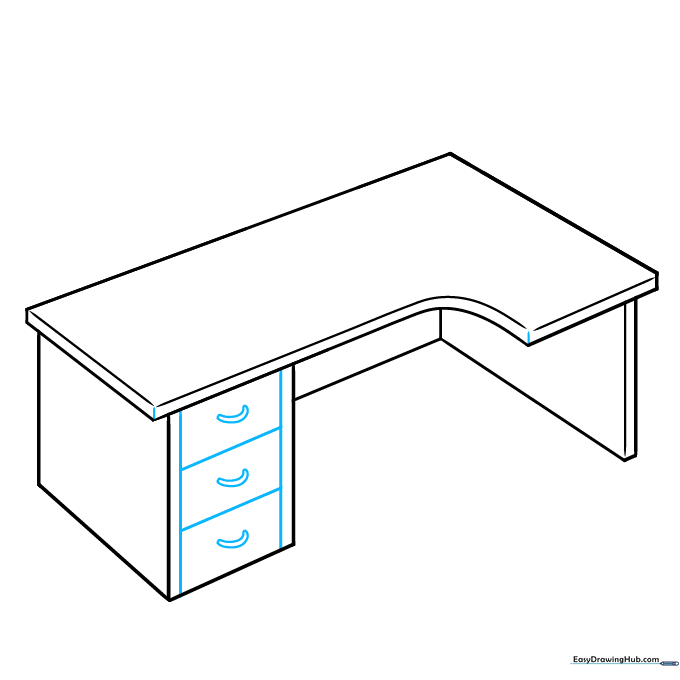
Sketch small C-shapes on the drawer front to represent handles. Teacher's Tip: Make sure the handles are aligned so the desk looks neat and organized.
Step 5: Sketching the Book
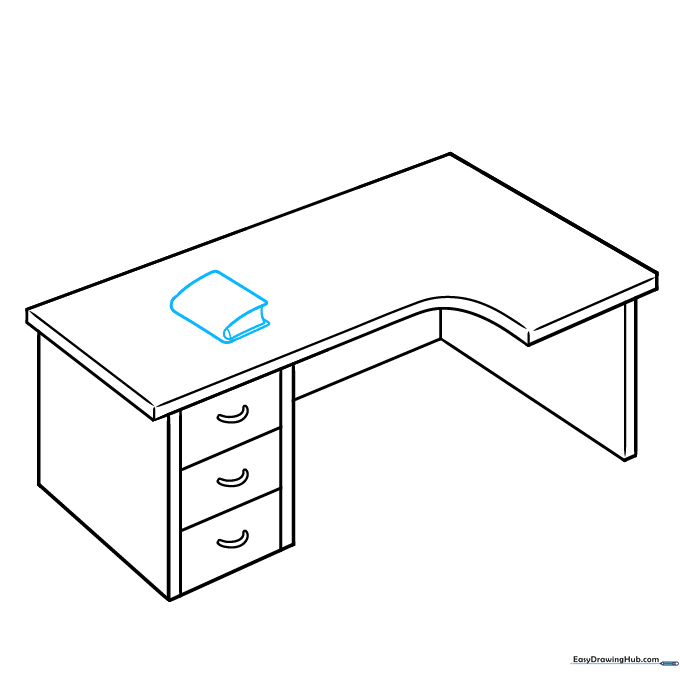
Draw a rounded rectangle on the desk surface to start your book. Add two curves inside to show the pages. Teacher's Tip: Keep the corners rounded to make the book look soft and realistic.
Step 6: Adding the Laptop Base
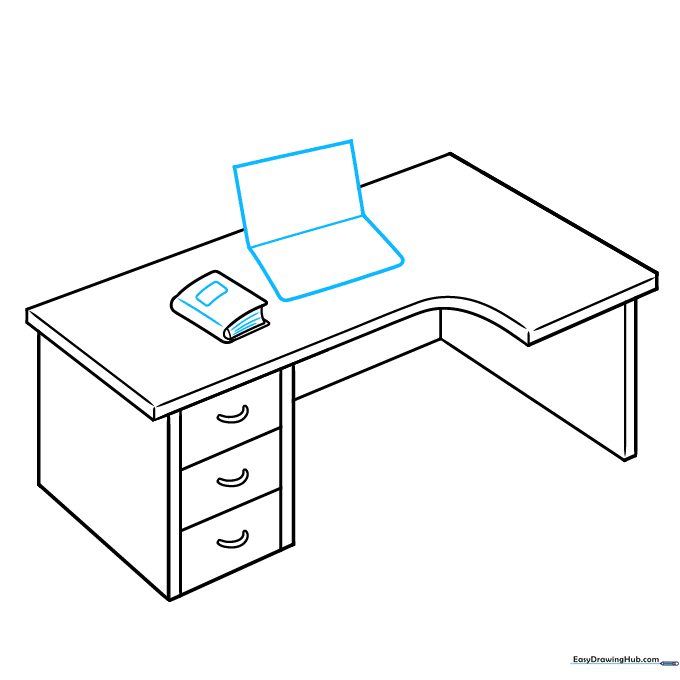
Sketch a rectangle on the desk to form the base of your laptop. Add diagonal lines to give it a 3D perspective. Teacher's Tip: Focus on the angles—the lines should look like they are receding into the distance.
Step 7: Detailing the Laptop
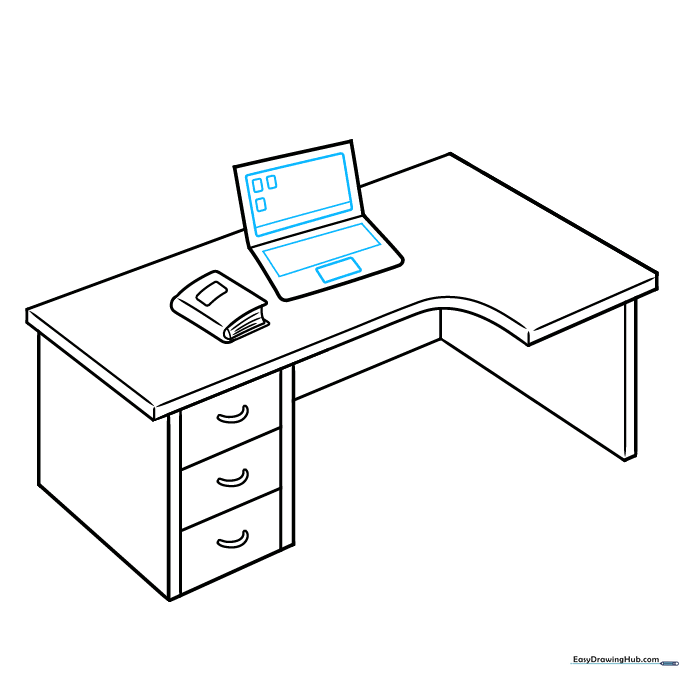
Add smaller rectangles inside the laptop screen and keyboard area. Teacher's Tip: Use a sharp pencil to keep these small details clean.
Step 8: Adding Keyboard Grid
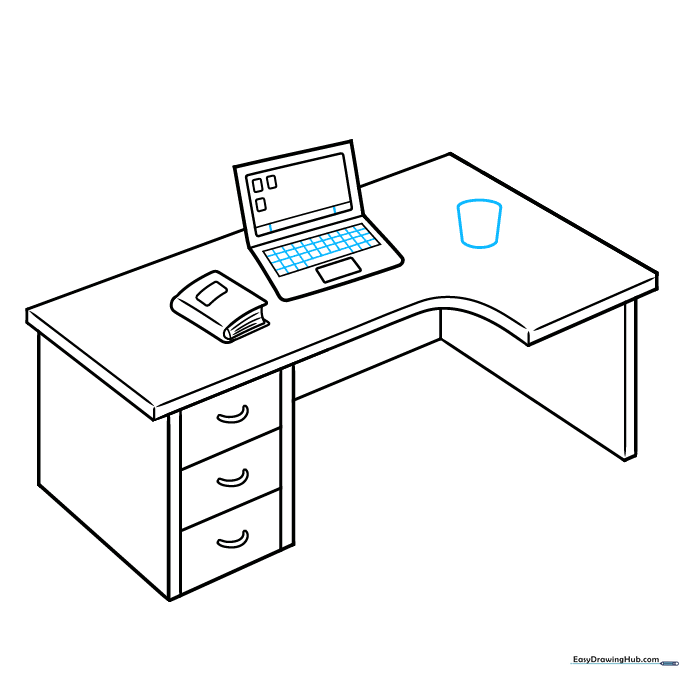
Draw a light grid inside the laptop keyboard area. Teacher's Tip: Don't press too hard; these lines are just guides for the keys.
Step 9: Adding a Coffee Mug

Draw a cylinder shape for the mug and add a C-shape for the handle. Use wavy lines above it to show steam. Teacher's Tip: The steam lines should be light and airy to look like rising heat.
Step 10: Final Outline and Coloring
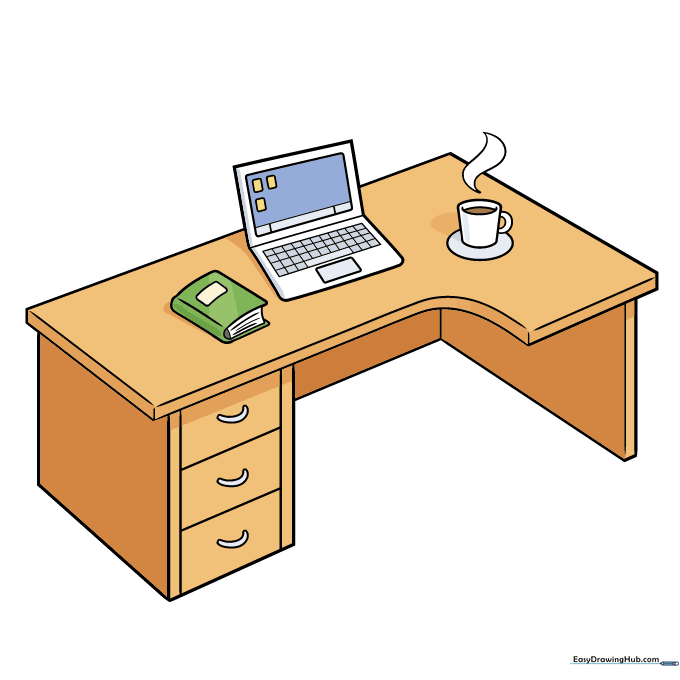
Trace your final lines with a black marker and erase any stray pencil marks. Color your desk with your favorite shades! Teacher's Tip: Use warm colors for the desk and cool blues for the laptop screen to create a nice contrast.
More Tutorials


