How to Draw a Dentist: Easy 9-Step Cartoon Guide
Ready to draw a friendly neighborhood dentist? This tutorial is perfect for ages 7+ and requires only a pencil, eraser, and paper. Follow along to build confidence in drawing characters while practicing proportions and simple clothing details.
🎯 Final Result

Step-by-Step Instructions
Step 1: Sketching the Face and Eyes

Start by drawing two rounded squares for the eyes. Add a large circle inside each for the pupils. Teacher's Tip: Keep your pencil pressure light so you can easily adjust the eye placement if they look a bit lopsided.
Step 2: Defining the Head and Smile
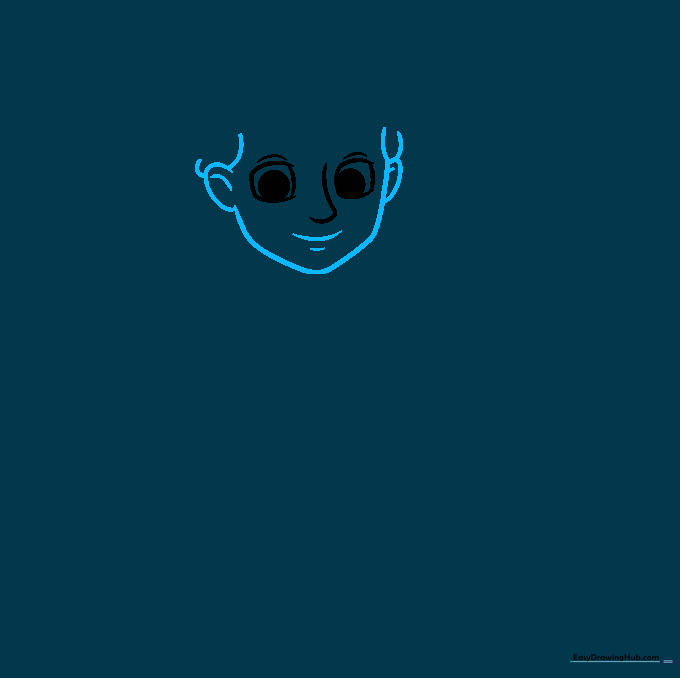
Draw the chin, cheeks, and ears using smooth, curved lines. Add a gentle curve for the mouth to give your dentist a welcoming smile. Tip: Use a mirror to look at your own ears to see how they align with your nose and eyes!
Step 3: Adding the Head Mirror
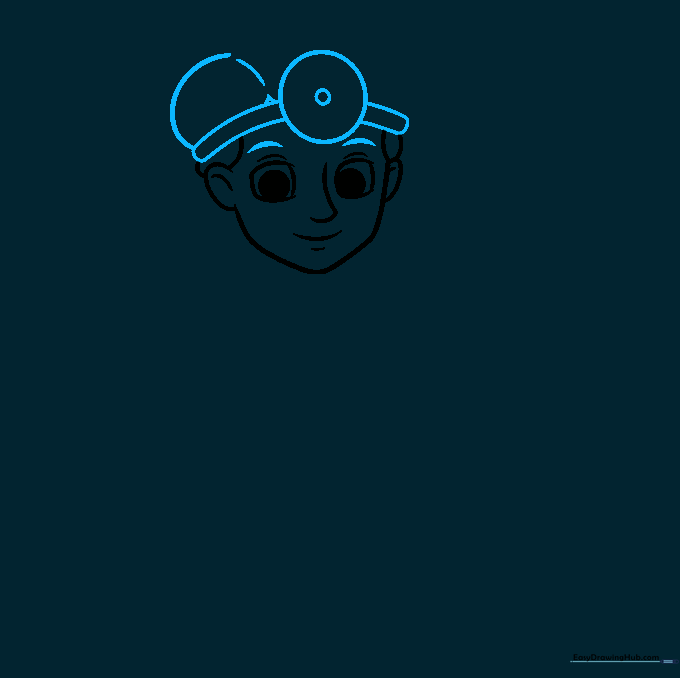
Draw a circle within a circle above the forehead to create the classic head mirror. Add small rectangles on the sides for the headband. Tip: This is a great time to add eyebrows to give your character a friendly expression.
Step 4: Hair and Lab Coat Collar
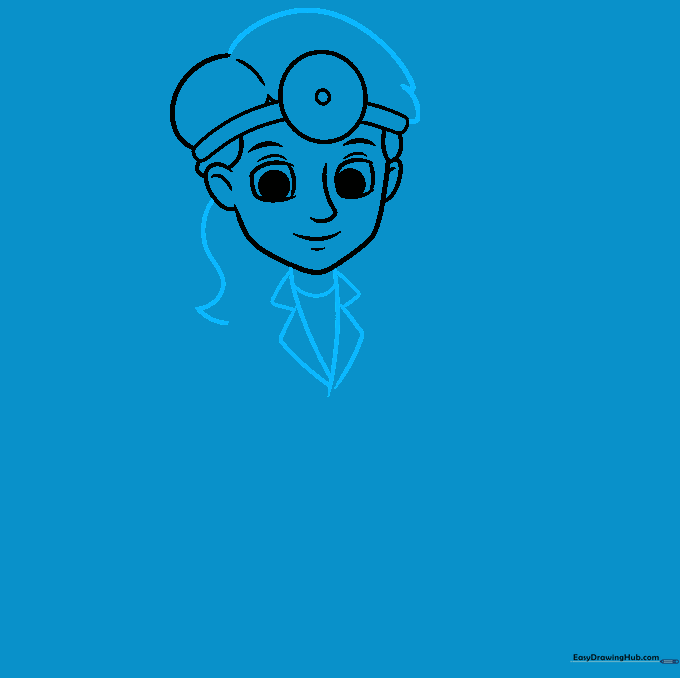
Complete the hair and ponytail, then draw the neck and the wide collar of the lab coat. Tip: Use long, sweeping strokes for the hair to make it look smooth and natural.
Step 5: Sketching the Arms
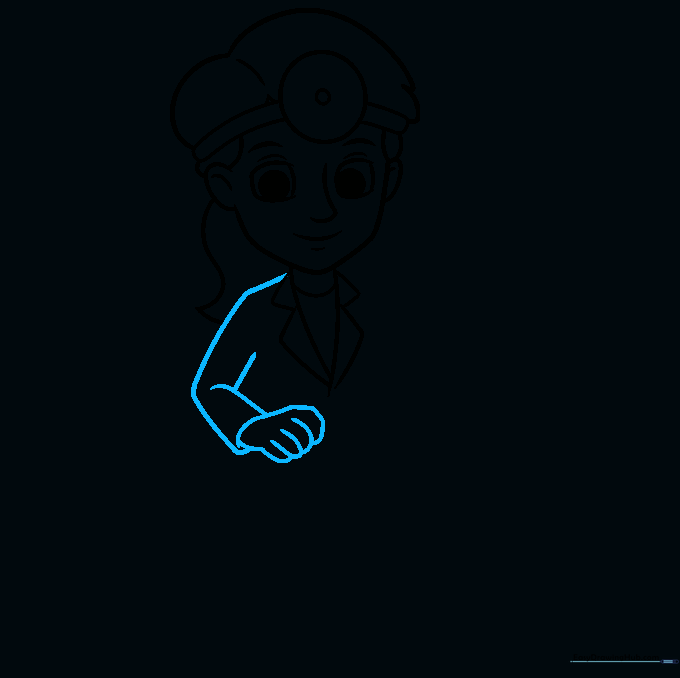
Draw the arms extending from the coat using pairs of parallel curved lines. Add simple shapes for the hands. Tip: If hands are tricky, remember to draw the thumb as a small, separate bump first.
Step 6: Drawing the Dental Tool
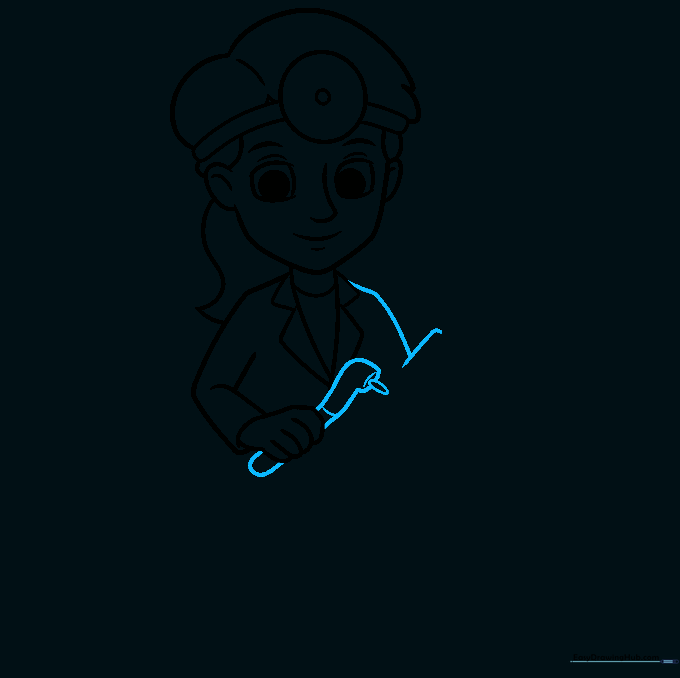
Sketch the dental tool in one hand using curved lines that double back. This creates the look of a specialized instrument. Tip: Keep the lines close together to make the tool look thin and precise.
Step 7: Adding the Mouth Mirror
Draw the second hand holding a mouth mirror—a long handle with a small oval at the end. Tip: Make sure the oval is tilted slightly to show it's a mirror reflecting light.
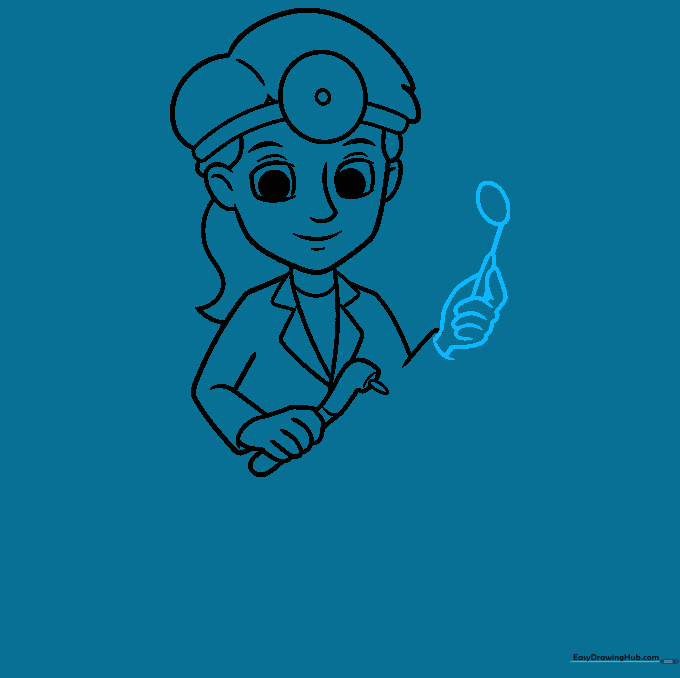
Step 8: Finishing the Lab Coat
Draw the torso, the bottom of the lab coat, and add round buttons down the front. Add a simple line for the skirt underneath. Tip: Keep your buttons evenly spaced for a professional look.
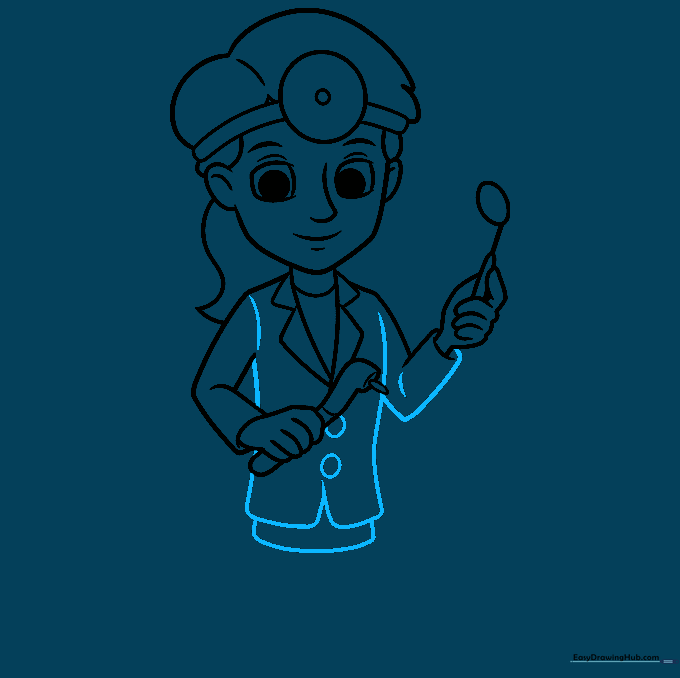
Step 9: Legs, Shoes, and Final Details
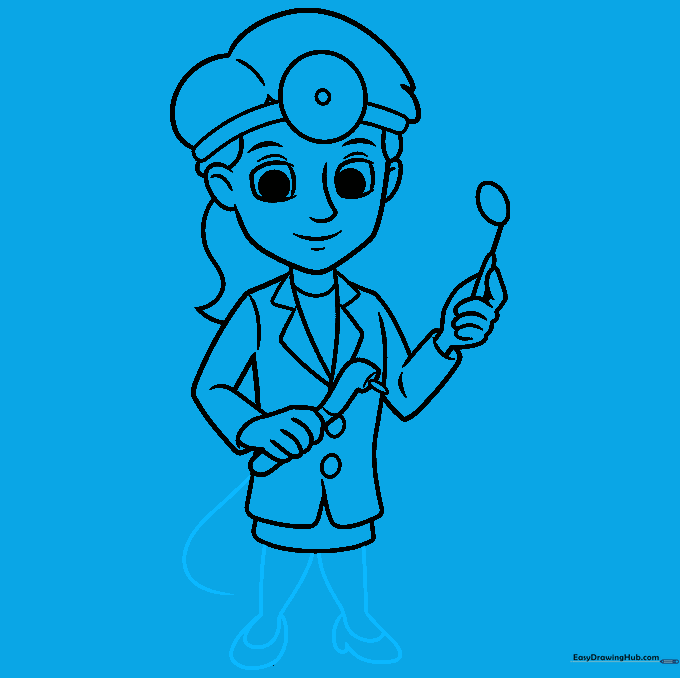
Draw the legs and shoes to ground your character. Add a long curved line from the tool to represent the power cord. Tip: Use your eraser to clean up any overlapping lines where the coat meets the legs.
Step 10: Bring Your Dentist to Life with Color

Time to color! Use white or light blue for the lab coat, and choose your favorite colors for the hair and clothes. Tip: Use a light grey to shade the folds of the coat to give it a 3D effect.
More Tutorials


