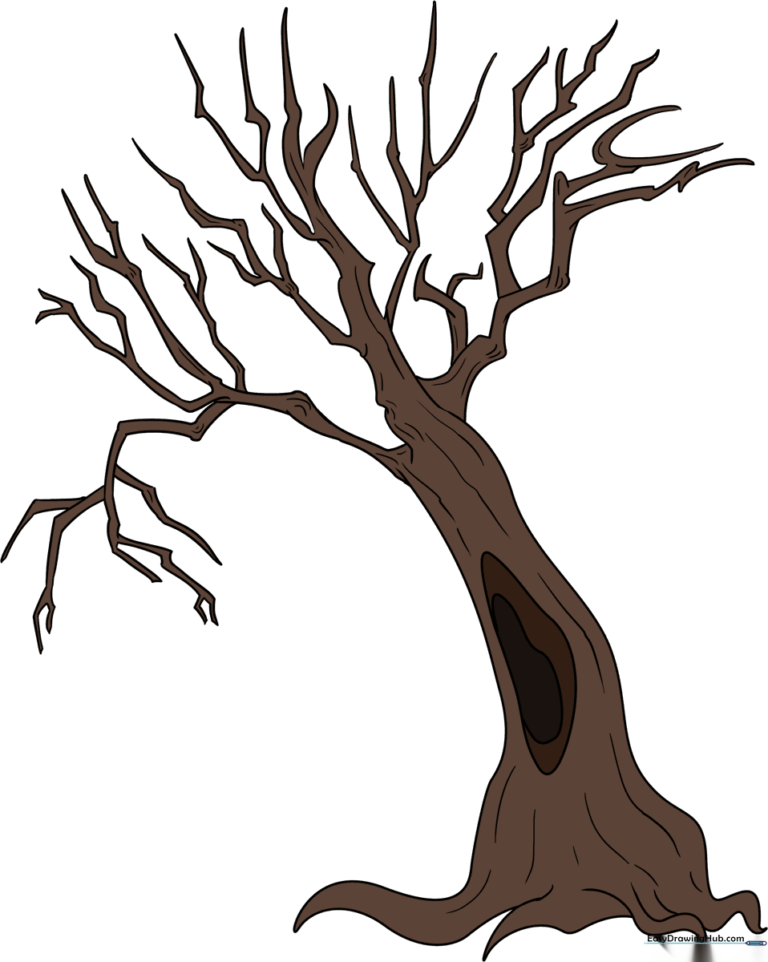
How to Draw a Dead Tree: Easy 10-Step Guide for Kids
Perfect for young artists ages 6+, this tutorial helps you master the art of drawing gnarled, spooky trees. You only need a pencil, an eraser, and a piece of paper to get started. By the end of this lesson, you will have a textured, atmospheric tree ready for your next haunted landscape drawing.
🎯 Final Result
Step-by-Step Instructions
Step 1: Sketching the Trunk and Roots

Start by drawing two wavy, vertical lines to form the trunk. At the base, add several roots by drawing pairs of curved lines that meet at sharp points. Teacher's Tip: Keep your pencil pressure light here so you can easily adjust the shape of the roots later.
Step 2: Adding the First Branch
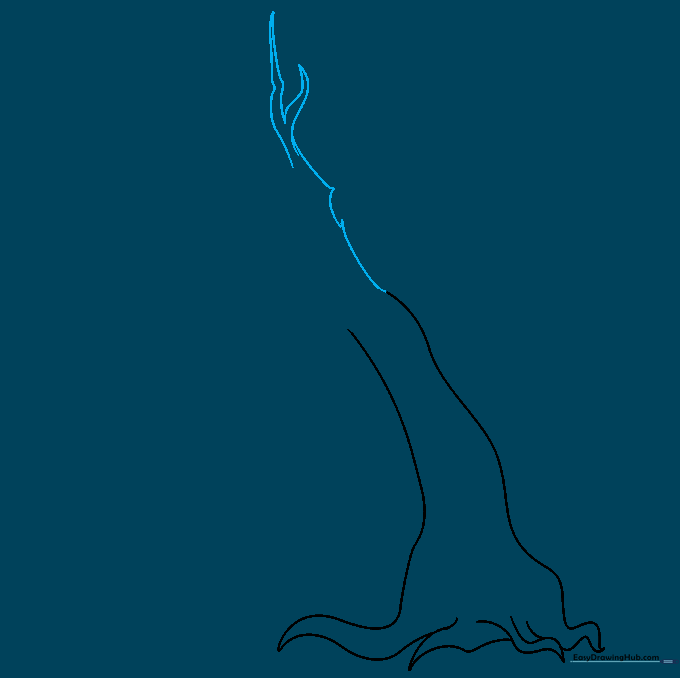
Draw a long, sweeping curved line extending from the top of the trunk. At the end, create a 'Y' shape by splitting the line into two sharp twigs. Teacher's Tip: Don't worry about perfect symmetry; dead trees look better when they are a bit crooked!
Step 3: Developing Gnarled Twigs
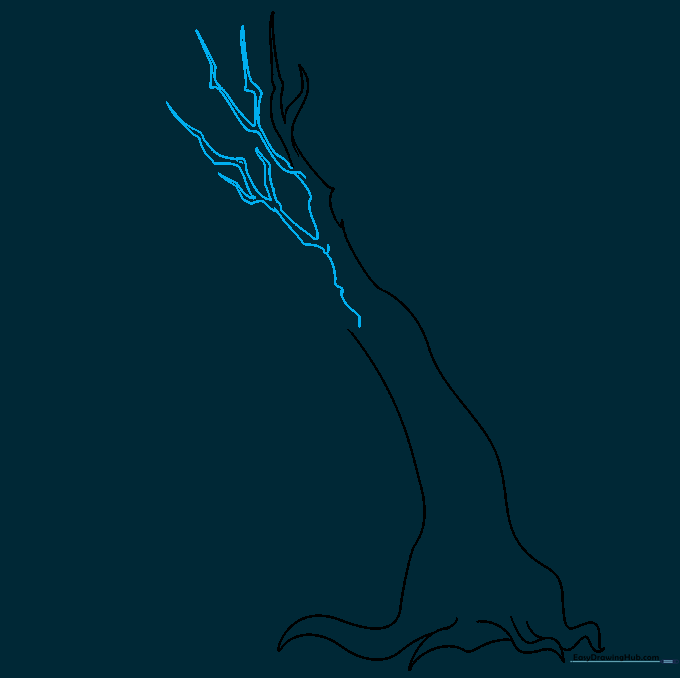
Continue adding smaller branches and twigs to the main limb. Ensure every twig ends in a sharp, pointed tip to give it that 'dead' look. Teacher's Tip: Use quick, flicking motions with your pencil to make the tips look extra sharp.
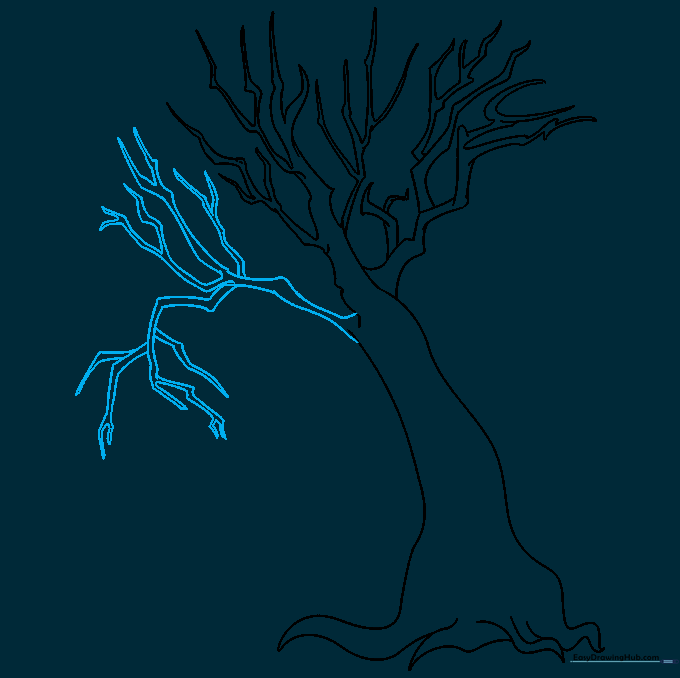
Step 4: Creating Diverging Branches
Draw another branch that diverges from the first one. Keep the lines curved and ensure they meet at sharp points. Teacher's Tip: Try to vary the length of your branches so the tree looks natural and balanced.
Step 5: Adding Zigzag Angles
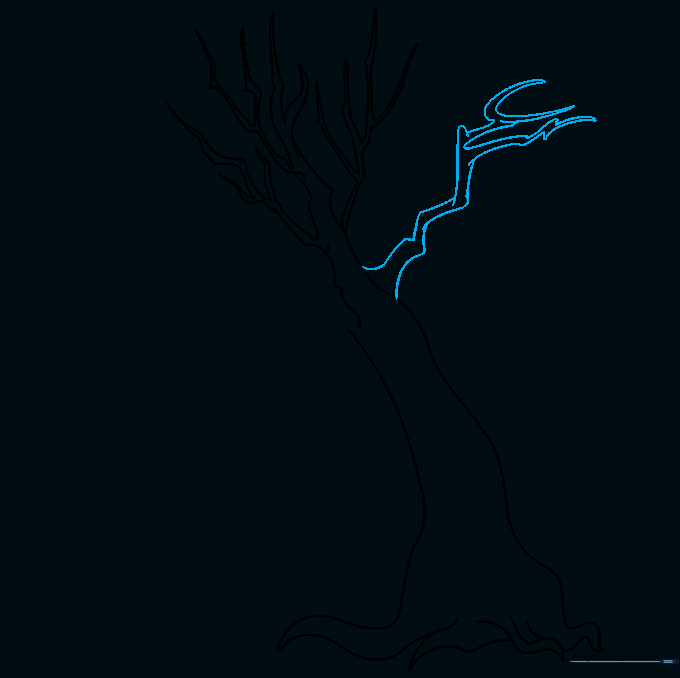
Add a branch that grows at an odd, sharp angle. Use a zigzag motion to make the branch look weathered and old. Teacher's Tip: Dead trees are full of character, so don't be afraid to make your lines a bit bumpy.
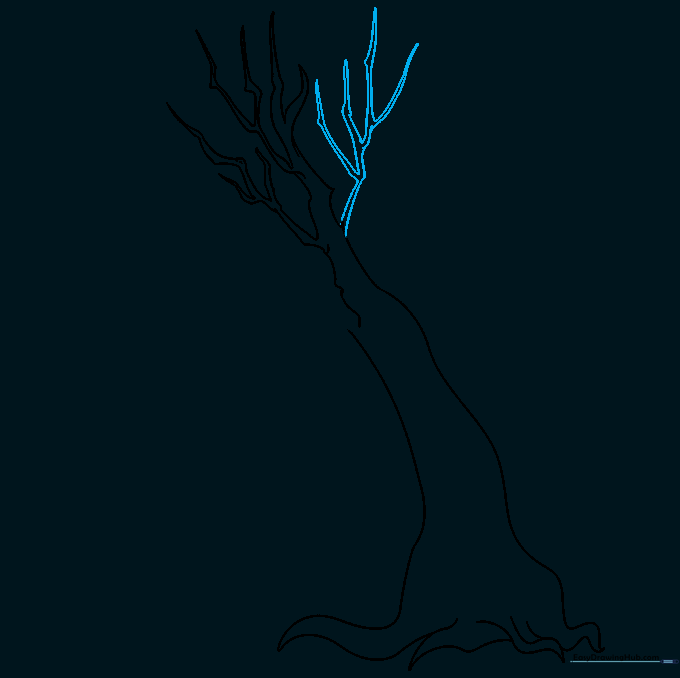
Step 6: Filling the Canopy
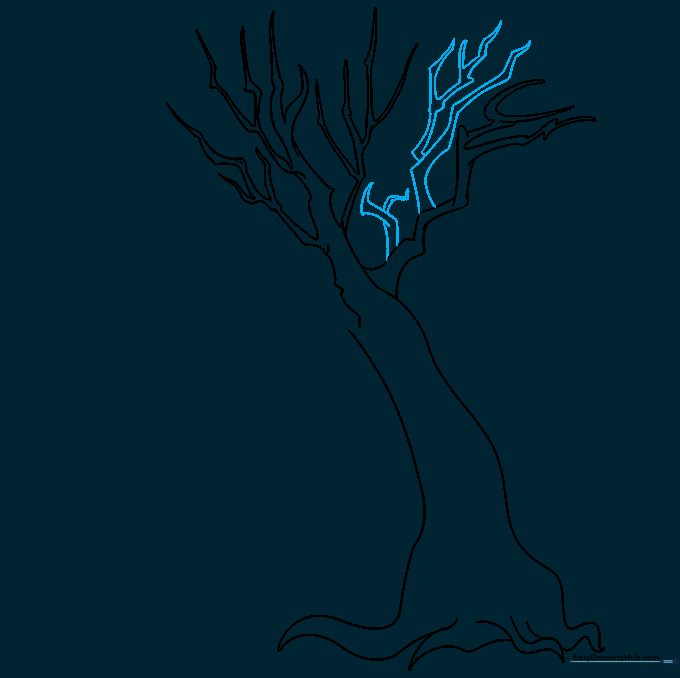
Fill in the empty spaces between your existing branches with smaller, secondary twigs. This adds density to your drawing. Teacher's Tip: Overlapping your lines slightly can create a sense of depth.
Step 7: The Final Broken Branch
Draw one final branch that hangs downward, as if it has snapped off. This adds a great storytelling element to your drawing. Teacher's Tip: Make the connection point to the trunk slightly thicker to show where it broke.
Step 8: Adding a Hollow
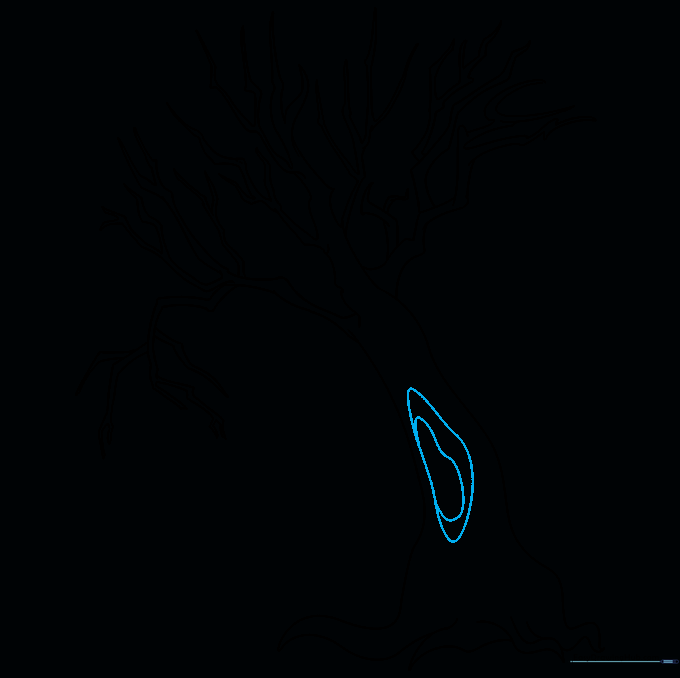
Draw an irregular, oval-like shape on the trunk to represent a hollow or knot hole. Add a smaller shape inside it for depth. Teacher's Tip: You can shade the inside of this hole later to make it look dark and mysterious.
Step 9: Adding Bark Texture
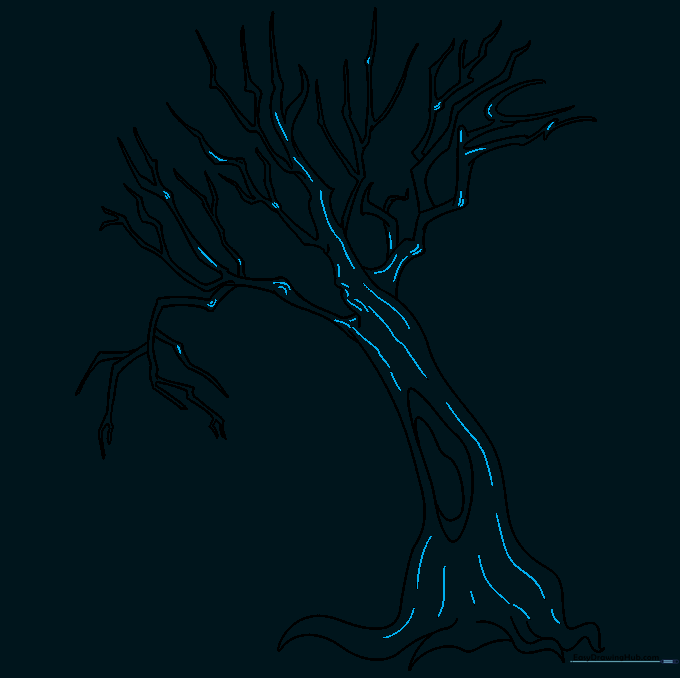
Use short, curved lines along the trunk and branches to suggest rough, peeling bark. Teacher's Tip: Vary the length and direction of these lines so the texture doesn't look too uniform.
Step 10: Bringing It to Life with Color
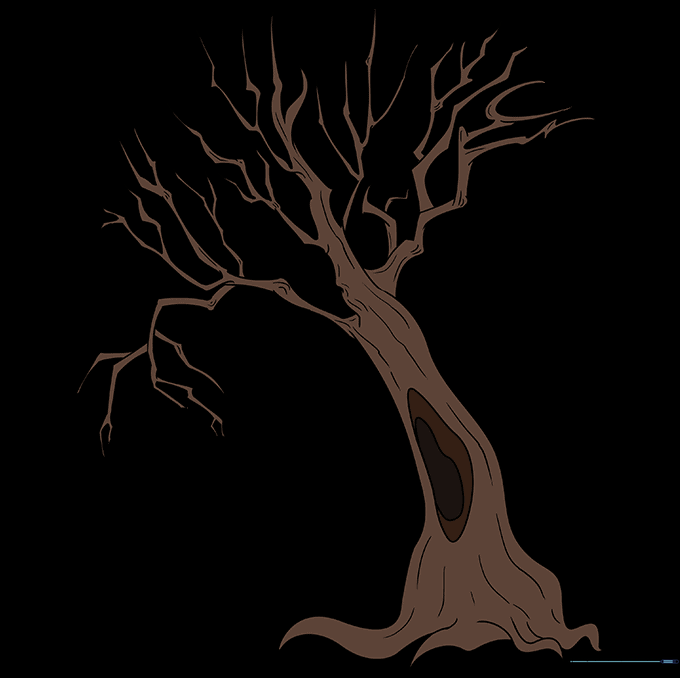
Time to color! Use shades of brown or grey for a classic dead tree look, or try white for a ghostly birch effect. Teacher's Tip: Use a darker shade of your chosen color near the base to create a grounded, realistic shadow.
More Tutorials


