How to Draw a Daisy: Easy 9-Step Guide for Beginners
Bring the beauty of spring to your sketchbook with this simple daisy drawing guide, perfect for artists ages 5 and up. You only need a pencil, an eraser, and a piece of paper to get started. By following these steps, you will master the art of overlapping petals and creating natural textures.
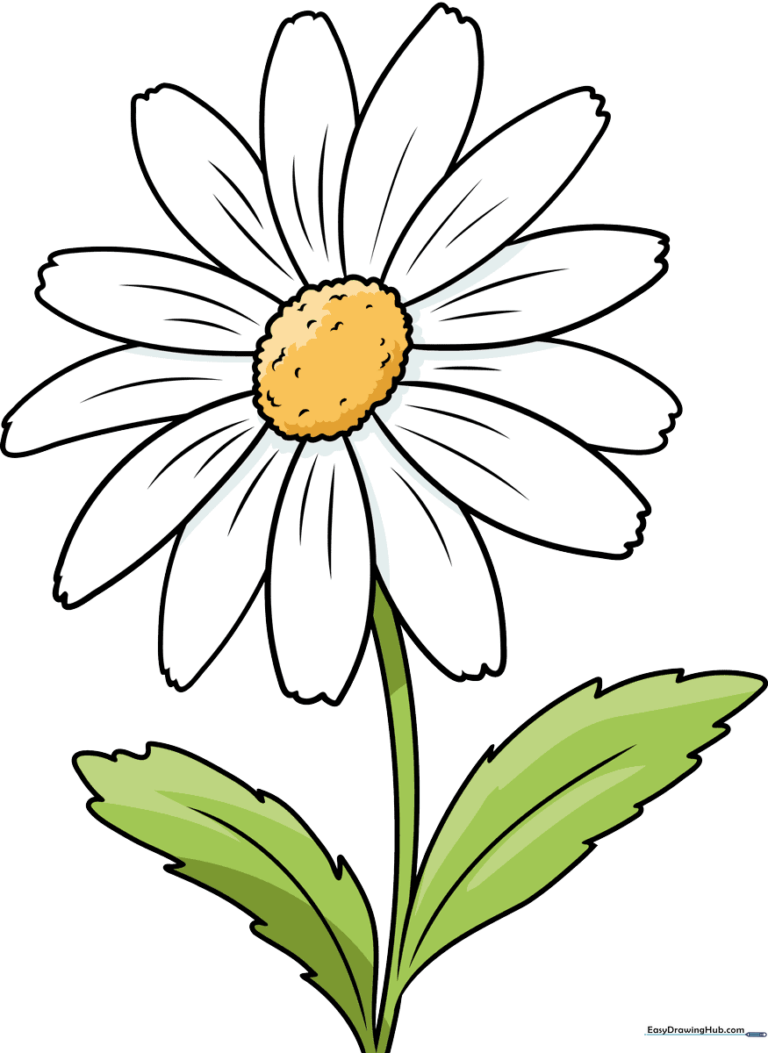
🎯 Final Result
Step-by-Step Instructions
Step 1: Sketching the Flower Center

Draw a small, slightly irregular circle in the middle of your page to serve as the daisy's center. Teacher's Tip: Use short, light, connected strokes rather than one perfect circle to give it a more organic, natural look.
Step 2: Starting the First Petals
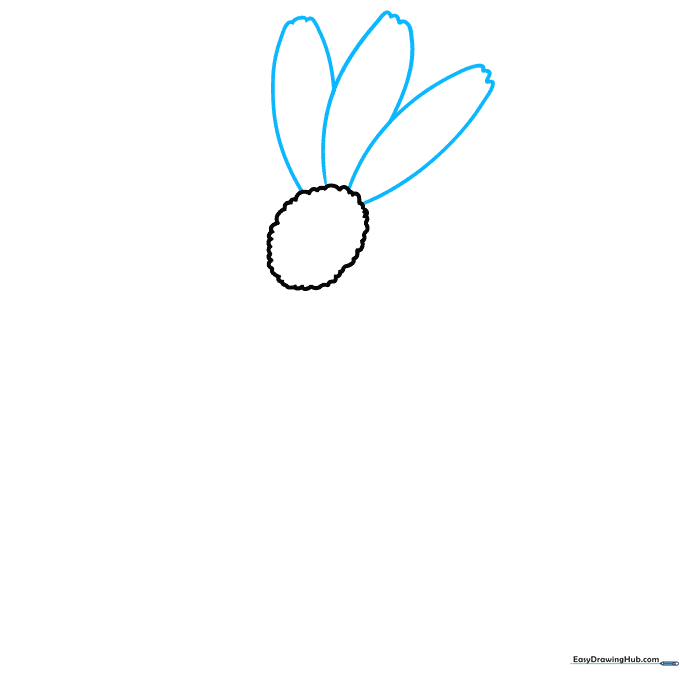
Draw your first few petals using long, curved lines that loop back to the center. Tip: Make the tips of the petals slightly wavy to mimic the delicate, natural edges of a real flower.
Step 3: Adding Overlapping Petals
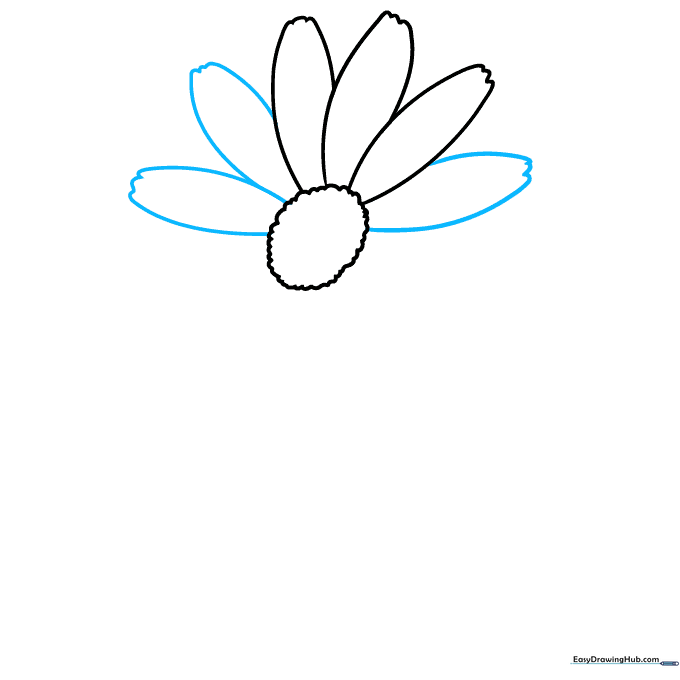
Add more petals around the center. To create depth, draw some petals so they look like they are tucked behind the ones you already drew. Tip: If a petal is 'behind' another, just stop your line when it hits the first petal.
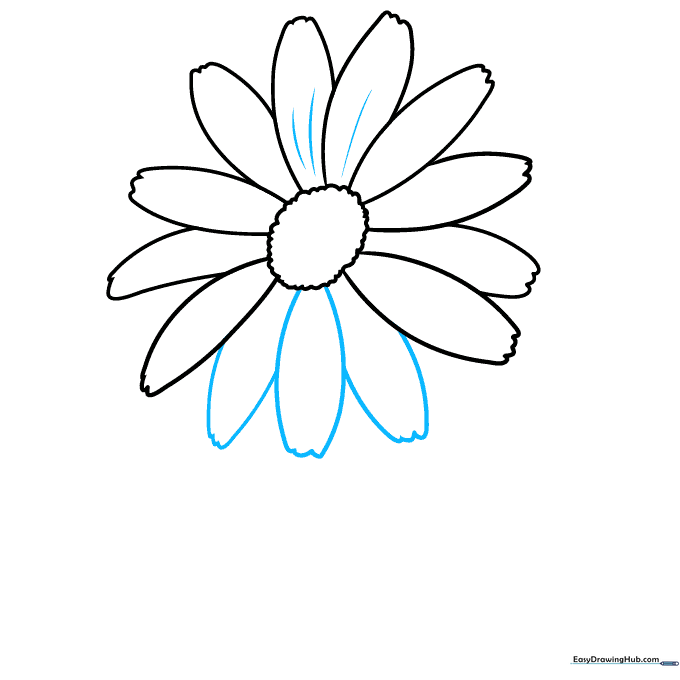
Step 4: Filling the Flower Head
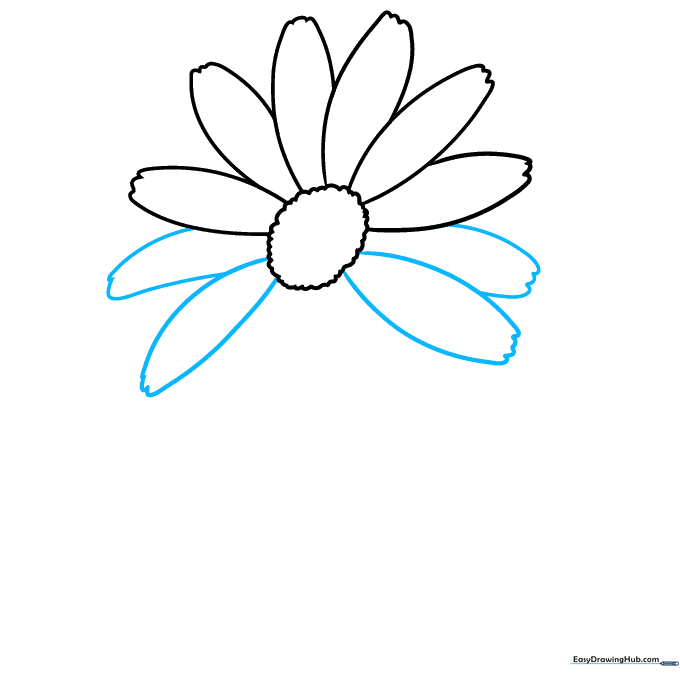
Continue adding petals until you have circled the entire center. Don't worry about making them perfectly symmetrical; nature is rarely perfect!
Step 5: Adding Petal Detail
Add a light, curved line down the middle of each petal. This simple detail adds texture and makes your drawing look much more professional.
Step 6: Drawing the Stem
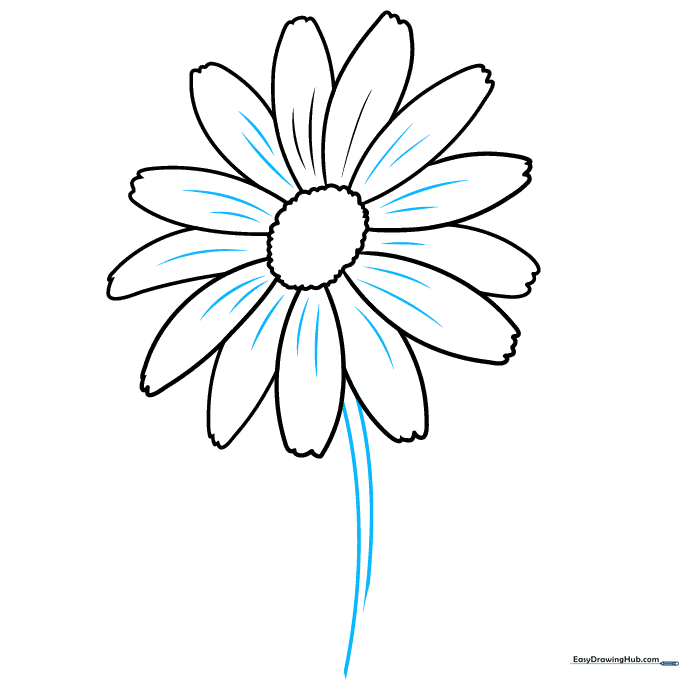
Draw two long, parallel curved lines extending downward from the base of the flower. Keep the lines smooth to represent a sturdy stem.
Step 7: Sketching the First Leaf
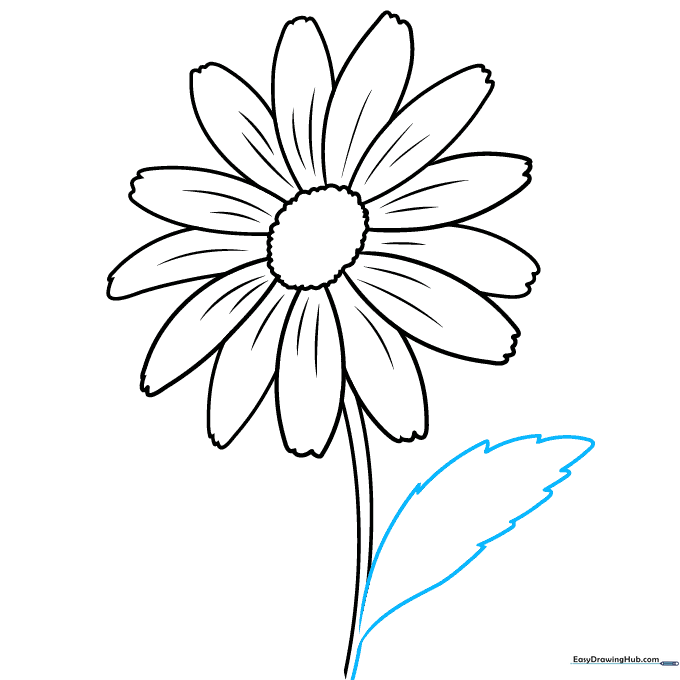
Draw a jagged, pointed leaf extending from the side of the stem. Tip: Use short, connected lines that meet at sharp points to create the serrated edge of a daisy leaf.
Step 8: Adding the Second Leaf
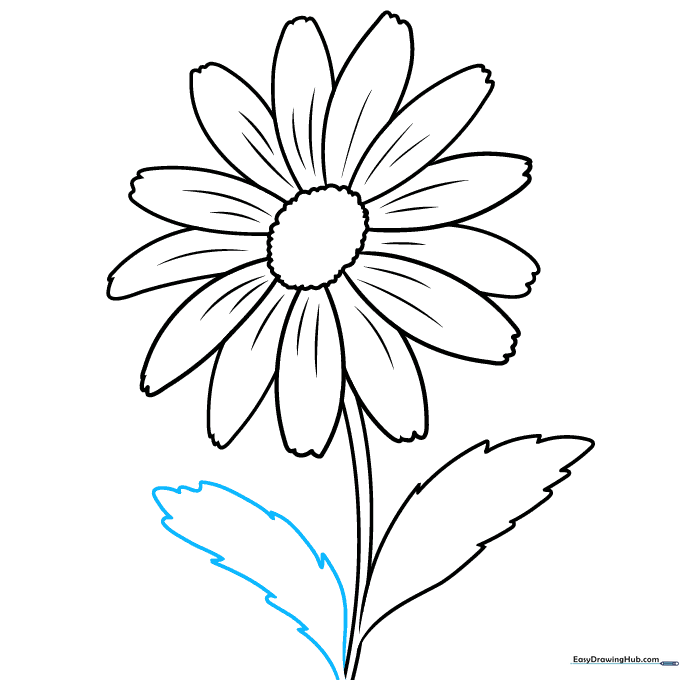
Repeat the process on the opposite side of the stem to balance your drawing. Try to make this leaf look slightly different in size to keep it looking natural.
Step 9: Final Details
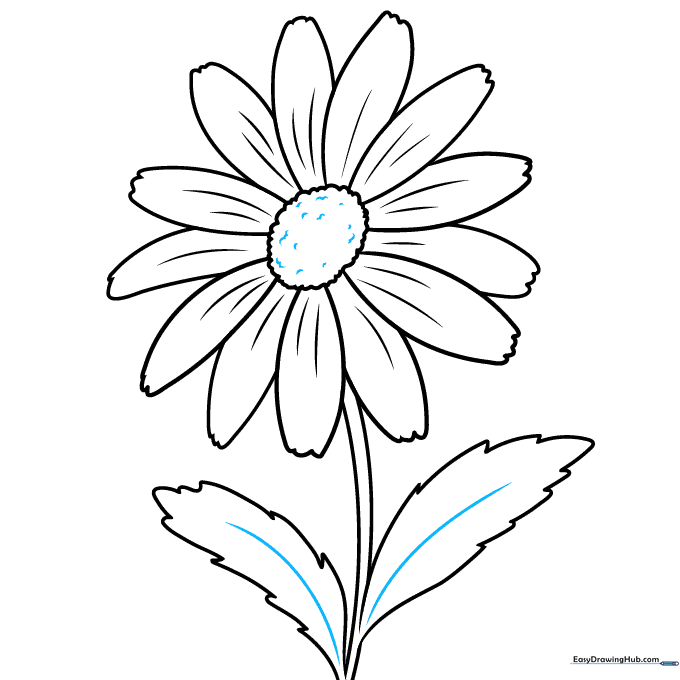
Add a vein line down the center of each leaf and add small dots or short lines inside the flower center to give it a textured, pollen-filled look.
Color Your Daisy
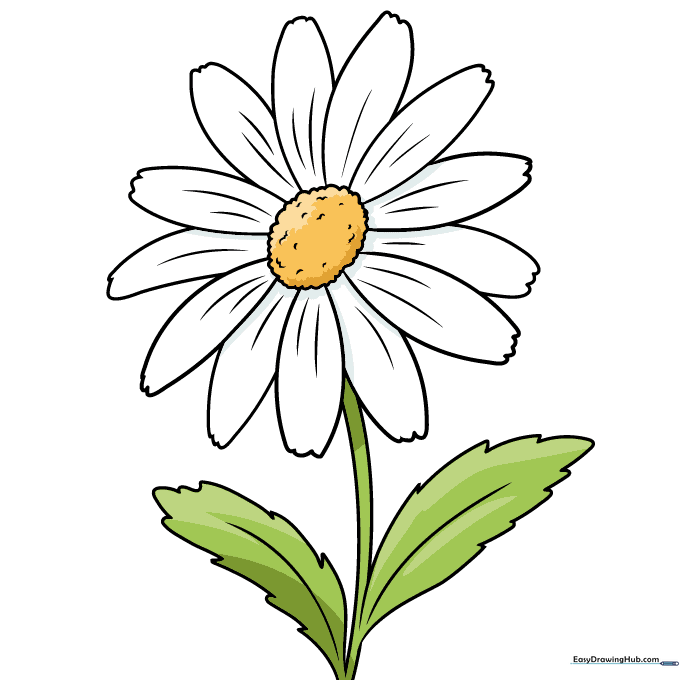
Your outline is complete! Now, bring it to life with color. Traditional daisies have bright yellow centers and crisp white petals, but feel free to experiment—daisies can be orange, red, or even purple!
More Tutorials


