How to Draw a Daffodil: Easy 10-Step Guide for Kids
Bring the beauty of spring to your sketchbook with this simple daffodil drawing tutorial. Designed for artists ages 5 and up, this project uses basic shapes to build confidence and fine motor skills. Grab a pencil, an eraser, and your favorite coloring supplies to get started!
🎯 Final Result

Step-by-Step Instructions
Step 1: Sketching the Trumpet Base

Start by drawing two curved lines that angle away from each other. Tip: Don't worry about making them perfect—think of it as drawing an open, upside-down bell shape.
Step 2: Defining the Trumpet Edge

Connect the lines with a wavy, circular stroke to create the top of the trumpet. Add a second wavy line inside to show depth. Tip: Keep your pencil pressure light so you can easily adjust the curves.
Step 3: Adding the First Petals

Sketch two teardrop-shaped petals extending from the base. Tip: Point the ends of the petals away from the center to give the flower a natural, blooming look.
Step 4: Expanding the Petals

Add two more teardrop petals to fill out the flower. Tip: Vary the size slightly to make your flower look more realistic and less like a stamp.
Step 5: Layering Background Petals
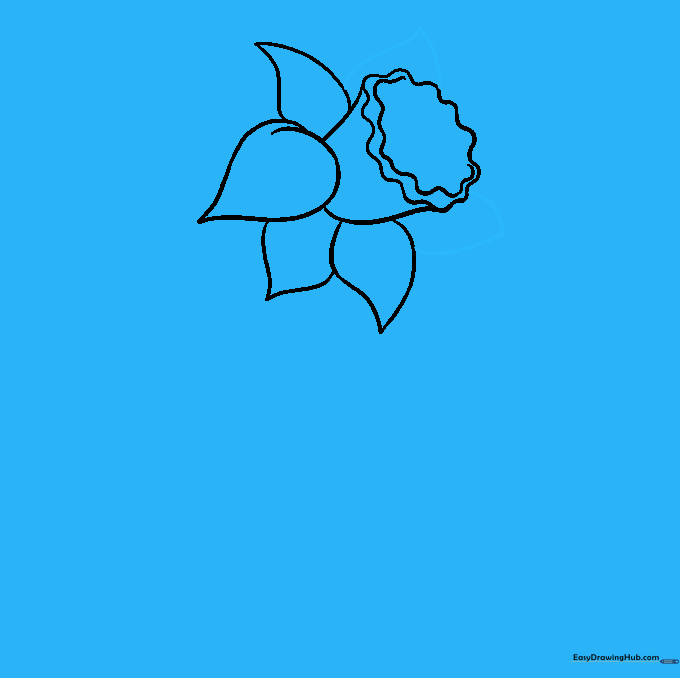
Draw two smaller, partially hidden petals behind the main ones. Tip: This layering technique creates a 3D effect, making your drawing pop off the page.
Step 6: Drawing the Stem
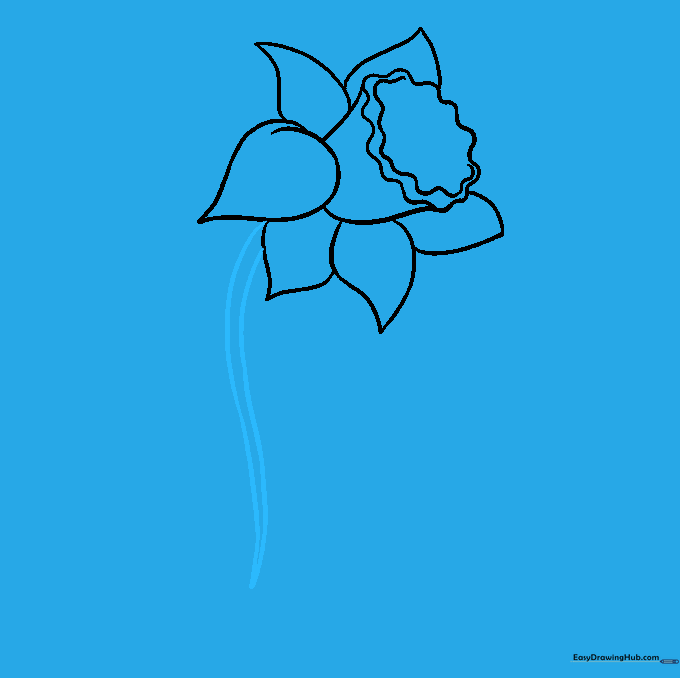
Draw two long, parallel curved lines extending downward from the flower. Tip: Make the stem slightly thicker at the top where it meets the blossom for a sturdy look.
Step 7: Adding the First Leaf

Sketch a long, pointed leaf reaching up from the base of the stem. Tip: Use a single, fluid motion to draw the curve of the leaf to keep it looking graceful.
Step 8: Detailing the Leaves

Add a second leaf and draw a line down the center of each to represent the vein. Tip: A central vein adds instant realism to any plant drawing.
Step 9: Adding Stamen Details
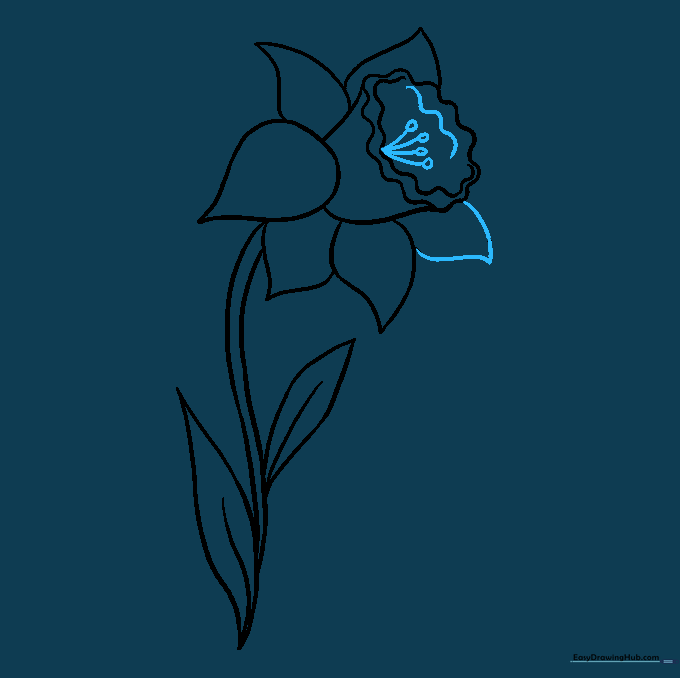
Draw small lines with circles at the tips inside the trumpet to represent the stamen. Tip: These tiny details are what make your drawing look like a professional botanical sketch.
Step 10: Bringing Your Daffodil to Life

Time to color! Use bright yellows for the petals and a contrasting orange for the trumpet. Tip: Try using light and dark shades of yellow to show where the sun hits the petals.
More Tutorials


