How to Draw a Cute Whale: Easy 9-Step Guide for Kids
Bring a friendly ocean giant to life with this simple drawing tutorial, perfect for young artists ages 5 and up. All you need is a pencil, an eraser, and a piece of paper to get started. By following these steps, you will build confidence in basic shape construction while creating an adorable sea creature.
🎯 Final Result

Step-by-Step Instructions
Step 1: Sketching the First Eye
Start by drawing the whale's eye using two gentle curved lines. Add three small circles inside for the iris and pupil, shading the smallest one dark. Teacher's Tip: Keep your pencil lines light so you can easily adjust the expression later.
Step 2: Adding the Second Eye
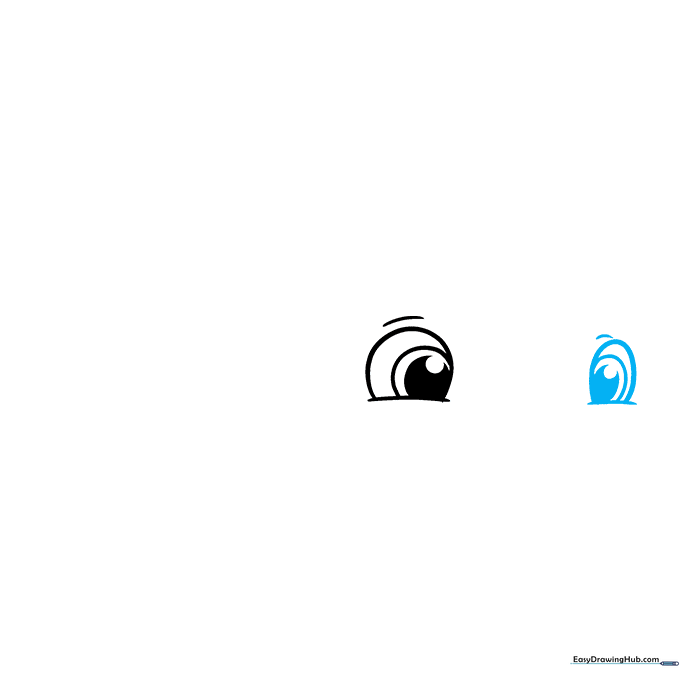
Draw the second eye slightly smaller to create a sense of perspective. Repeat the same circular details as the first eye. Tip: If the eyes look uneven, don't worry—whales are expressive, and slight variations add character!
Step 3: Giving the Whale Character

Add two teardrop shapes above the eyes for eyebrows, a small 'U' for a happy mouth, and two ovals for rosy cheeks. Tip: Press lightly for the blush ovals so they look soft and subtle.
Step 4: Sketching the Belly

Draw a long, smooth curved line to define the whale's belly. This line acts as the foundation for the rest of the body. Tip: Use a fluid, continuous motion to keep the line looking natural.
Step 5: Forming the Tail

At the end of your belly line, draw the tail using two curved lines that meet at a sharp point. Tip: Think of the tail shape like a wide 'V' or a butterfly wing.
Step 6: Closing the Body
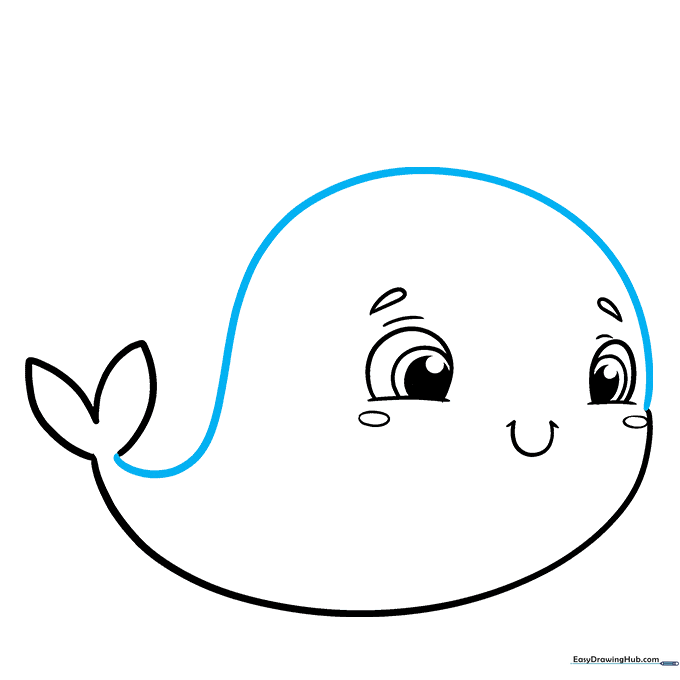
Draw a long, sweeping curved line from the tail back around to the face to enclose the body. Tip: Take your time to ensure the back has a nice, rounded shape.
Step 7: Defining the Underbelly
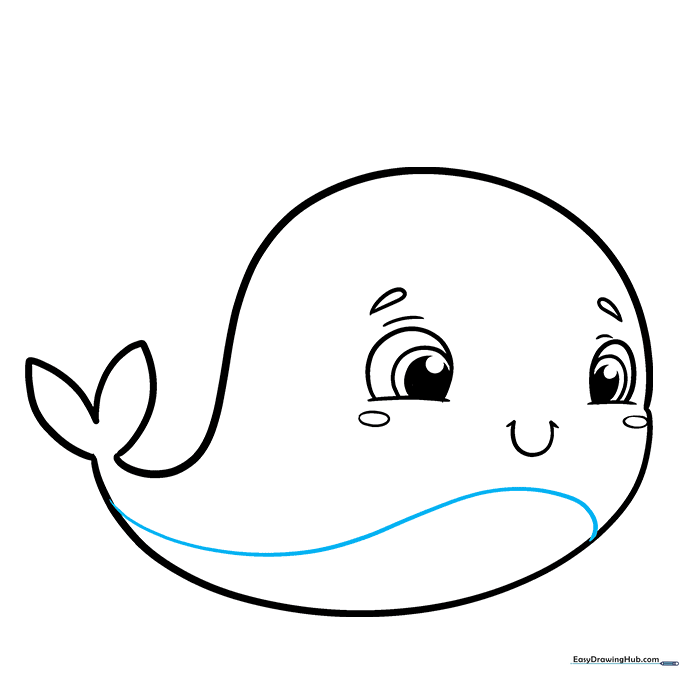
Draw a curved line across the belly area to separate the underbelly from the rest of the body. Tip: This creates a great opportunity to use two different shades when coloring later.
Step 8: Adding Flippers
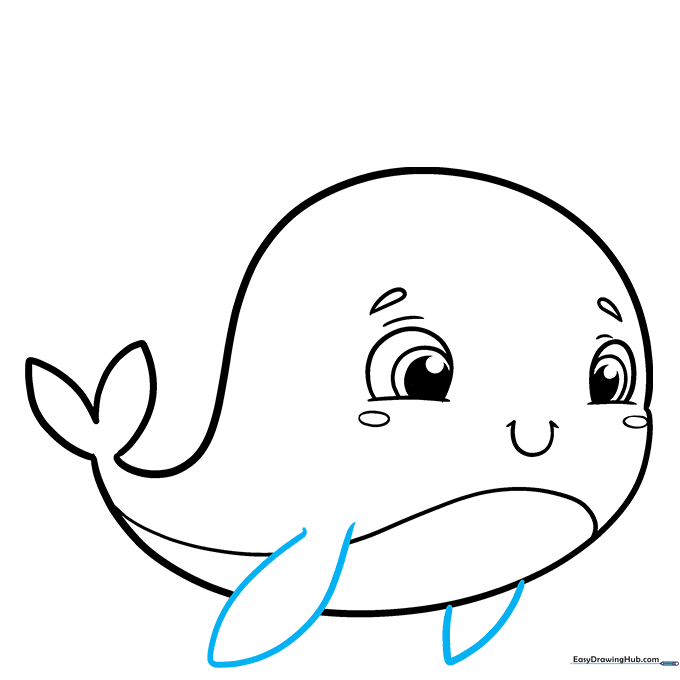
Draw the front flippers using two curved lines that meet at a point. Erase any overlapping lines inside the flipper to keep the drawing clean. Tip: Make the flippers look like they are waving to add extra personality.
Step 9: The Final Touch

Draw a small blowhole on top of the head, then add 'U' shaped water sprays and teardrop droplets. Tip: Vary the size of the droplets to make the water look like it's splashing in the air.
Color Your Cute Whale

Your outline is complete! Use shades of blue or grey for the body, and perhaps a lighter color for the belly. Tip: Try using colored pencils to blend the edges of the blush for a softer, more professional look.
More Tutorials


