How to Draw a Cute Unicorn Cat: Easy 10-Step Guide
Bring a magical creature to life with this fun, beginner-friendly drawing tutorial. Designed for artists ages 5 and up, this activity requires only a pencil, paper, and an eraser. Follow these steps to build confidence and develop essential hand-eye coordination while creating your own whimsical unicorn cat.
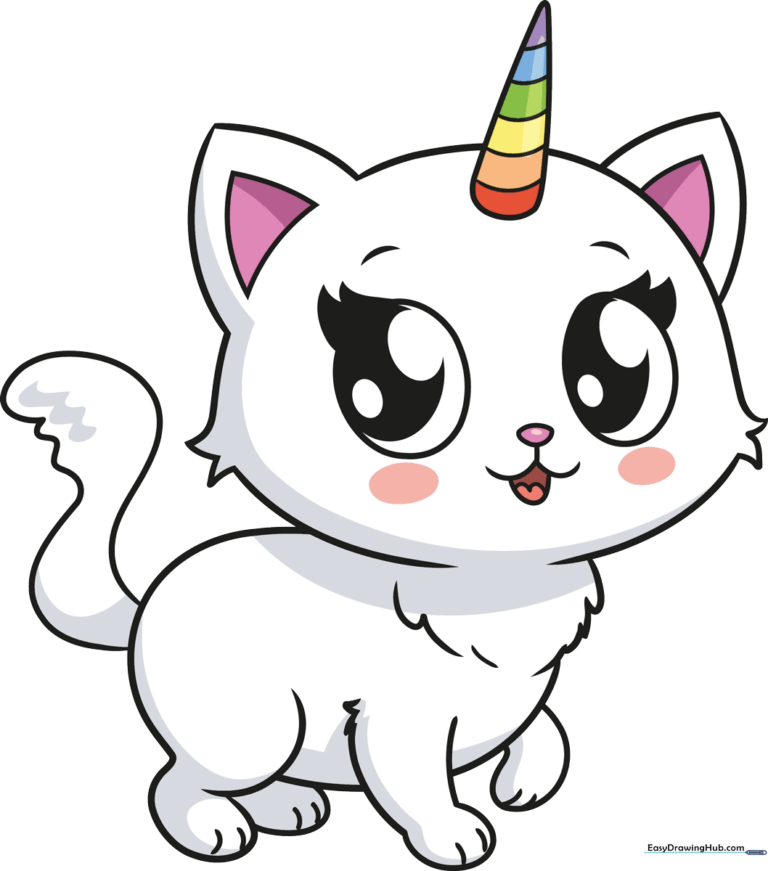
🎯 Final Result
Step-by-Step Instructions
Step 1: Sketching the Eyes

Draw two ovals for the eyes, tilting the right one slightly. Add smaller ovals inside for highlights, keeping those spots white. Teacher's Tip: Use a light touch here so you can easily adjust the symmetry later.
Step 2: Adding the Nose and Expression
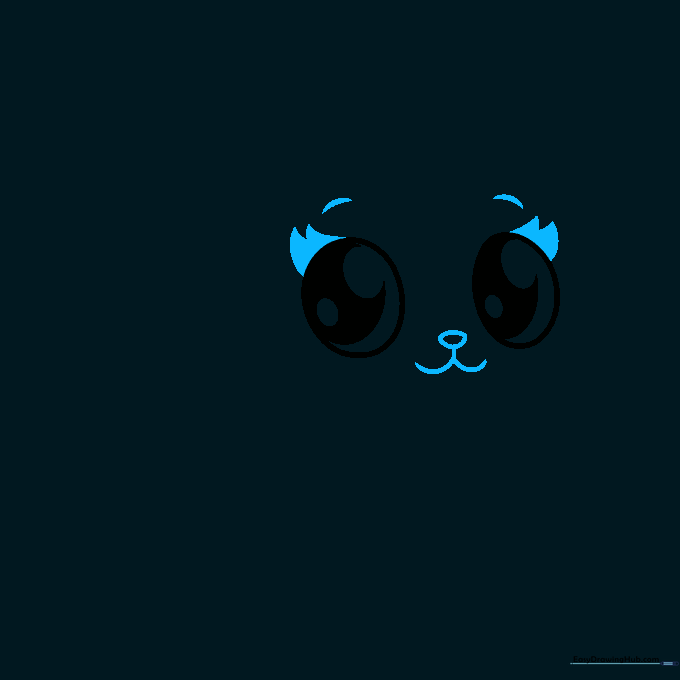
Place a small, rounded triangle in the center for the nose, with a 'W' shape underneath for the mouth. Add two small dashes above the eyes to give your cat a sweet, chibi-style personality.
Step 3: Defining the Face Shape

Draw a loop under the mouth with two small hills inside for the tongue. Sketch curves on either side of the face, adding triangular tufts of fur to give your cat a soft, fluffy look.
Step 4: Drawing the Ears
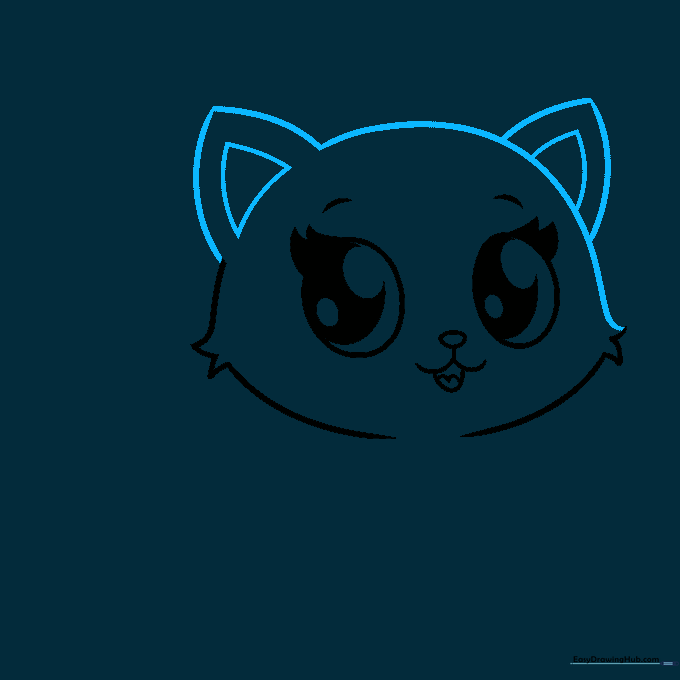
Connect the top of the head with a smooth dome curve. Add two rounded triangles for the ears, and place smaller triangles inside to create depth. Tip: Keep the ear shapes rounded to maintain the 'cute' aesthetic.
Step 5: Sketching the Magical Horn
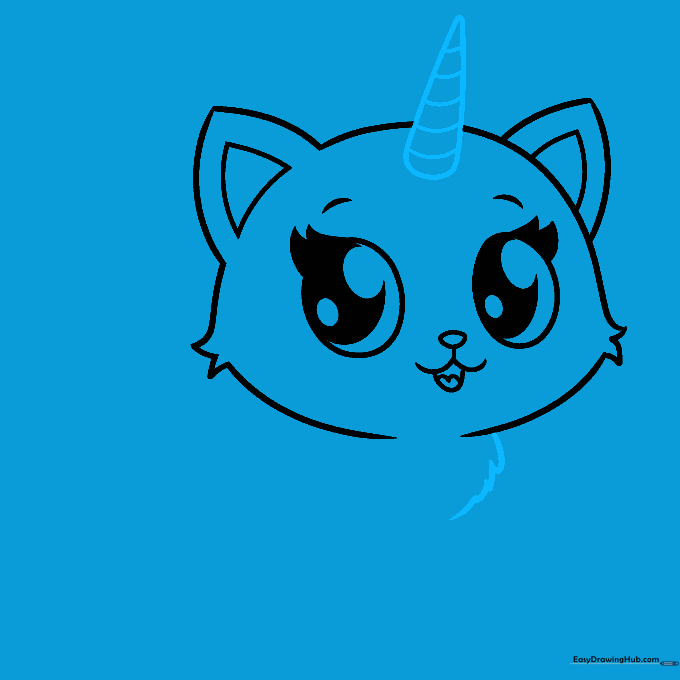
Draw a cone shape on the forehead with a rounded bottom. Add horizontal lines inside the cone to give the horn a spiraled texture. Add a few sketchy lines under the chin for a fluffy neck.
Step 6: Starting the Body
Draw a curve for the chest, then two opposing curves for the front legs. Add small tufts of fur on the left side to keep the texture consistent with the face.
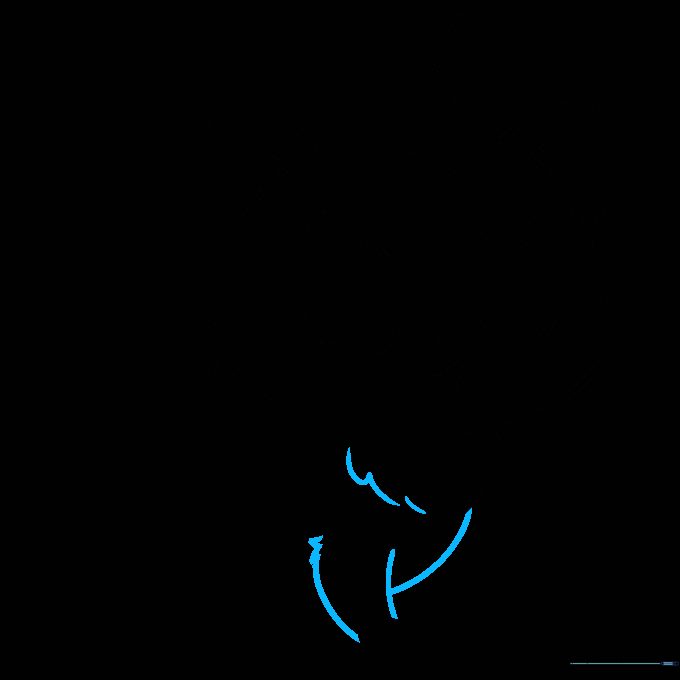
Step 7: Drawing the Feet

Create loops for the feet and use small dashes to indicate toes. Tip: Keep the loops soft and round to match the cartoon style of the rest of the body.
Step 8: Completing the Body
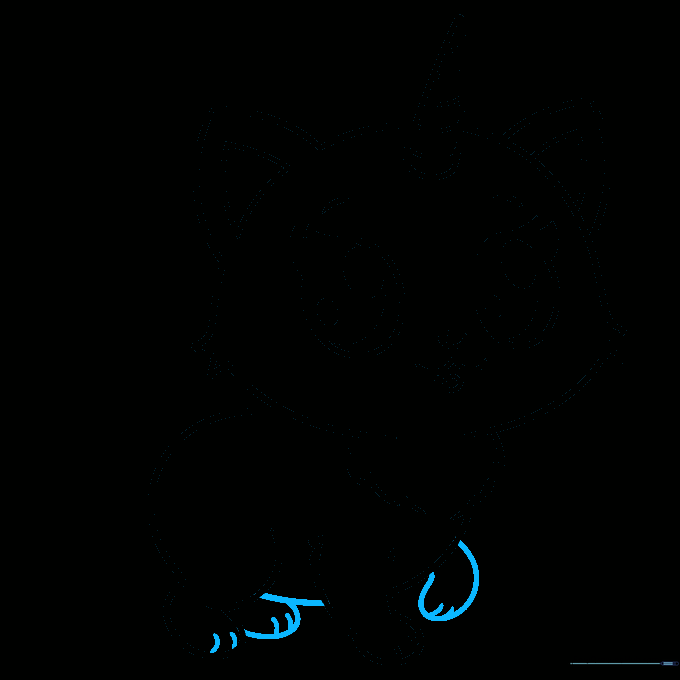
Draw the underside of the body with a smooth curve, then add the back feet using the same loop technique as the front. Don't forget the toe dashes!
Step 9: Adding the Tail
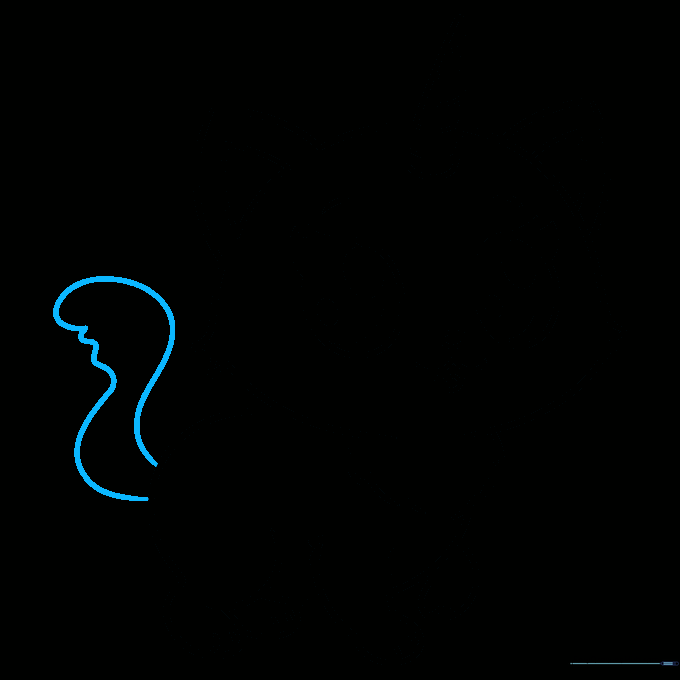
Use flowing curves and squiggly lines to sketch a fluffy tail. It doesn't need to be perfect—a little variation in the lines makes the fur look more natural.
Step 10: Coloring Your Masterpiece
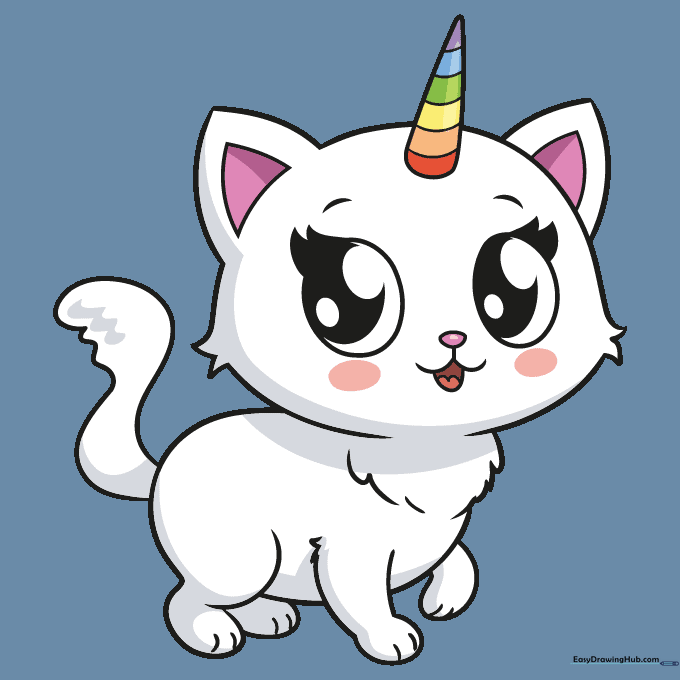
Outline your drawing with a dark pen and erase any stray pencil marks. Use soft grays for shading, pink for the cheeks, and rainbow colors for the horn. Add sparkles to finish your magical creation!
More Tutorials


