How to Draw a Cute Rose: Easy 10-Step Guide for Kids
Bring a garden of joy to your sketchbook with this adorable cartoon rose! Designed for ages 5 and up, this project uses basic shapes to build confidence in young artists. Grab a pencil, an eraser, and your favorite markers to get started.
🎯 Final Result

Step-by-Step Instructions
Step 1: Sketching the First Eye

Draw a large oval for the eye, then place a smaller oval inside. Add two tiny circles for highlights and shade the space between them. Teacher's Tip: Keep the highlights white to make the eyes look bright and expressive.
Step 2: Adding the Second Eye

Repeat the process from Step 1 to draw a matching eye on the right side. Teacher's Tip: Try to space them evenly so your rose looks balanced and friendly.
Step 3: Defining the Face

Draw a long, gentle curve connecting the eyes to form the head shape. Add two small arches for eyebrows and a happy, curved smile. Teacher's Tip: Use a light touch for the smile so it looks soft and inviting.
Step 4: Starting the Petals

Add curved lines above the face to represent the top petals. One line should loop back to create depth. Teacher's Tip: Think of these as soft, rounded waves rather than rigid lines.
Step 5: Forming the Heart Petal

Draw more curves to complete the top petals, making sure the center one looks like a small heart. Teacher's Tip: A heart shape is a classic way to make any drawing look instantly cuter!
Step 6: Adding the Spiral and Sepal

Add a small spiral at the top to show the rose is unfolding. At the base, draw a 'U' shape for the sepal, which is the little green leaf that holds the flower. Teacher's Tip: Keep the spiral loose and flowing.
Step 7: Drawing the Stem
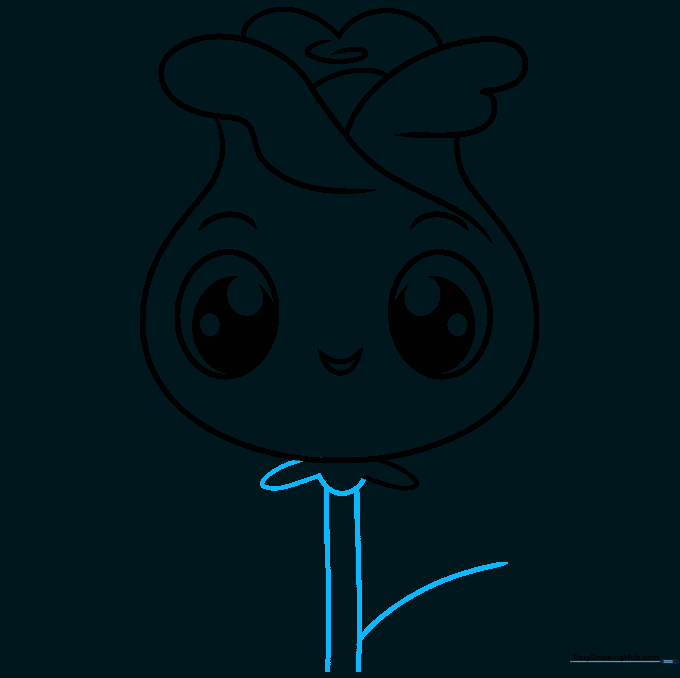
Complete the sepal with more 'U' shapes, then draw two vertical lines downward for the stem. Add a curved line branching out for the leaf. Teacher's Tip: Make the stem lines parallel to keep it looking sturdy.
Step 8: Adding Leaves
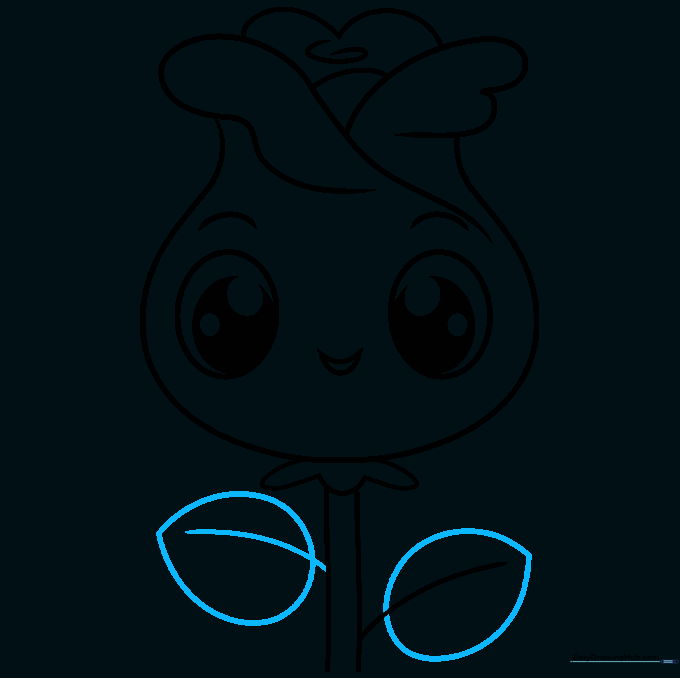
Enclose the teardrop-shaped leaves around the veins you started. Add a second leaf on the opposite side. Teacher's Tip: Pointed leaves look great, so don't be afraid to make the tips sharp.
Step 9: Final Details
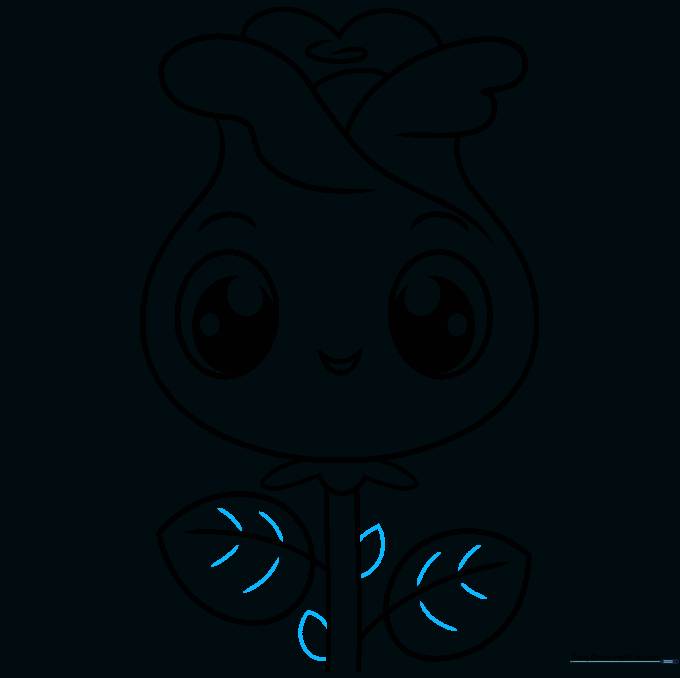
Add small, pointed thorns to the stem and short lines on the leaves to show texture. Teacher's Tip: Thorns are small triangles—keep them spaced out so the stem doesn't look too crowded.
Step 10: Coloring Your Rose

Time to bring your rose to life! Use red for the petals, but feel free to experiment with pink, yellow, or even lavender. Teacher's Tip: Use a darker shade of your color near the petal folds to add a 3D effect.
More Tutorials


