How to Draw a Cute Pencil: Easy 10-Step Guide
Bring your school supplies to life with this fun, character-based drawing lesson! Designed for ages 5 and up, this activity uses basic shapes to build confidence in young artists. Grab a pencil, an eraser, and your favorite markers to get started.
🎯 Final Result

Step-by-Step Instructions
Step 1: Sketching the Body

Draw two long, vertical, parallel lines to create the main body of the pencil. Teacher's Tip: Keep these lines straight by moving your whole arm rather than just your wrist.
Step 2: Adding the Ferrule
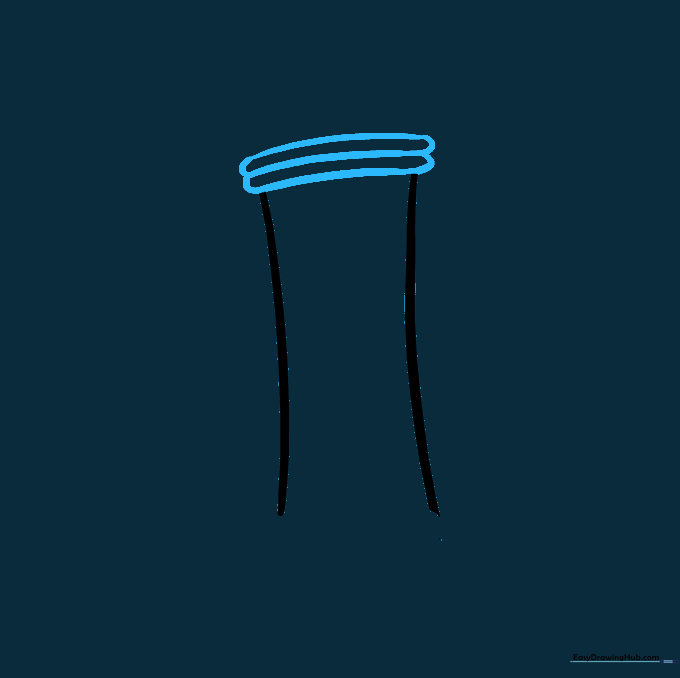
Draw three horizontal, slightly curved lines at the top of your rectangle, connecting them at the ends. This creates the metal ferrule that holds the eraser. Tip: Keep the curves consistent to make it look like a real metal band.
Step 3: Drawing the Eraser
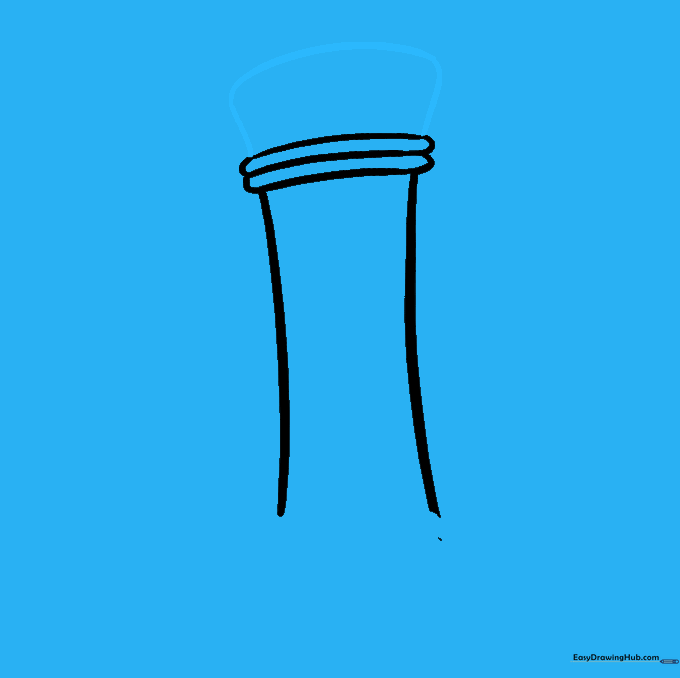
Use a long, soft, curved line to cap off the top of the ferrule, creating the rounded eraser. Tip: Think of this as drawing the top of a mushroom or a small dome.
Step 4: Creating the Sharpened Base
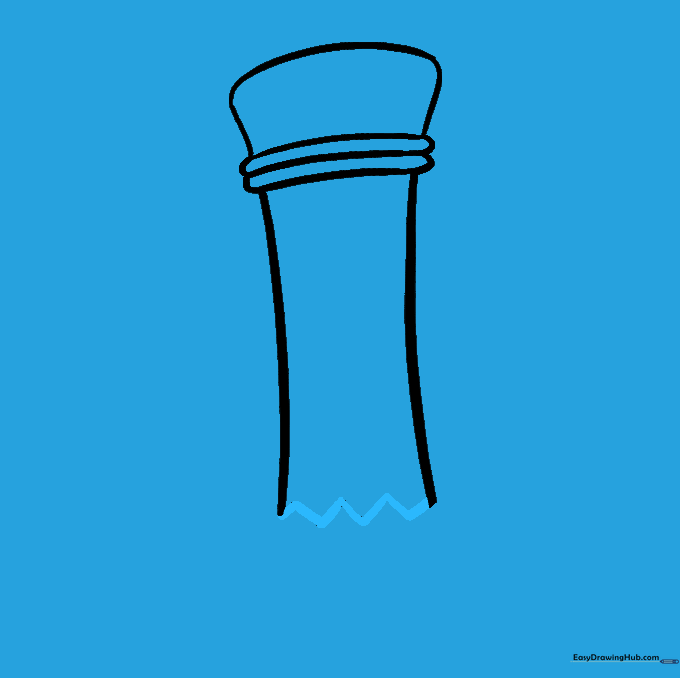
At the bottom of the pencil, draw a series of jagged, 'V' shaped lines. This creates the wooden collar where the pencil has been sharpened. Tip: Vary the size of the 'V's slightly for a more natural look.
Step 5: Defining the Graphite Tip

Draw a larger 'V' shape extending from the wood to form the lead tip. Add a flat line across the very bottom and shade it in. Tip: Use a darker pencil stroke here to make the graphite tip stand out.
Step 6: Adding a Friendly Face

Draw two ovals for eyes with smaller circles inside for pupils. Add a 'U' shaped mouth with a small tongue inside. Tip: Place the eyes slightly apart to make the pencil look friendly and approachable.
Step 7: Adding Texture Lines

Draw light, vertical lines along the eraser and the wooden point to give them dimension. Tip: Keep these lines very faint so they don't distract from the main outline.
Step 8: Drawing Arms and Hands

Add two 'V' shaped arms on the sides, ending in small, rounded hand shapes. Tip: Position the arms at different angles to give your pencil character more personality.
Step 9: Adding Decorative Details

Draw diagonal lines across the body of the pencil to represent the wood grain or a pattern. Tip: Use a ruler if you want perfectly straight lines, or go freehand for a more artistic feel.
Step 10: Bringing it to Life with Color

Fill in your drawing with your favorite colors! Use yellow for the body, pink for the eraser, and metallic grey for the ferrule. Tip: Use light pressure with your markers to create smooth, even color blocks.
More Tutorials


