How to Draw a Cute Monster: Easy 10-Step Guide for Kids
Looking for a fun, screen-free activity? This tutorial is perfect for artists ages 5 and up. All you need is a pencil, an eraser, and some paper to bring your own friendly monster to life while practicing basic shapes and line control.
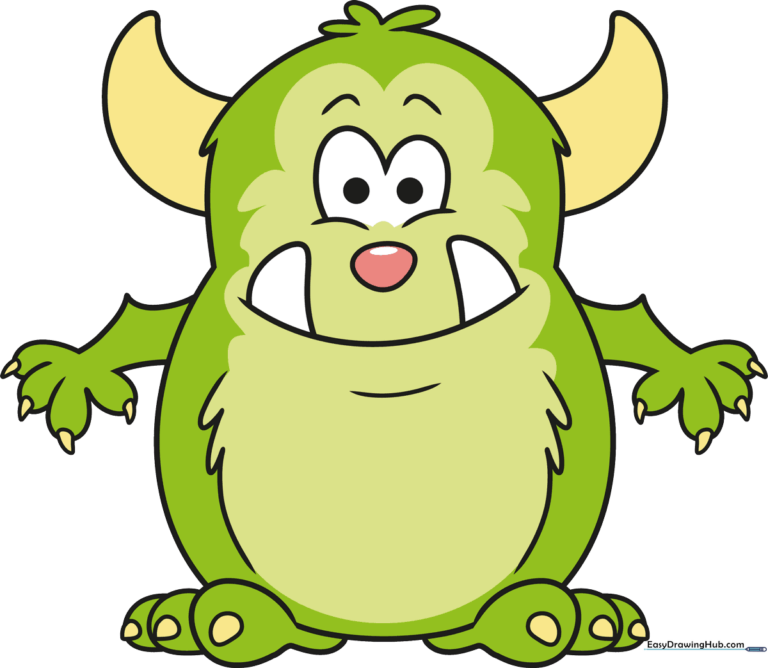
🎯 Final Result
Step-by-Step Instructions
Step 1: Sketching the Furry Head
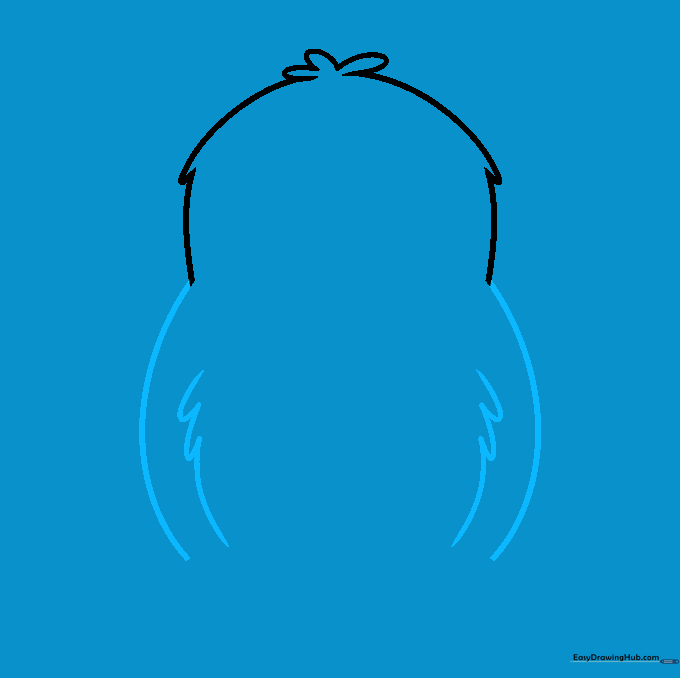
Start by drawing the top of the head using a series of connected 'U' shapes to create a tuft of fur. Extend long, curved lines down from the sides to frame the face. Teacher's Tip: Keep these lines loose and bouncy to make the monster look friendly rather than sharp.
Step 2: Defining the Body

Draw the main body using two long, rounded lines. Inside this shape, add a smaller belly area using a series of connected, bumpy curved lines to give it a soft, furry texture. Teacher's Tip: Imagine you are drawing a fluffy cloud shape for the tummy.
Step 3: Drawing the First Toe

Use curved lines to outline the first toe at the bottom of the body. Add a small, rounded triangle at the tip for the claw. Teacher's Tip: Make the claw look like a tiny shark tooth!
Step 4: Adding More Toes

Continue adding toes by drawing overlapping curved lines next to the first one. Don't forget to add the triangular claw to each new toe. Teacher's Tip: Overlapping lines create depth, making your monster look more 3D.
Step 5: Finishing the Feet
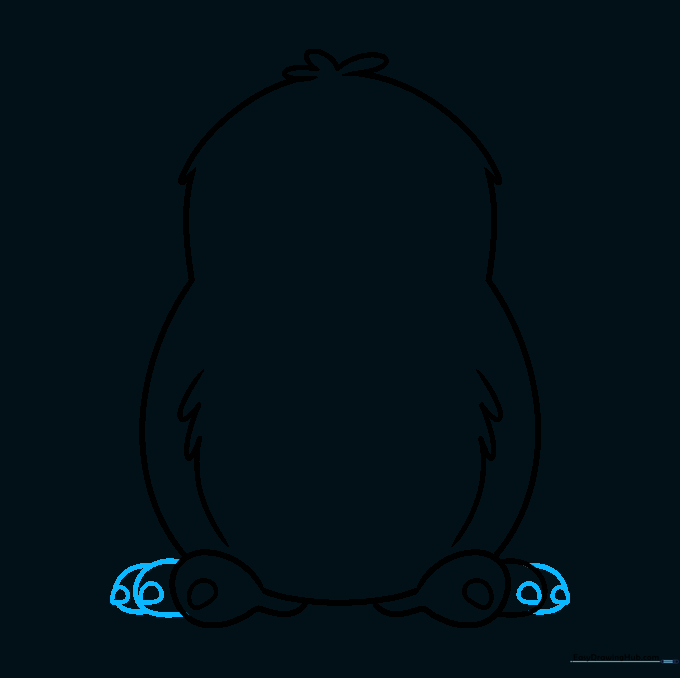
Complete the feet by adding a third toe on each side. Ensure each toe has its own claw. Teacher's Tip: Check that your toes are roughly the same size so the monster looks balanced.
Step 6: Expressive Eyes
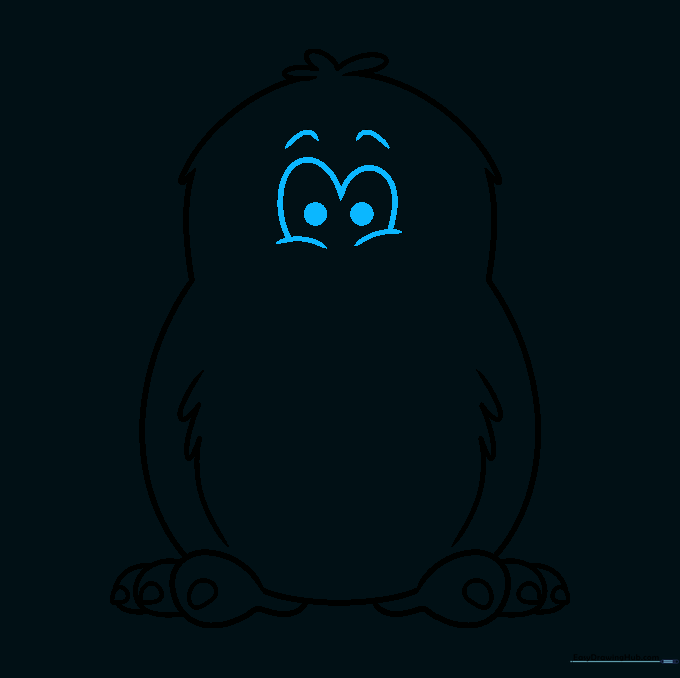
Draw two large, rounded 'M' shapes for the eyes. Add small circles inside for pupils and curved lines above for eyebrows. Teacher's Tip: Changing the angle of the eyebrows can make your monster look surprised, angry, or happy!
Step 7: Mouth and Teeth
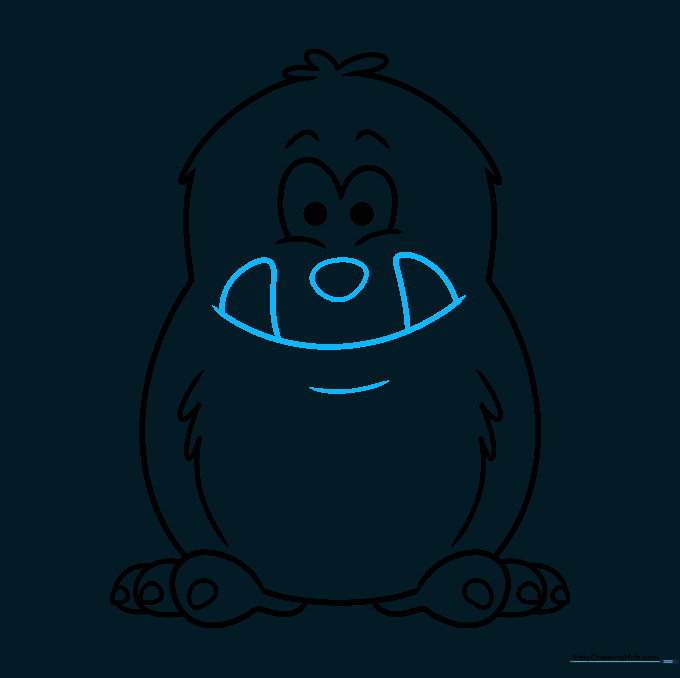
Draw a wide 'U' shape for a big, friendly smile. Add a small nose above it and sharp, triangular teeth inside the mouth. Teacher's Tip: Make the teeth different sizes to give your monster a silly, goofy personality.
Step 8: Adding Horns
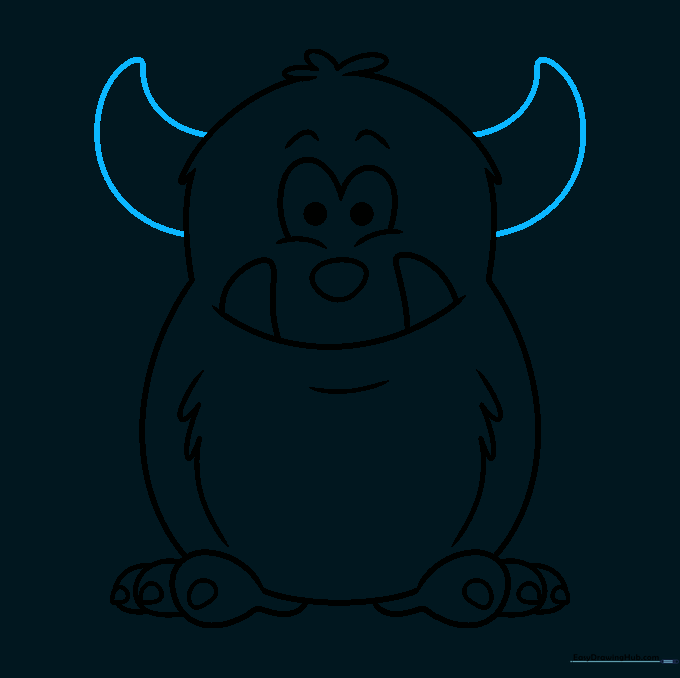
Draw two rounded triangles on the top sides of the head to create horns. Teacher's Tip: You can make these horns curly, straight, or even zig-zagged to customize your monster.
Step 9: Drawing the Arms
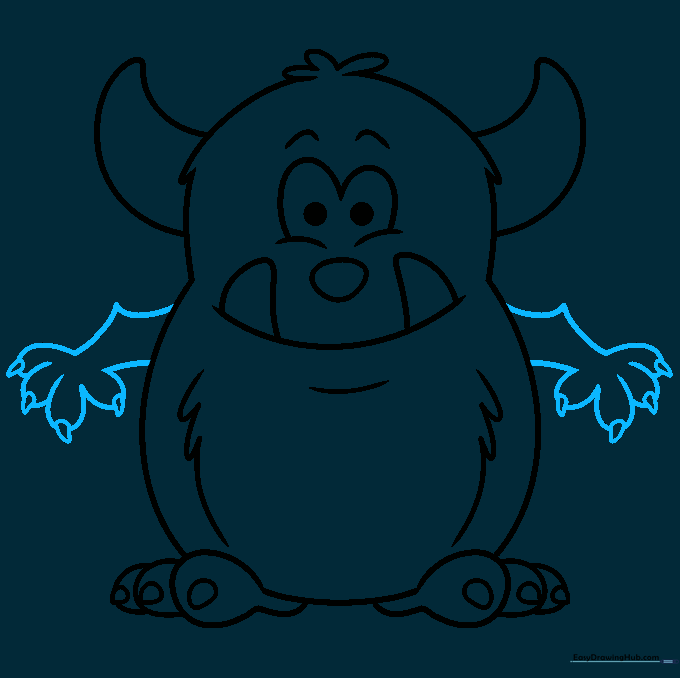
Add arms on either side of the body using curved lines. Add small fingers with triangular claws at the ends. Teacher's Tip: Draw the elbows with a slight point to show the arm is bending.
Step 10: Bring Your Monster to Life with Color
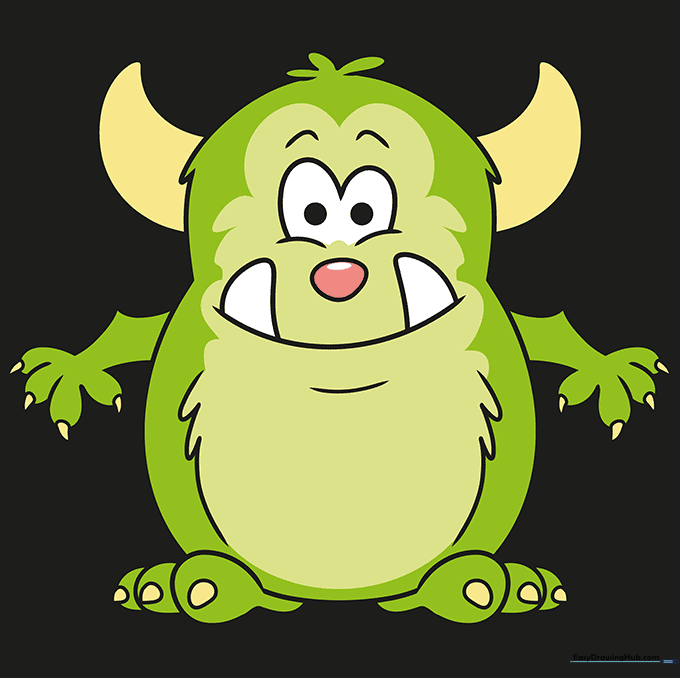
Time to color! Use bright, bold colors to make your monster pop. Since this is an imaginary creature, there are no wrong color choices. Teacher's Tip: Try using two shades of the same color to add shadows and depth to the fur.
More Tutorials


