How to Draw a Cute Girl Superhero: Easy 10-Step Guide
Ready to create your own hero? This tutorial is perfect for young artists ages 7+ looking to master character design. All you need is a pencil, an eraser, and your favorite markers to bring this caped crusader to life.
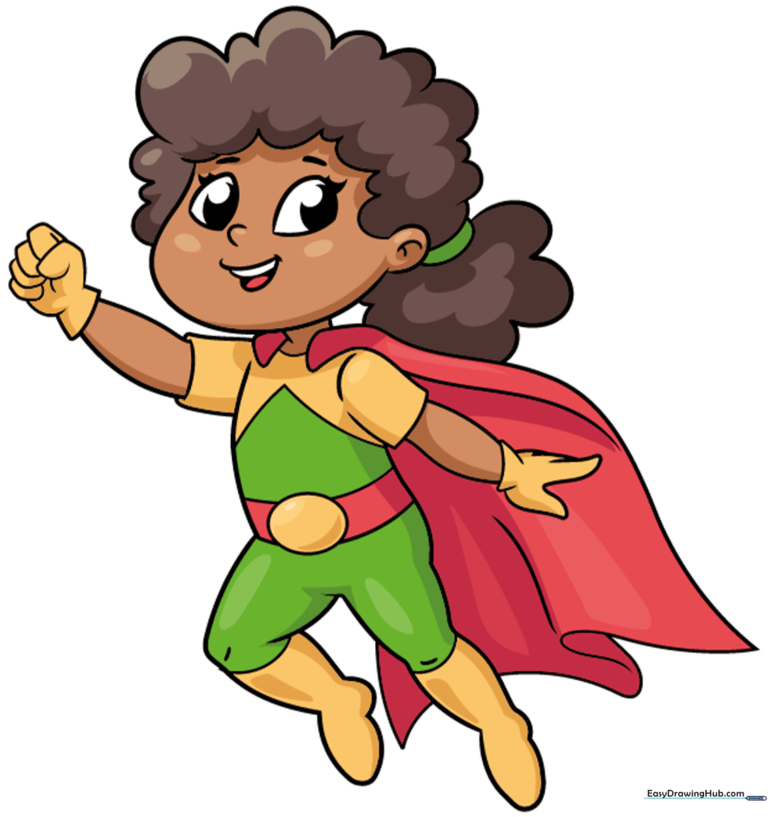
🎯 Final Result
Step-by-Step Instructions
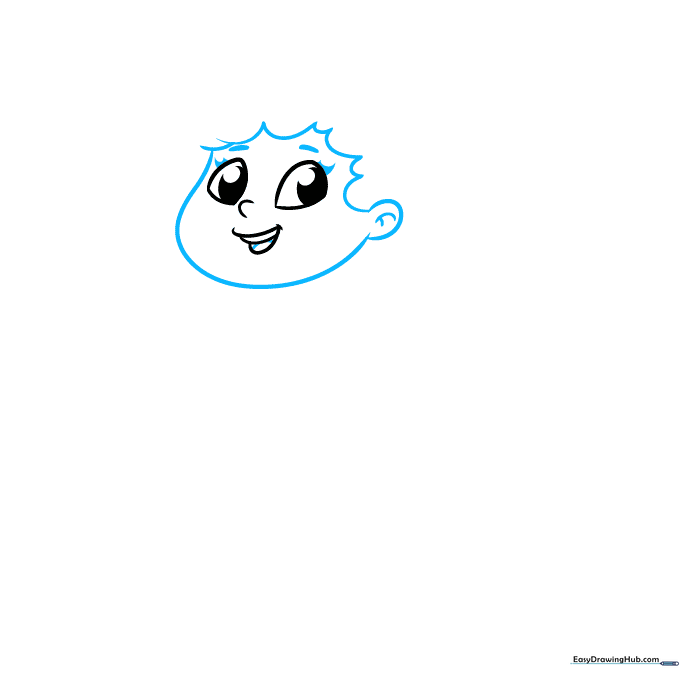
Step 1: Sketching the Expressive Face

Start by drawing the cartoon face. Use gentle curved lines for the eyes, nose, and a wide, happy smile. Tip: Draw the pupils as ovals within ovals; keeping the lines light makes it much easier to fix mistakes later!
Step 2: Defining the Hair and Brows
Add the face shape, ears, and hair. Draw short, arched lines for eyebrows and tiny triangles at the corners of the eyes for lashes. Tip: Keep your pencil pressure light to create soft, natural-looking hair flow.
Step 3: Adding Hair Volume and Cape Base
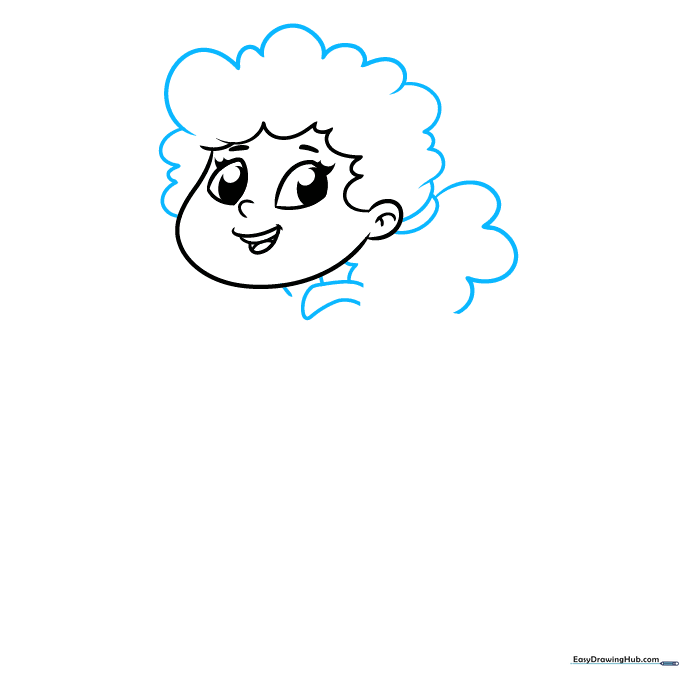
Continue the curly hair, add a hairband, and sketch the neck and the first side of the cape. Tip: Use fluid, sweeping motions for the hair to give it a sense of movement.
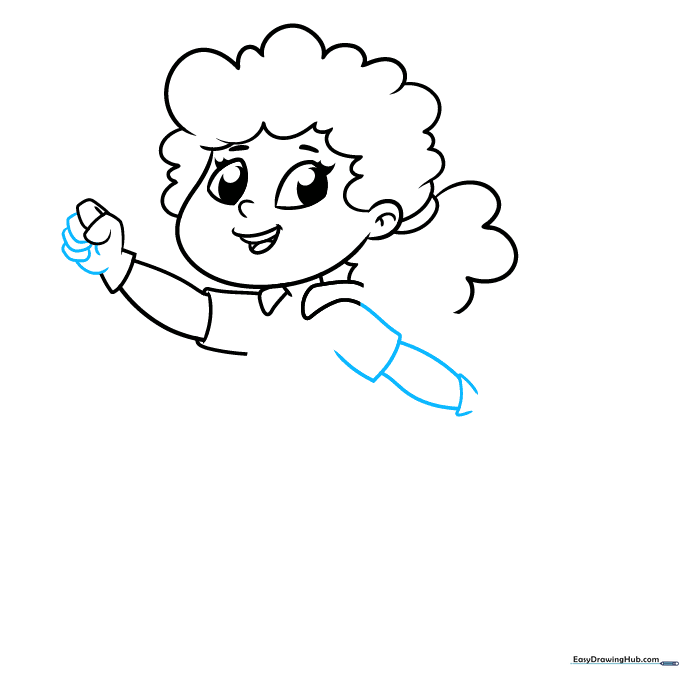
Step 4: Sketching the Cape and Arm
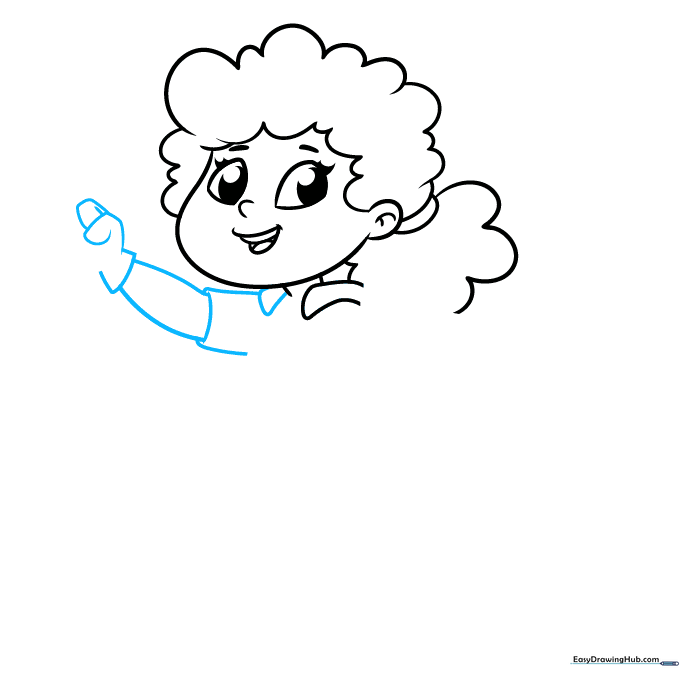
Draw a V-shaped line for the other side of the cape. Sketch the sleeve, arm, and glove. Tip: Imagine the arm is reaching out to fly; keep the lines smooth to show action.
Step 5: Drawing the Heroic Hand
Draw the curled fingers of the gloved hand using overlapping curved lines. Add the sleeve and glove cuff. Tip: Overlapping lines are the secret to making hands look 3D instead of flat!
Step 6: Adding the Belt and Torso
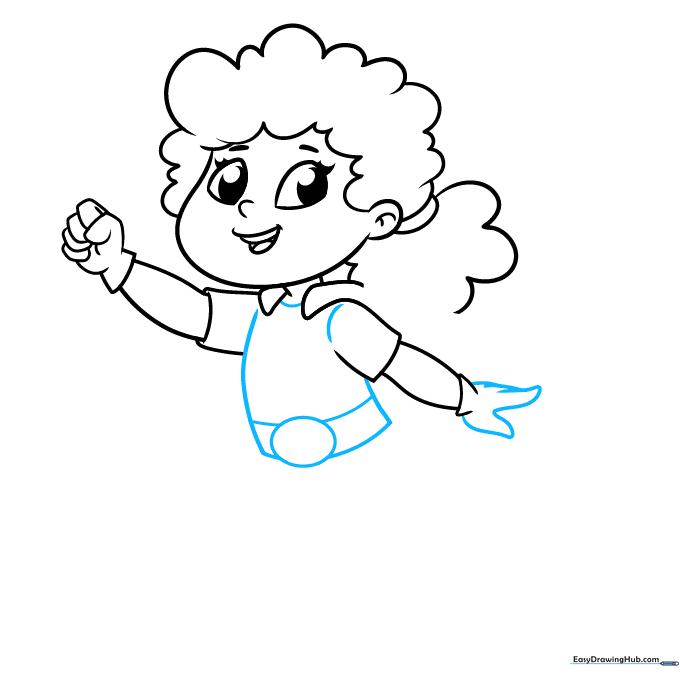
Complete the hand, then draw an oval buckle and a rectangular belt. Finish the torso and shirt neck. Tip: Make sure the belt sits at the waist to give your character a balanced superhero silhouette.
Step 7: Sketching the Legs
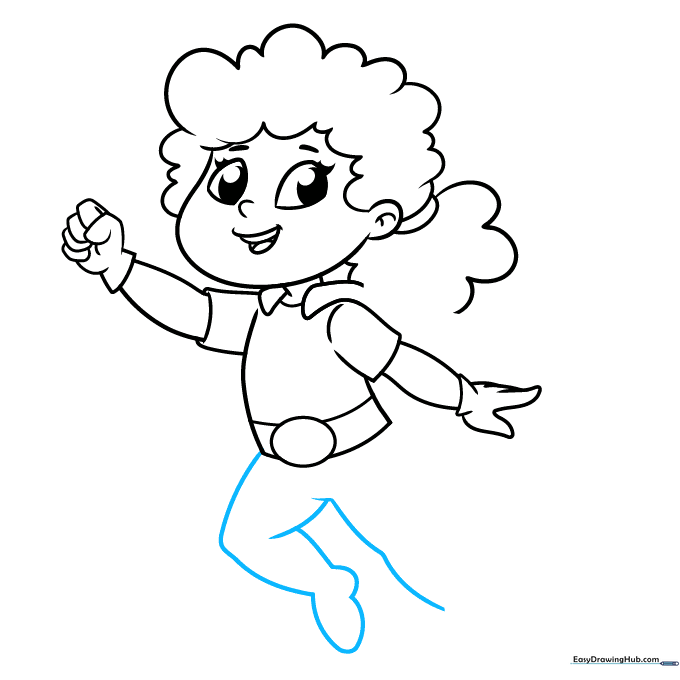
Use long, sweeping curved lines to draw the legs, bent as if she is flying through the air. Tip: Keep the lines long and continuous to suggest speed and motion.
Step 8: Adding Boot and Cape Details
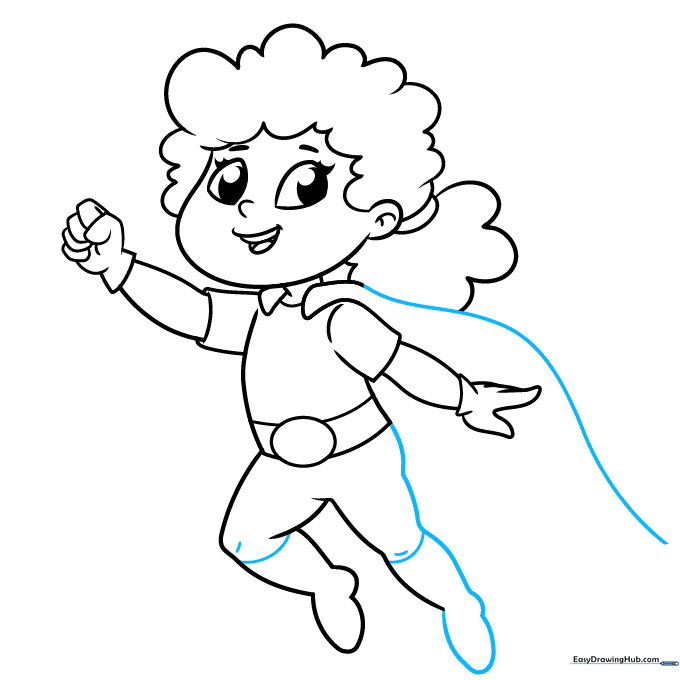
Finish the legs, adding lines for boot tops and knees. Extend the cape from the shoulder. Tip: Use shorter lines for the knees to show contour and depth.
Step 9: Finalizing the Cape
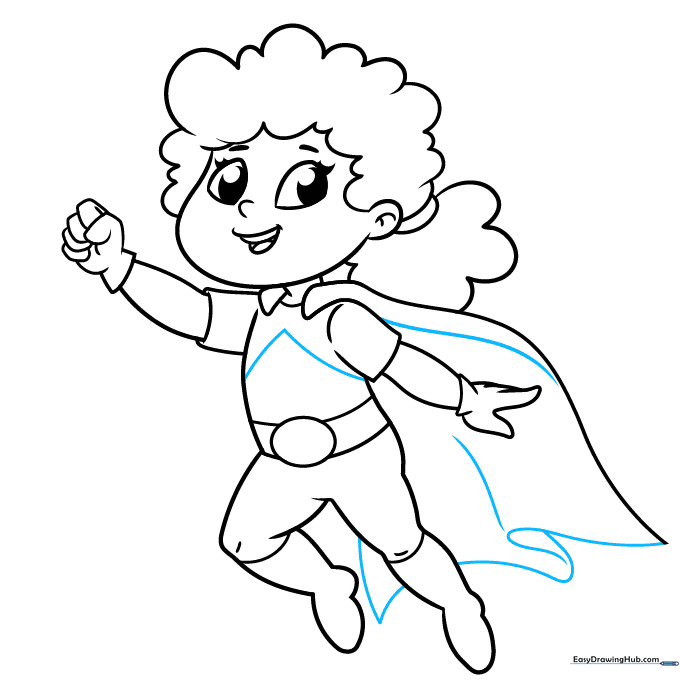
Complete the cape with long, overlapping lines to show folds and movement. Add a V-shape on the chest for the emblem. Tip: The overlapping lines create shadows, making the cape look like it's blowing in the wind!
Step 10: Bringing Your Hero to Life with Color
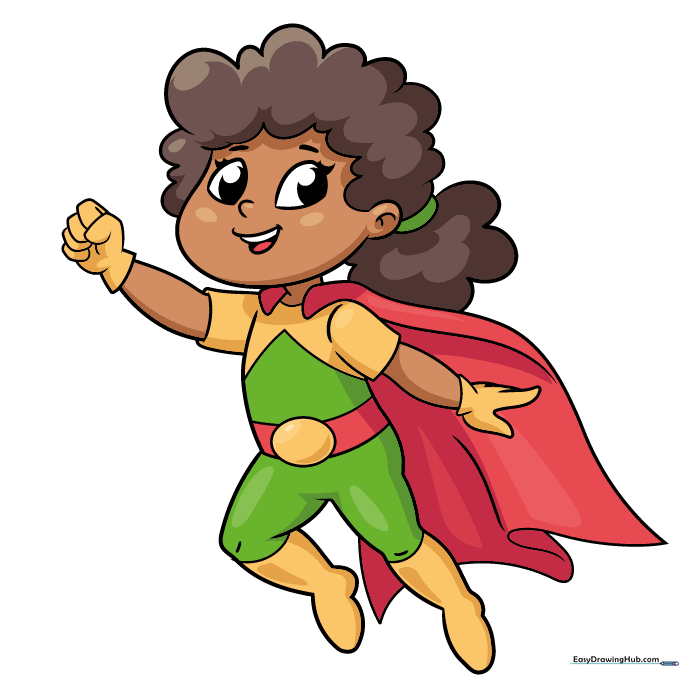
Your outline is ready! Use bold colors like red, blue, and yellow to give her a classic superhero look. Tip: Try coloring in one direction to keep your work looking neat and professional.
More Tutorials


