How to Draw a Cute Bird: Easy Step-by-Step Guide
Looking for a fun, screen-free activity? This tutorial is perfect for children ages 5 and up to practice basic shapes and line control. Grab a pencil, an eraser, and a piece of paper to follow along as we bring this cheerful singing bird to life.
🎯 Final Result

Step-by-Step Instructions
Step 1: Sketching the Head and Beak

Draw a long, smooth 'C' shape to form the back of the bird's head and body. Next, add two small ovals for the eyes and a 'U' shape for the beak. Teacher's Tip: Keep your pencil pressure light so you can easily adjust the beak size if it looks a bit off-center.
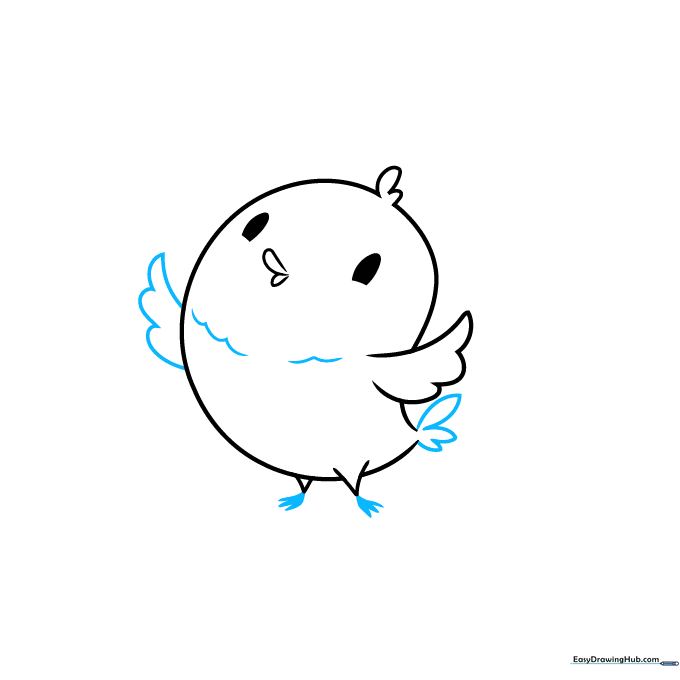
Step 2: Adding Feathers and Wing

Add a small tuft of feathers on the head using two connected curves. Below, sketch the wing using one long curve and three 'U' shapes for the tips. Teacher's Tip: Think of the wing as a rounded triangle; this helps keep the proportions balanced against the body.
Step 3: Drawing the Tail and Feet
Sketch the tail feathers using two curved lines meeting at a point. Add the three-toed feet at the bottom of the 'V' leg lines. Teacher's Tip: When drawing the feet, make the middle toe slightly longer than the others to give the bird a natural, grounded look.
Step 4: Adding Belly Texture and Branch
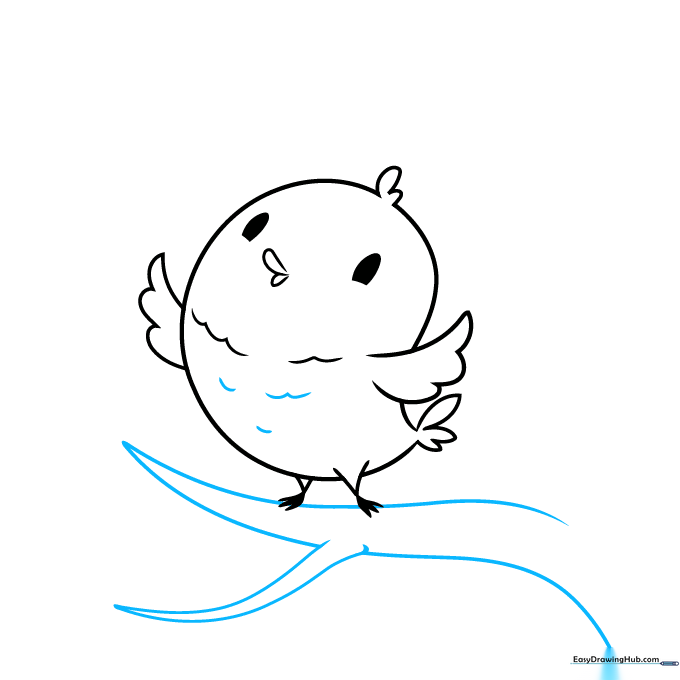
Add soft, curved lines to the belly to suggest fluffy feathers. Then, draw a 'Y' shaped branch underneath for the bird to perch on. Teacher's Tip: Vary the length of your belly lines to make the bird look soft and textured rather than flat.
Step 5: Detailing the Branch
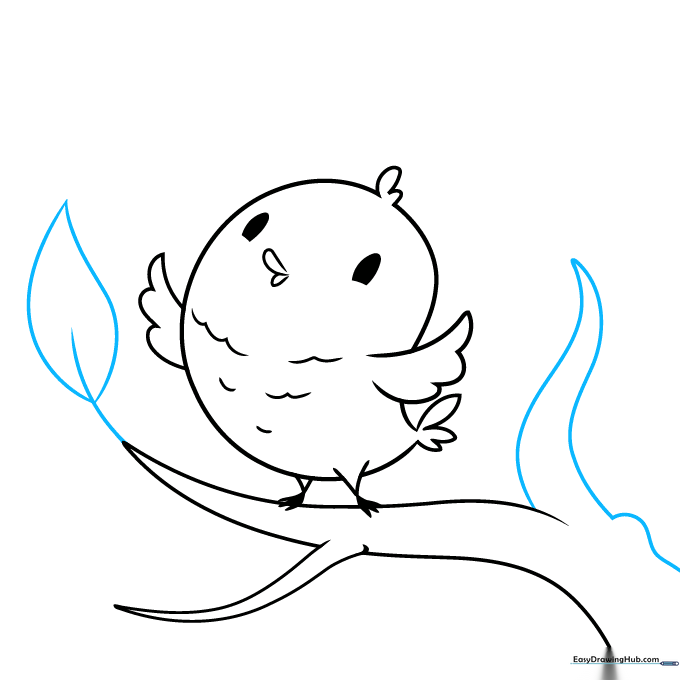
Draw a second branch with a small knot at the base. Add a leaf at the tip using a simple stem and two curved lines. Teacher's Tip: Tree knots aren't perfect circles; make them slightly irregular to look more like real wood.
Step 6: Adding More Leaves
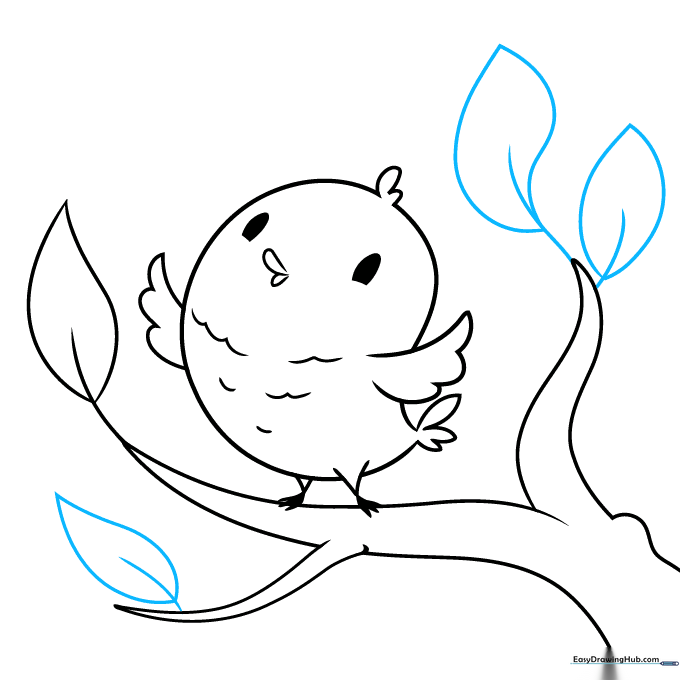
Draw additional leaves along the branches. Use a central stem line and two curved lines that meet at a sharp point for the leaf edges. Teacher's Tip: Try drawing leaves at different angles to make the branch look fuller and more natural.
Step 7: Finalizing the Foliage
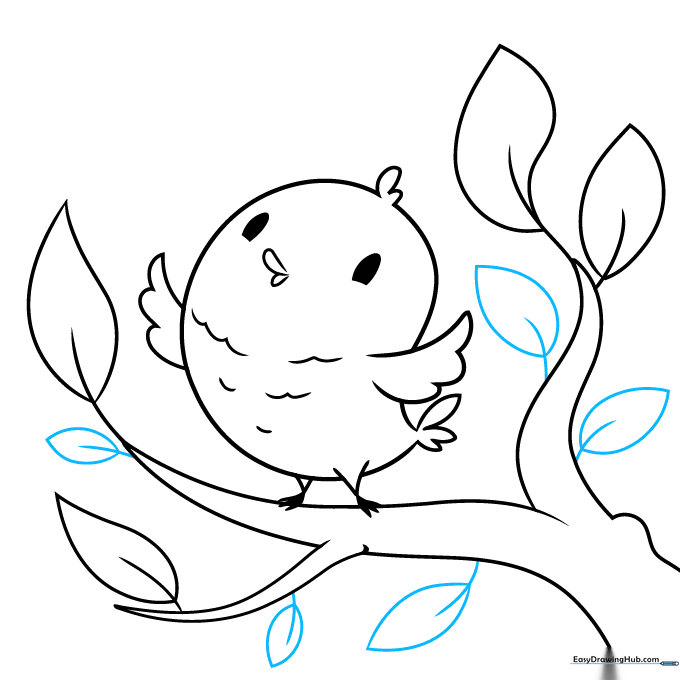
Add a few more leaves to fill in any empty spaces on the branches. Keep your lines confident and smooth. Teacher's Tip: If you make a mistake, don't worry! Use your eraser to lift the graphite gently before redrawing.
Step 8: Adding Musical Notes
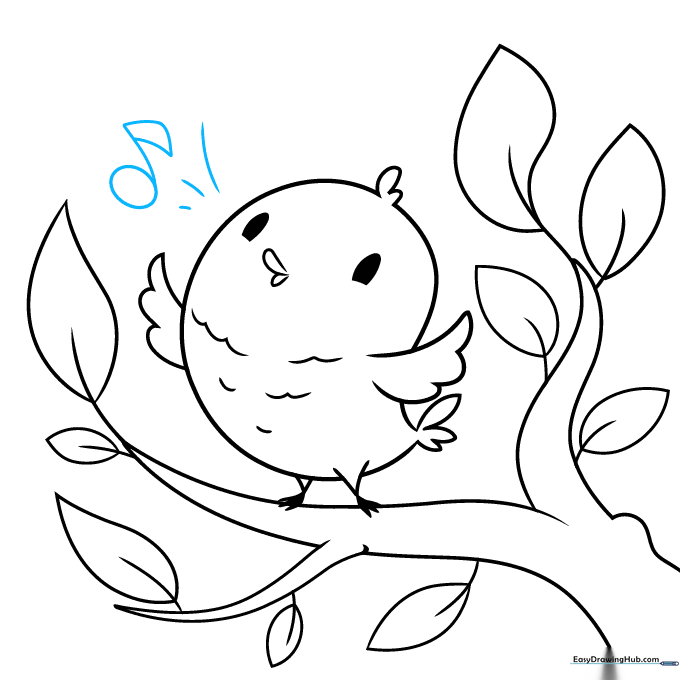
To show the bird is singing, draw three curved lines above its head. Add a musical note by drawing a circle with a stem and a small rectangular flag. Teacher's Tip: Musical notes are just shapes—break them down into a circle and a line to make them easy to draw.
Step 9: Completing the Music
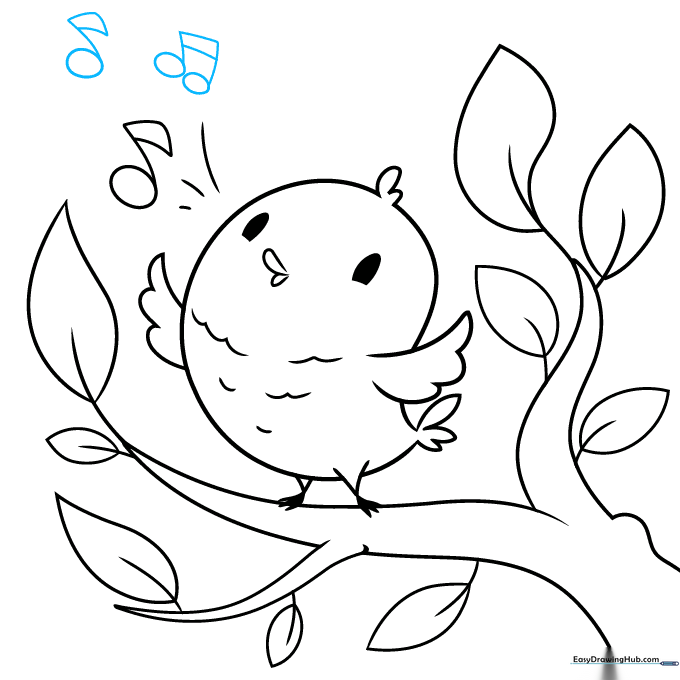
Add two more musical notes to finish the scene. Use a rectangle to connect two stems for a double note. Teacher's Tip: Ensure the notes are spaced out so they don't look cluttered.
Step 10: Bring Your Bird to Life with Color

Your outline is complete! Now, grab your favorite markers or colored pencils. We used pink, but feel free to experiment with bright blues, yellows, or greens. Teacher's Tip: Use a darker shade of your main color to add a little shadow under the wing for a 3D effect.
More Tutorials


