How to Draw a Cute Cupcake: Easy 10-Step Guide
This step-by-step guide is perfect for young artists ages 5 and up looking to practice basic shapes. All you need is a pencil, an eraser, and your favorite markers or crayons. By the end, you will have created your very own adorable cupcake character with a friendly face and colorful sprinkles.
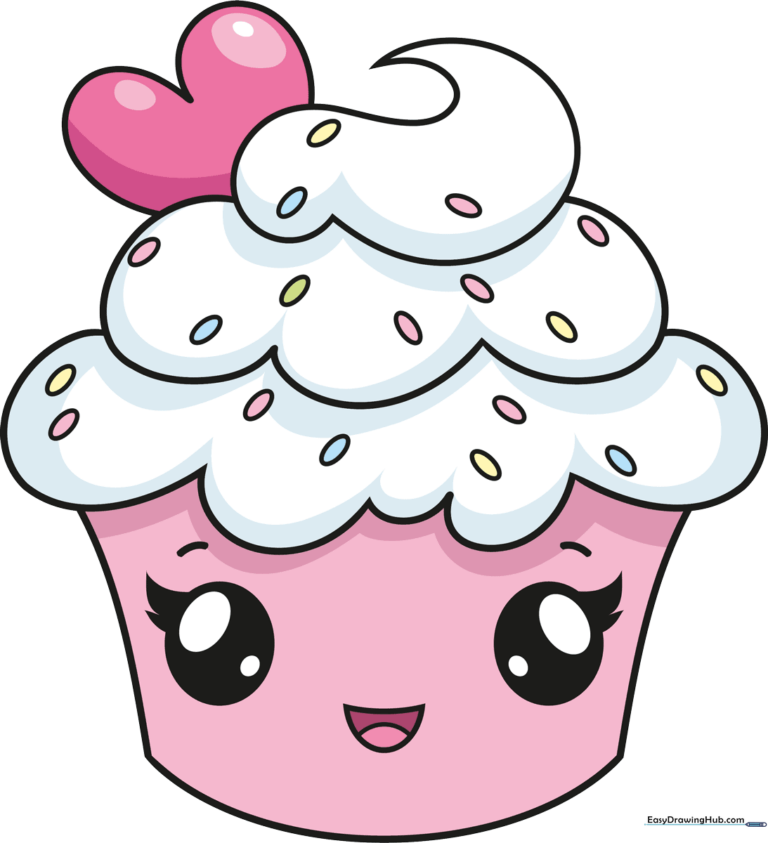
🎯 Final Result
Step-by-Step Instructions
Step 1: Sketching the Cupcake Wrapper
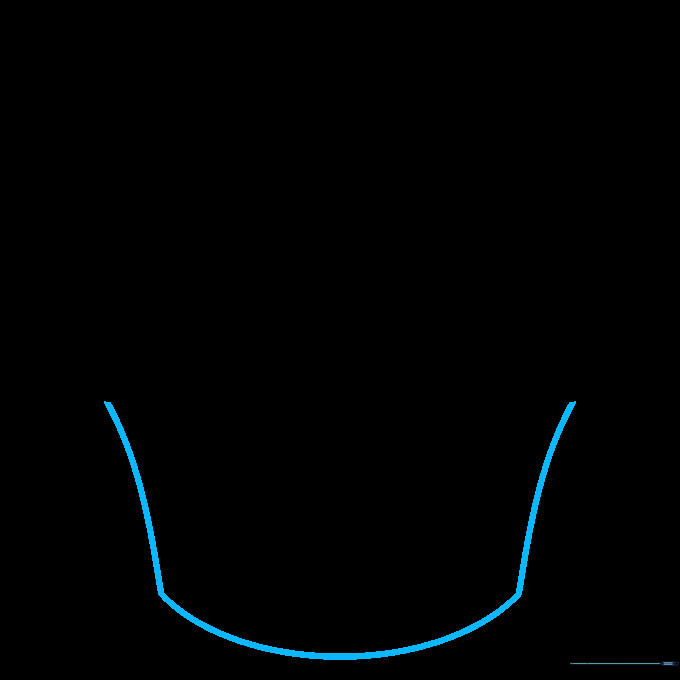
Draw the base of the wrapper using three connected curved lines to form a trapezoid shape. Teacher's Tip: Keep your pencil lines light so you can easily adjust the width if it looks a bit lopsided.
Step 2: Starting the Icing
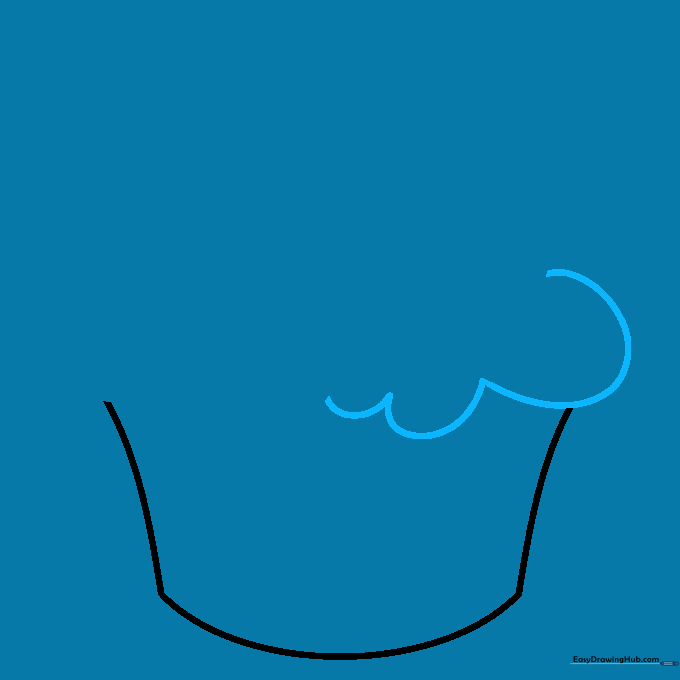
Begin the icing by drawing a series of connected 'U' shapes across the top of the wrapper. Teacher's Tip: Vary the size of the 'U's to make the frosting look fluffy and realistic.
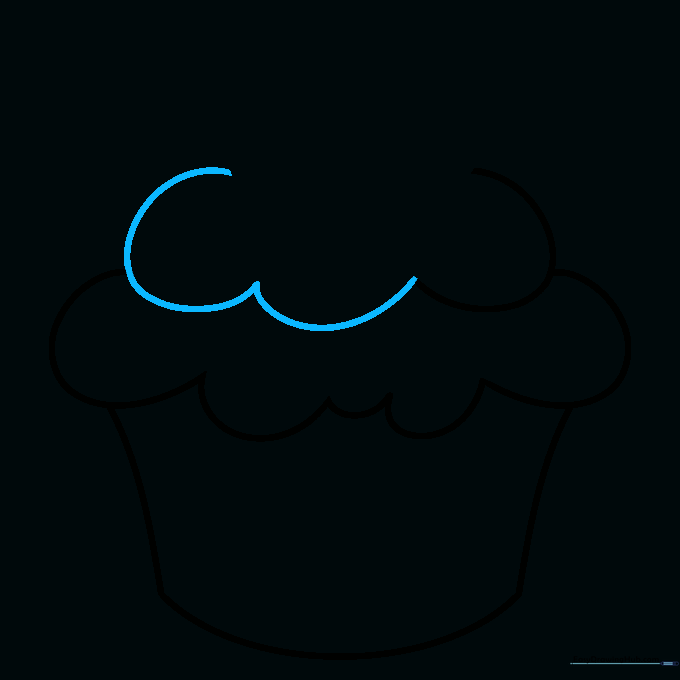
Step 3: Building the Frosting Layers
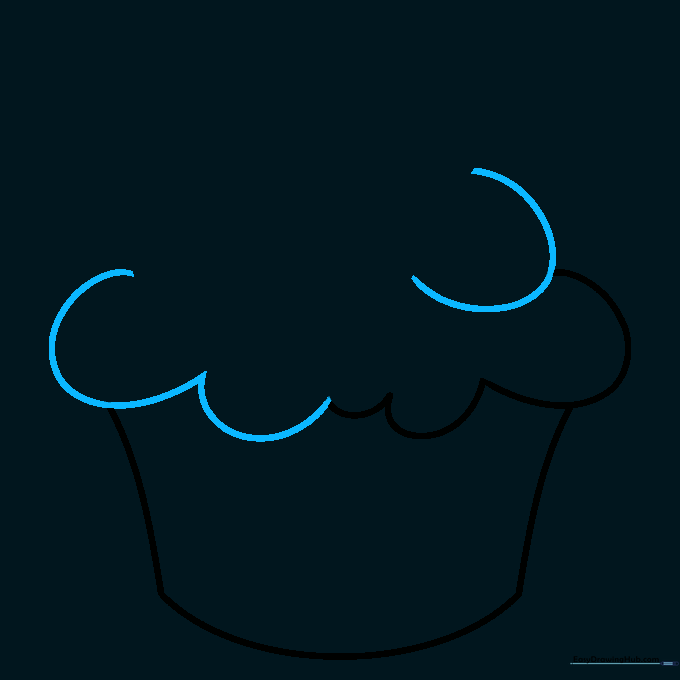
Continue adding layers of icing by drawing another row of 'U' shapes slightly above the first. Teacher's Tip: Imagine you are stacking pillows; keep the curves rounded and soft.
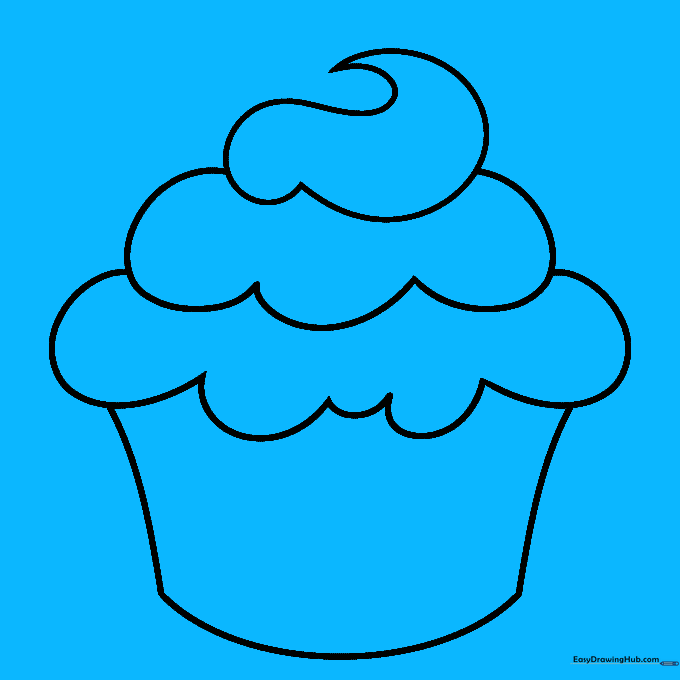
Step 4: Adding Volume
Add a third, smaller row of 'U' shapes to give the frosting height. Teacher's Tip: Don't worry if they aren't perfect; frosting is naturally bumpy and uneven!
Step 5: The Icing Swirl
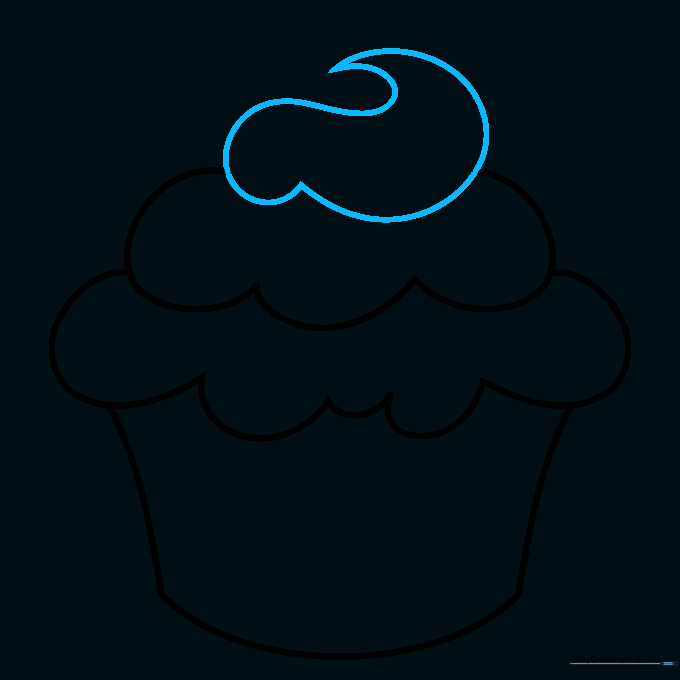
Draw a small spiral at the very top to finish the icing peak. Teacher's Tip: Start from the center and curve outward to get that perfect 'soft serve' look.
Step 6: Adding a Heart Topper
Draw a small heart shape near the top of the icing. Teacher's Tip: If a heart is too tricky, you can draw a small circle to represent a cherry instead!
Step 7: Drawing the Eyes
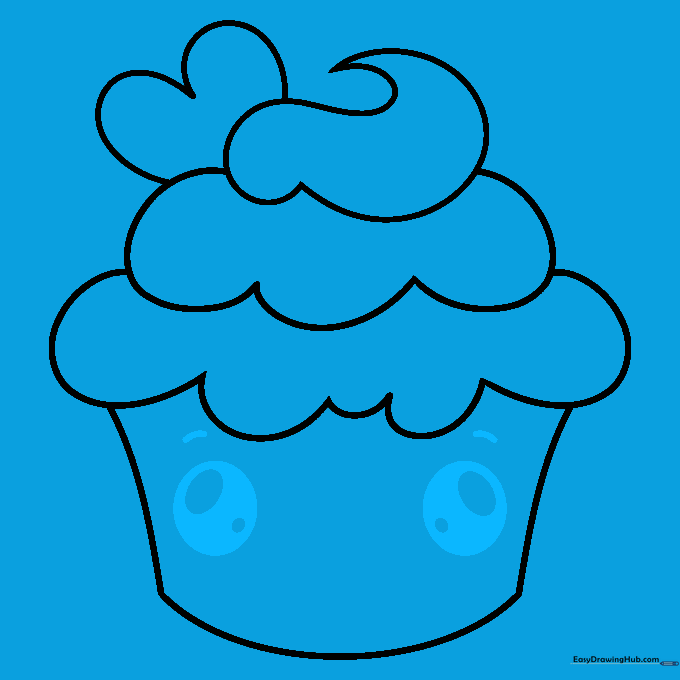
Draw two large circles for the eyes, with smaller ovals inside for pupils. Shade the space between the shapes. Teacher's Tip: Make sure the eyes are level so your cupcake looks balanced.
Step 8: Adding Eyelashes and Mouth
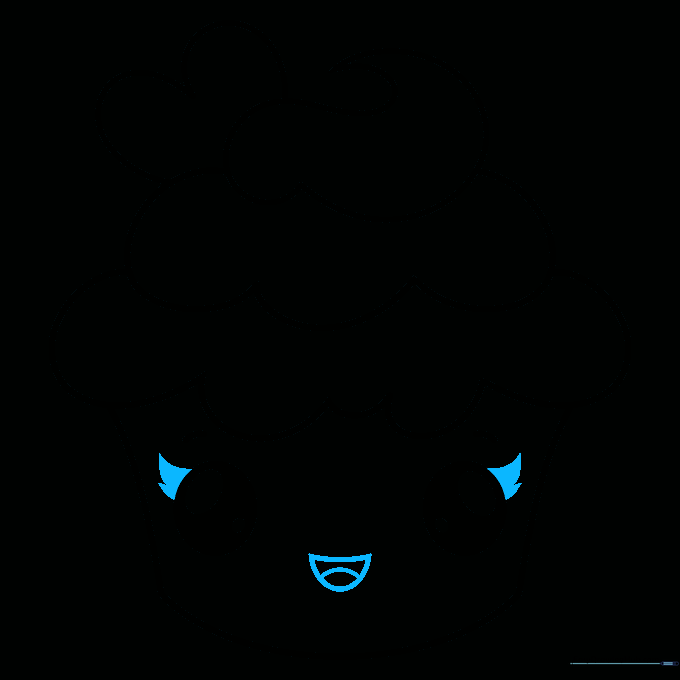
Add small curved triangles for eyelashes and a happy, open mouth with a tongue. Teacher's Tip: Keep the mouth lines simple to maintain that 'kawaii' or cute aesthetic.
Step 9: Adding Sprinkles
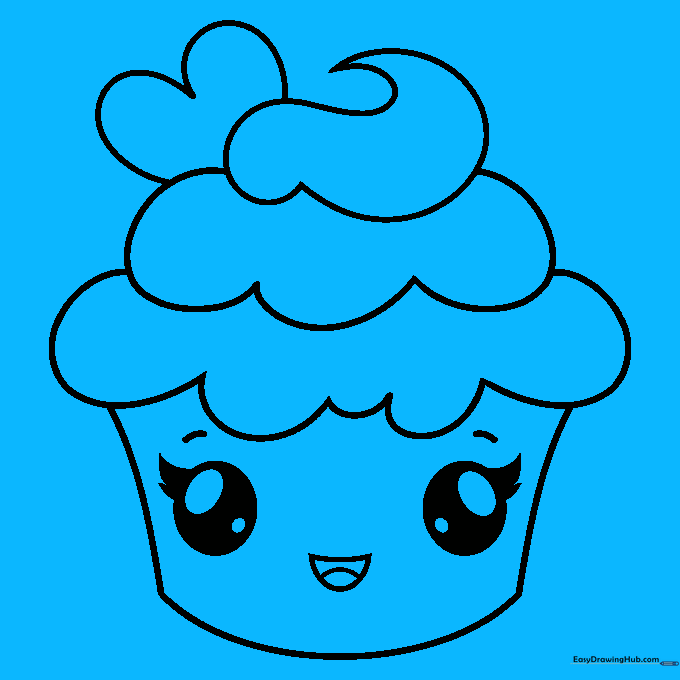
Fill the icing with small ovals to represent sprinkles. Teacher's Tip: Use different angles for the sprinkles to make them look like they are scattered randomly.
Step 10: Bring It to Life with Color
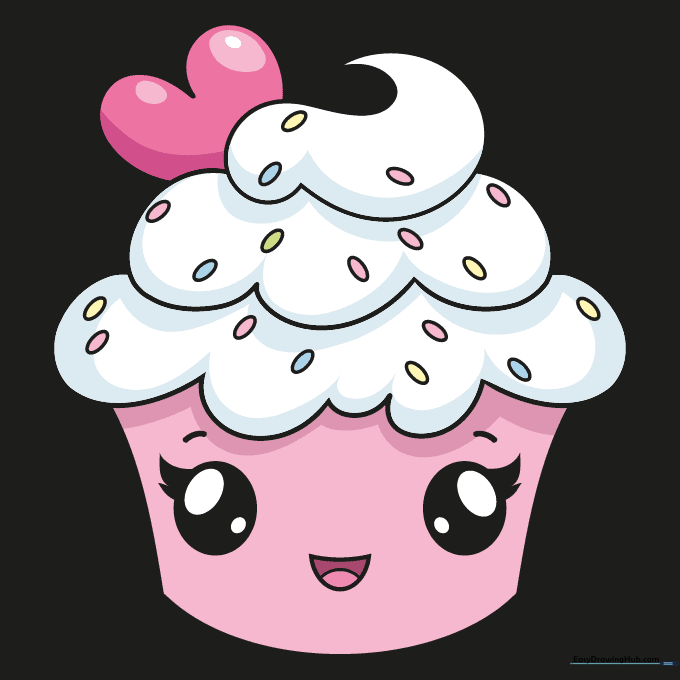
Time to color! Use bright pinks for the frosting and your favorite colors for the wrapper. Teacher's Tip: Try using a darker shade of the same color to add a little shadow on one side for a 3D effect.
More Tutorials


