How to Draw a Cute Chibi Pikachu: Easy 10-Step Guide
Ready to bring your favorite electric-type Pokémon to life? This tutorial is perfect for artists ages 5 and up. Grab a pencil, an eraser, and some paper to practice these simple shapes and build your character-drawing confidence.
🎯 Final Result

Step-by-Step Instructions
Step 1: Sketching the Expressive Eyes

Draw two circles for the eyes. Add two smaller circles inside each for highlights, then shade the rest of the eye dark. Tip: Keep your pencil light so you can easily adjust the spacing if needed.
Step 2: Defining the Cheek and Ear

Add a small loop under the mouth. On the right, draw a large, swooping curve that ends in a sharp point to form the base of the ear. Tip: Use a fluid motion to keep the curve looking smooth and organic.
Step 3: Forming the Head Dome

Draw a horizontal curve across the top to create a dome shape for the head. Add a large almond shape for the right ear. Tip: Make the ear slightly tilted to give your Pikachu a curious expression.
Step 4: Sketching the Small Arms
Draw a lightly curved line, then add three small bumps to represent the fingers. Sketch a line pointing upward to define the arm. Tip: Keep the fingers small and rounded to maintain that cute 'chibi' style.
Step 5: Adding the Legs
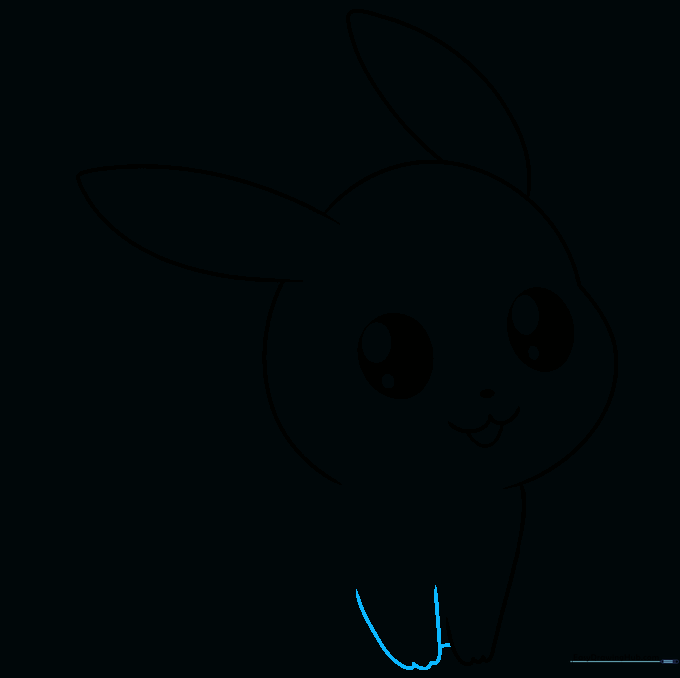
Draw a similar shape for the left leg, then add a short line connecting the two. Tip: Ensure the legs are proportional to the body so the character looks balanced.
Step 6: Outlining the Body
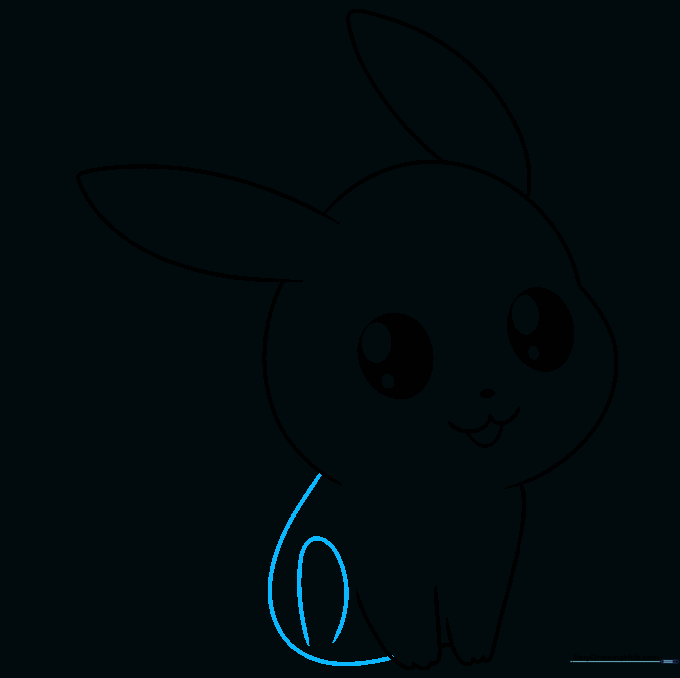
Make a wide loop for the left side of the body, then add another loop inside to define the belly. Tip: Use a light touch; you can darken these lines once you are happy with the shape.
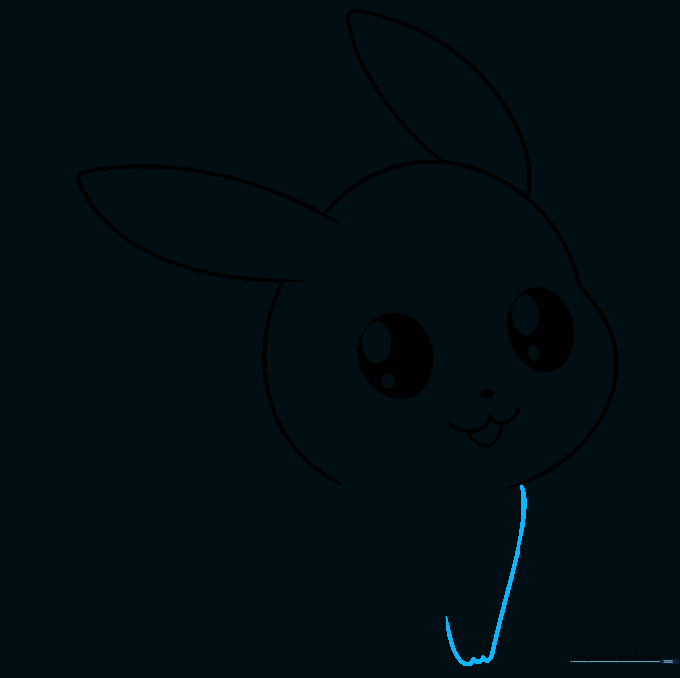
Step 7: Drawing the Tail Base
Draw a zigzag line on the left. On the right, start with a curved V-shape, then swoop down and connect it to the body. Tip: The zigzag is iconic to Pikachu—take your time to make the angles sharp.
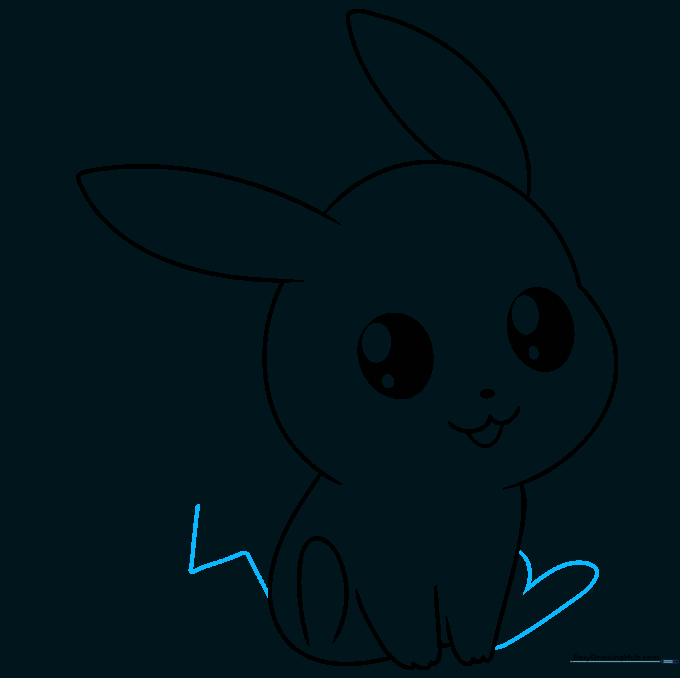
Step 8: Completing the Lightning Tail
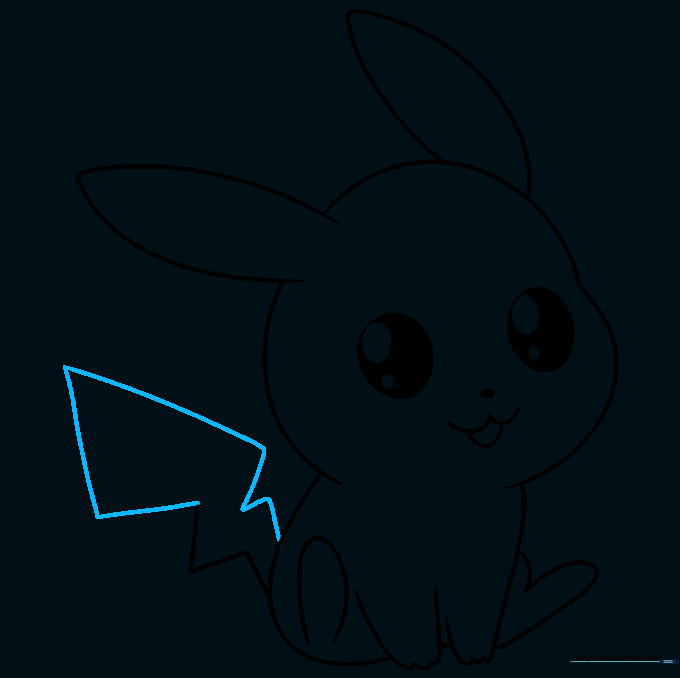
Use straight lines to finish the tail. Start with an L-shape, add a downward line, then a V-shape to connect it to the body. Tip: Use a ruler if you struggle with straight lines, but freehand adds more character!
Step 9: Adding Final Facial Details
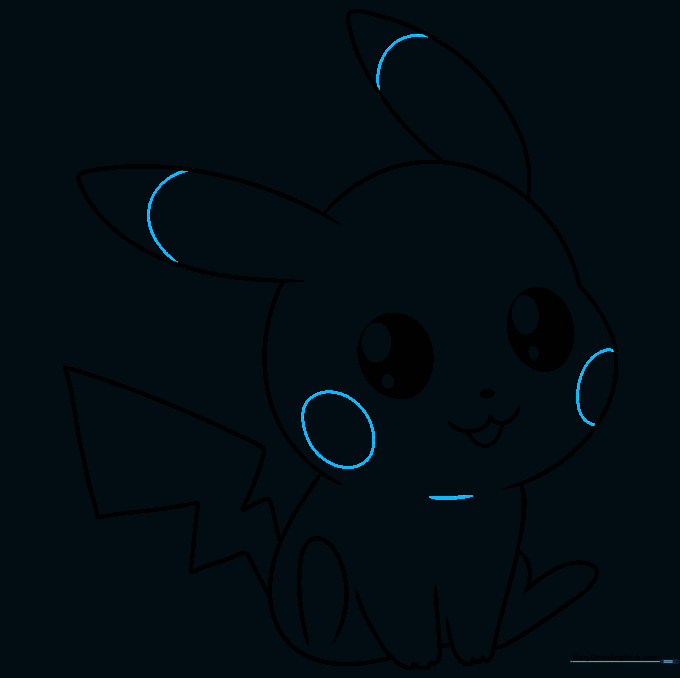
Draw two angled circles for the cheeks. Sketch curved lines near the top of the ears, and add a small line for the chin. Tip: The cheek circles are key to the 'chibi' look—keep them nice and round.
Step 10: Final Outline and Coloring

Outline your drawing in black. Color the body yellow, the eyes/nose/ear-tips black, and the cheeks red. Tip: Use a darker yellow to add subtle shading along the edges for a professional, 3D finish!
More Tutorials


