How to Draw a Cute Caterpillar: Easy 10-Step Guide
Looking for a fun, screen-free activity? This step-by-step guide is perfect for young artists ages 5 and up to practice basic shapes and line control. All you need is a pencil, an eraser, and your favorite markers or crayons to bring this friendly garden friend to life.
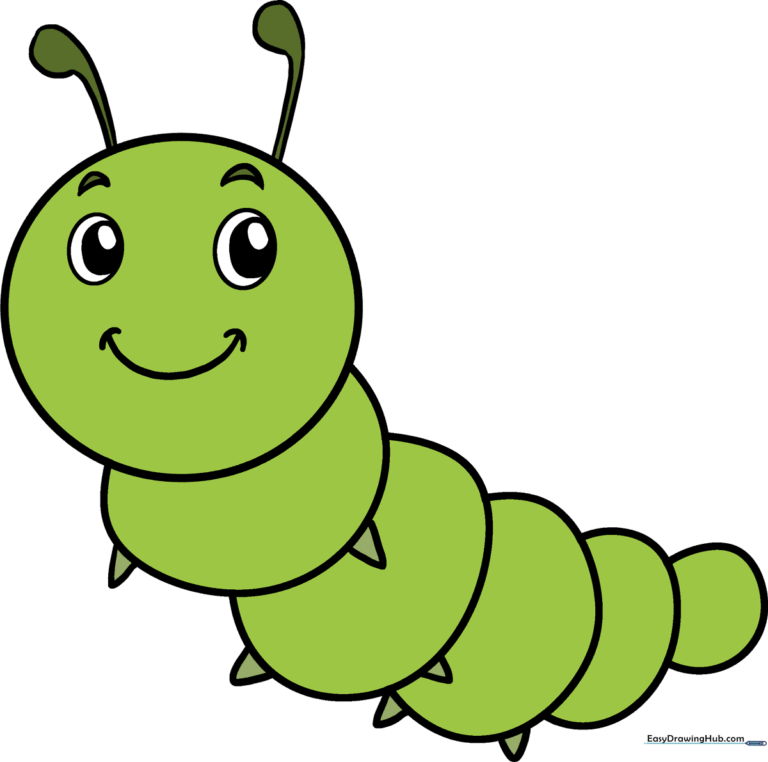
🎯 Final Result
Step-by-Step Instructions
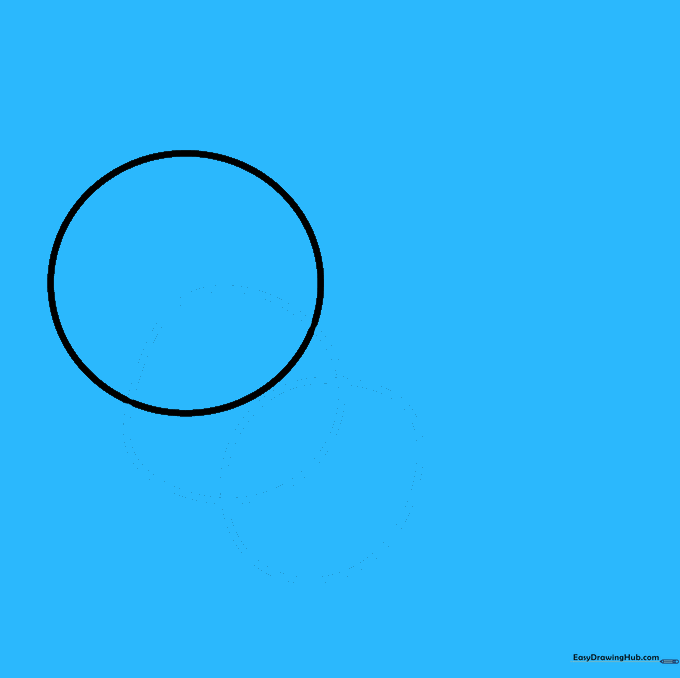
Step 1: Sketching the Head

Draw a light circle for the head. Teacher's Tip: Keep this about the size of a quarter; drawing it lightly makes it much easier to erase any overlapping lines later.
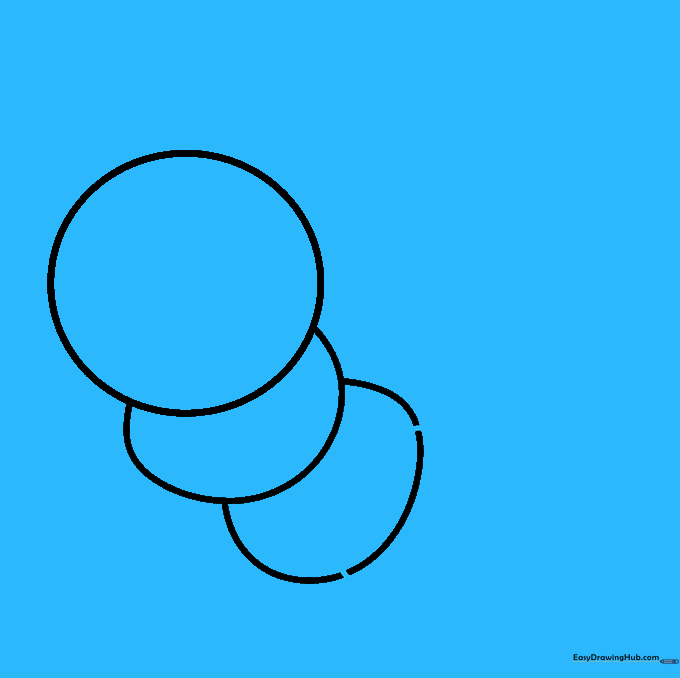
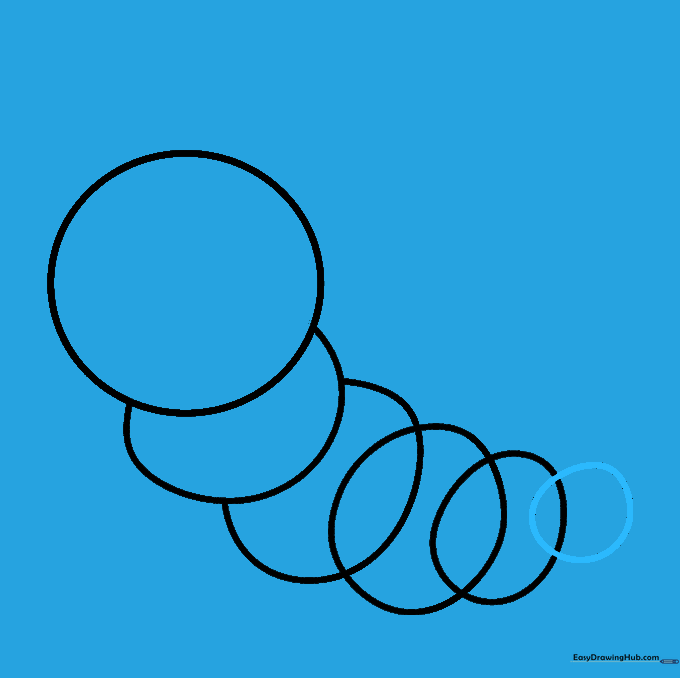
Step 2: Building the First Body Segments
Draw two overlapping, slightly irregular rounded shapes connected to the head. These form the first segments of the body. Tip: Try to make them look like bubbles touching each other.
Step 3: Cleaning the Outline

Carefully erase the interior guide lines where the circles overlap. This creates a clean, continuous outline for your caterpillar's body.
Step 4: Extending the Body
Add another circular shape overlapping the last segment. Tip: Keep the size consistent with the previous segment to make the caterpillar look natural.
Step 5: Adding More Segments
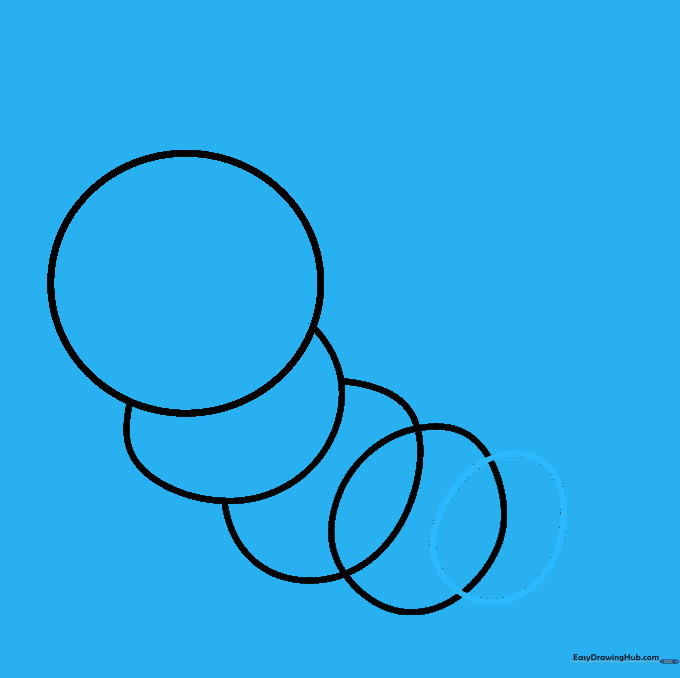
Continue the pattern by drawing another slightly smaller circular shape. This helps create a sense of perspective as the body tapers toward the tail.
Step 6: Drawing the Tail
Draw a final, much smaller circle at the end to serve as the tail. Tip: A smaller tail makes the caterpillar look extra cute and proportional.
Step 7: Finalizing the Body Outline
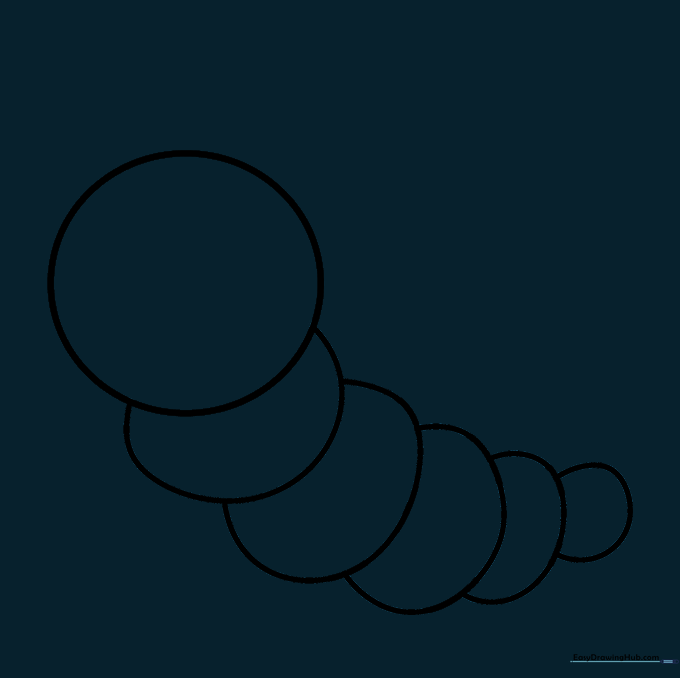
Erase all the remaining internal guide lines between the segments. You should now have a smooth, long caterpillar body shape.
Step 8: Adding Antennae and Feet
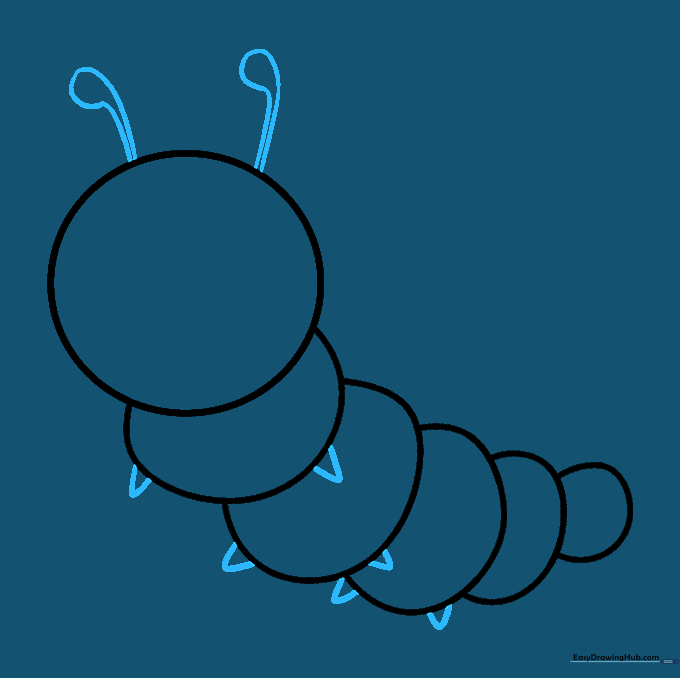
Draw two antennae on the head by curving lines upward and capping them with small circles. Add tiny triangles along the bottom segments for feet. Tip: Keep the feet small so they don't distract from the body.
Step 9: Drawing the Face
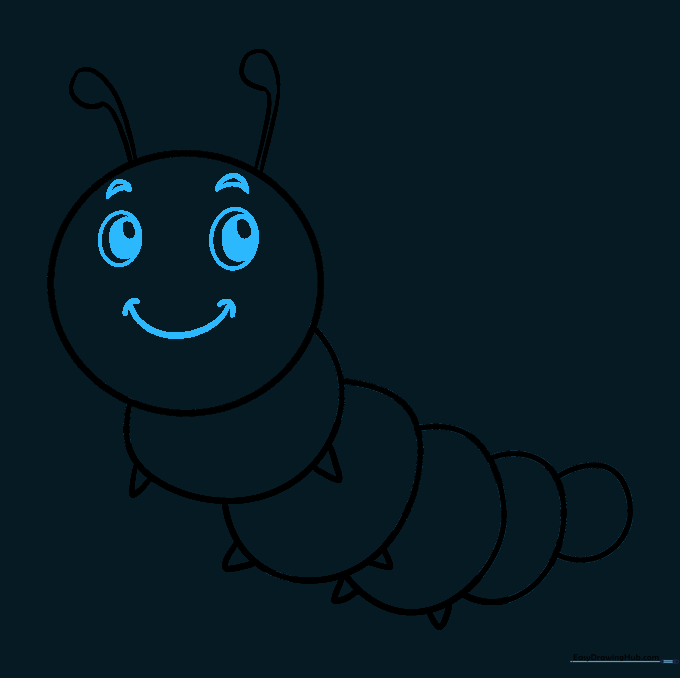
Give your caterpillar a personality! Draw a wide 'U' for a smile, two ovals for eyes with shaded pupils, and curved lines above for eyebrows. Tip: The placement of the eyes can change the caterpillar's mood—try slightly different angles to see what looks best!
Step 10: Adding Color
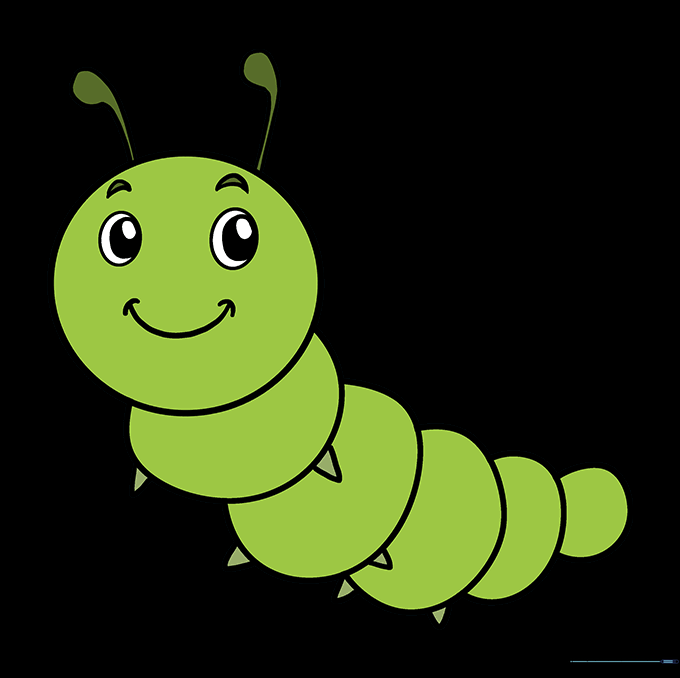
Bring your drawing to life with color! You can use bright greens for an inchworm look, or bold black and yellow stripes like a Monarch caterpillar. Tip: Use a darker shade of your main color to add a little shadow on one side of each segment for a 3D effect.
More Tutorials


