How to Draw a Cute Cartoon Penguin: Easy 10-Step Guide
This step-by-step tutorial is perfect for young artists ages 5 and up looking to draw their own adorable penguin character. You only need a pencil, an eraser, and a piece of paper to get started. Follow along to practice basic shapes and build confidence in your drawing skills.
🎯 Final Result

Step-by-Step Instructions
Step 1: Sketching the Eyes
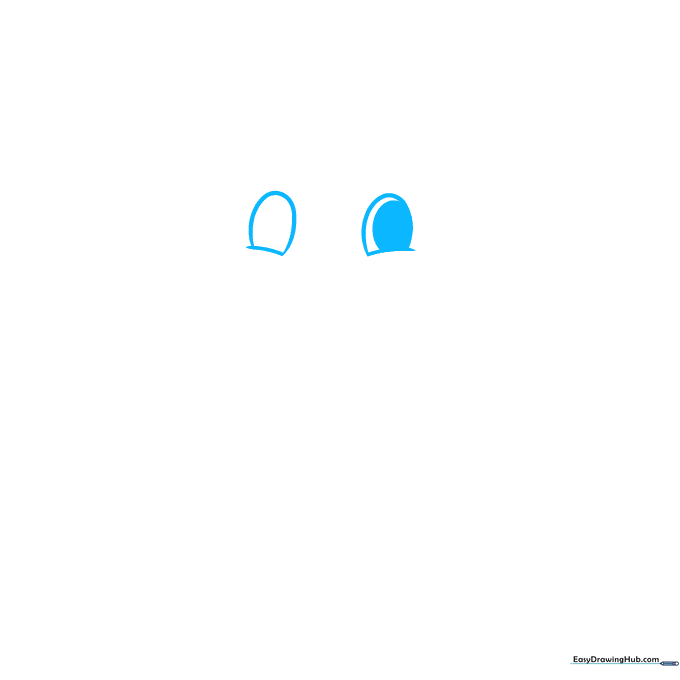
Draw two curved lines to create the oval shape of the eyes. Add small, shaded partial ovals inside for the pupils. Teacher's Tip: Keep the eyes close together to make the penguin look extra friendly and expressive.
Step 2: Adding Eyebrows and Beak
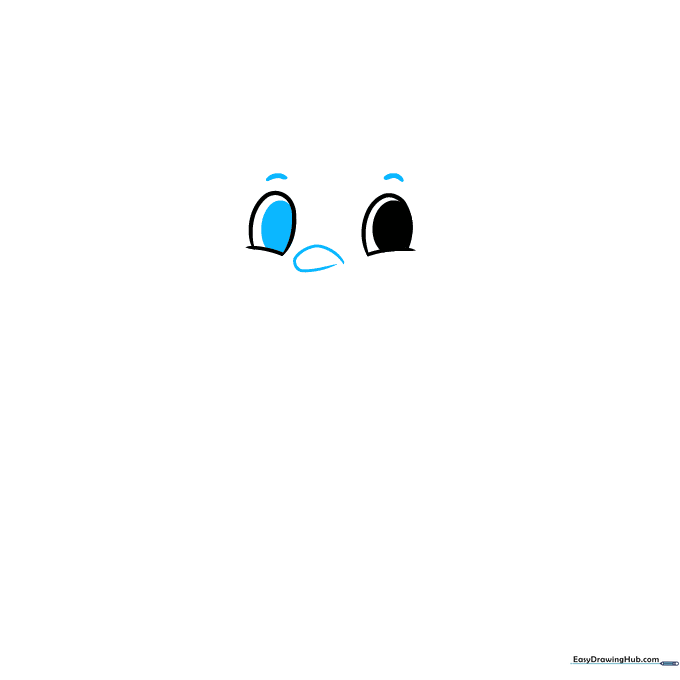
Draw two small arches above the eyes for eyebrows. Between the eyes, draw a curved line that doubles back on itself to form the top of the beak. Teacher's Tip: Don't let the beak lines touch; leaving a small gap makes it look more like a cartoon.
Step 3: Cheeks and Tongue
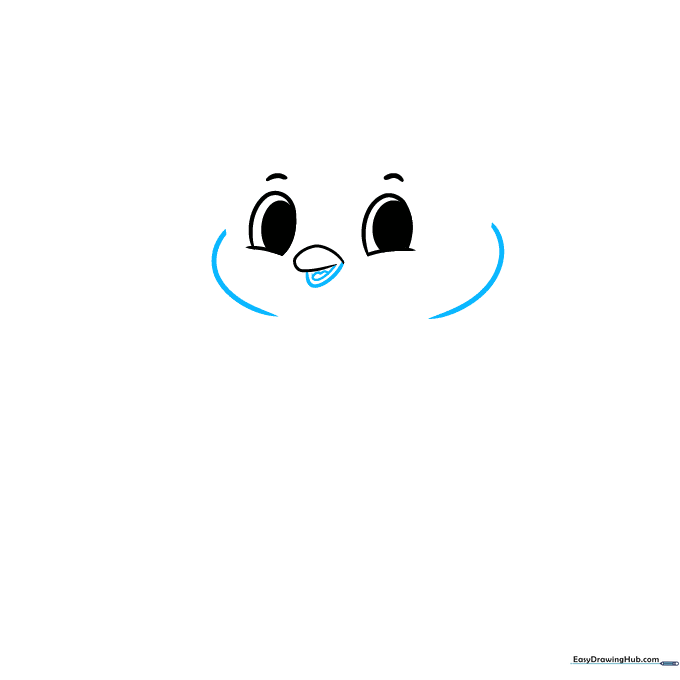
Draw the bottom of the beak with a curved line and add a small tongue inside. Use wide, curved lines on either side of the beak to create chubby cheeks. Teacher's Tip: Making the cheeks rounder will instantly make your penguin look cuter.
Step 4: Shaping the Head
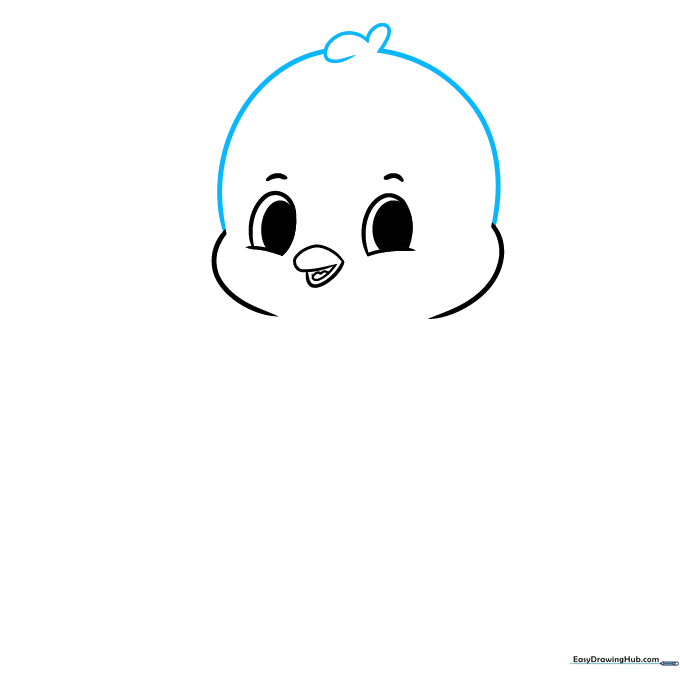
Draw long curved lines for the sides of the head, connecting them at the top with a small tuft of feathers. Teacher's Tip: Use short, overlapping strokes for the tuft to give it a soft, feathery texture.
Step 5: The First Flipper
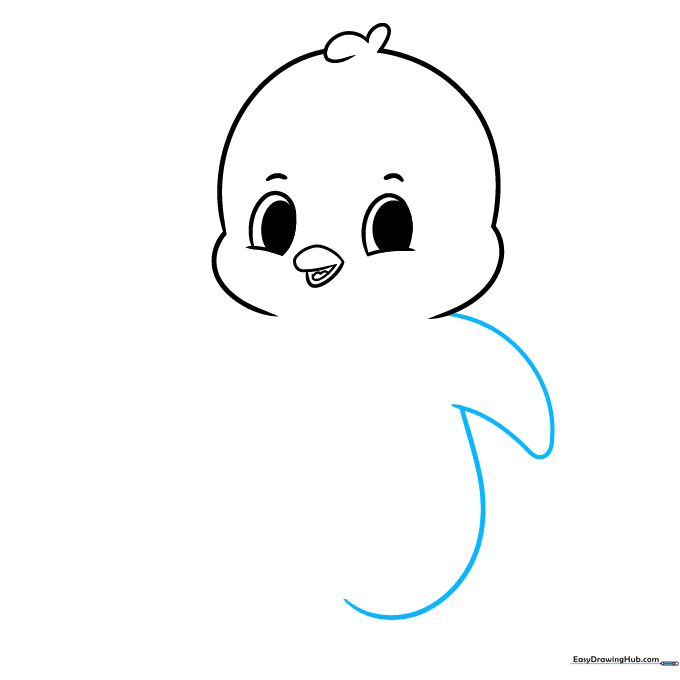
Draw a long, smooth curved line to form the flipper and the side of the body. Teacher's Tip: Imagine the flipper is like a rounded paddle; keep the line smooth to show movement.
Step 6: Second Flipper and Foot
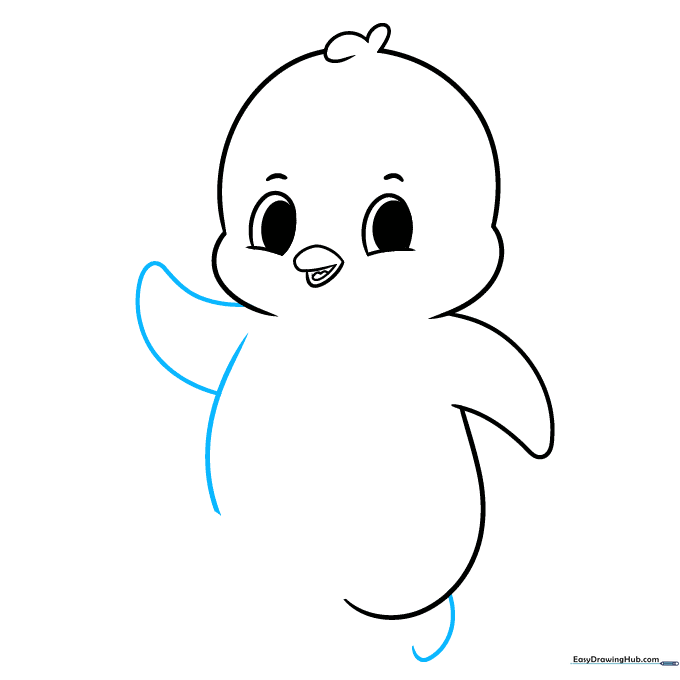
Add the second flipper on the other side and start the first foot with a short curved line. Teacher's Tip: Keep the foot shape simple—a small 'U' shape works perfectly for a cartoon style.
Step 7: Completing the Feet
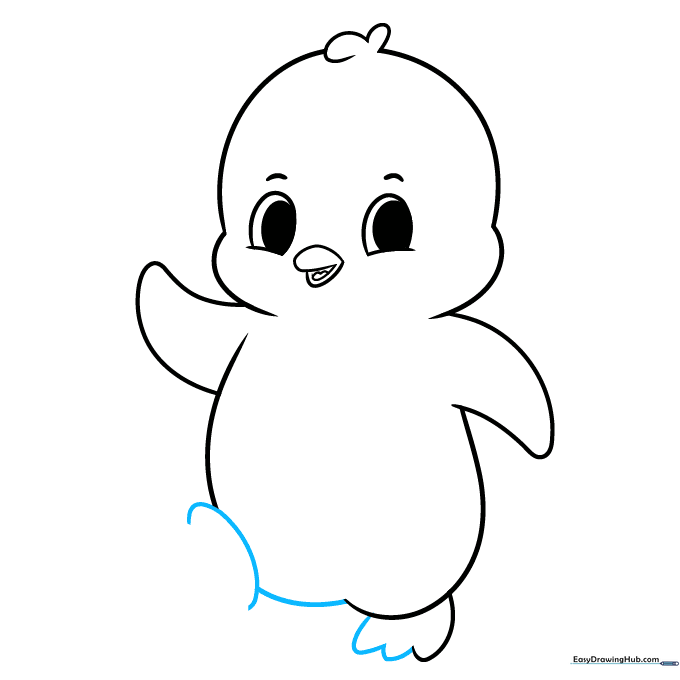
Finish the first foot with a scalloped edge and draw the second foot. Teacher's Tip: Scalloped edges look like little toes, which adds a lot of character to your drawing.
Step 8: Adding Facial Details
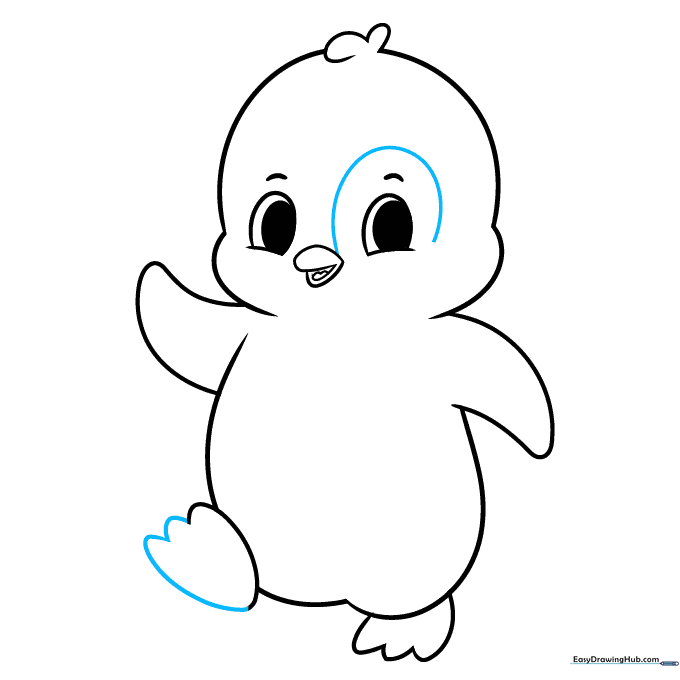
Refine the feet and draw a curved line around one eye to start the face pattern. Teacher's Tip: This line creates the classic 'mask' look that many penguins have.
Step 9: Finalizing Outlines
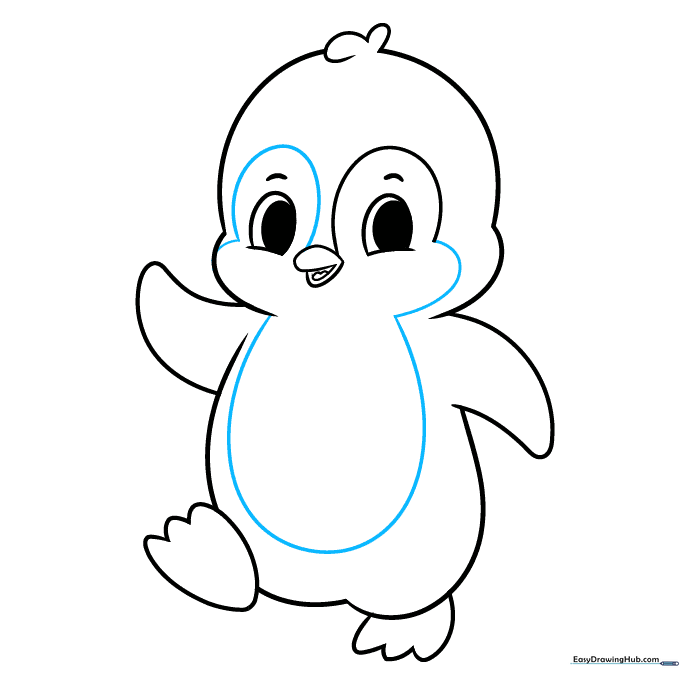
Complete the outlines for the face and belly. Teacher's Tip: Use a slightly darker pencil pressure here to make the final lines stand out before you start coloring.
Step 10: Coloring Your Penguin
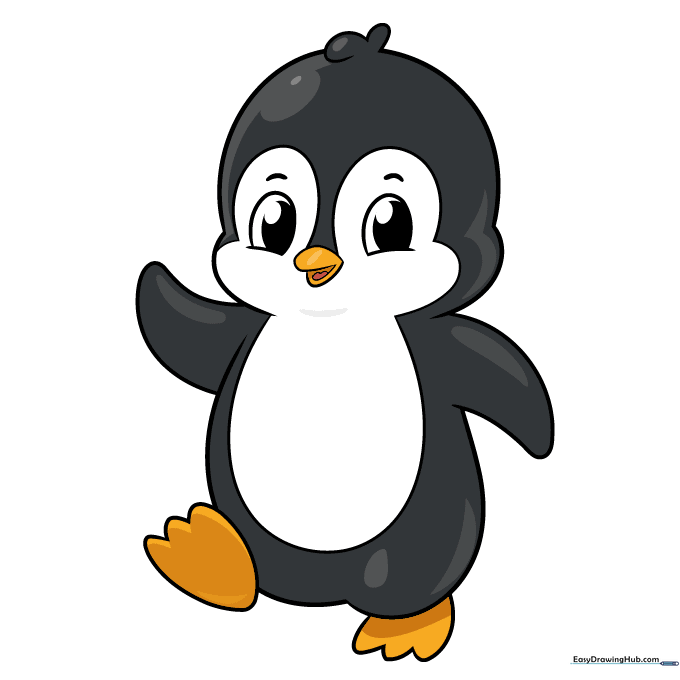
Time to bring your penguin to life! Use black for the back, white for the belly, and bright orange or yellow for the beak and feet. Teacher's Tip: Try using light, circular motions when coloring to keep the texture smooth and even.
More Tutorials


