How to Draw a Cute Cartoon Bear: Easy 10-Step Guide
This friendly bear tutorial is perfect for ages 5 and up, requiring only a pencil, eraser, and paper. You will learn to construct a character using basic geometric shapes, helping to build confidence and fine motor control. Follow along to bring your own cuddly forest friend to life.
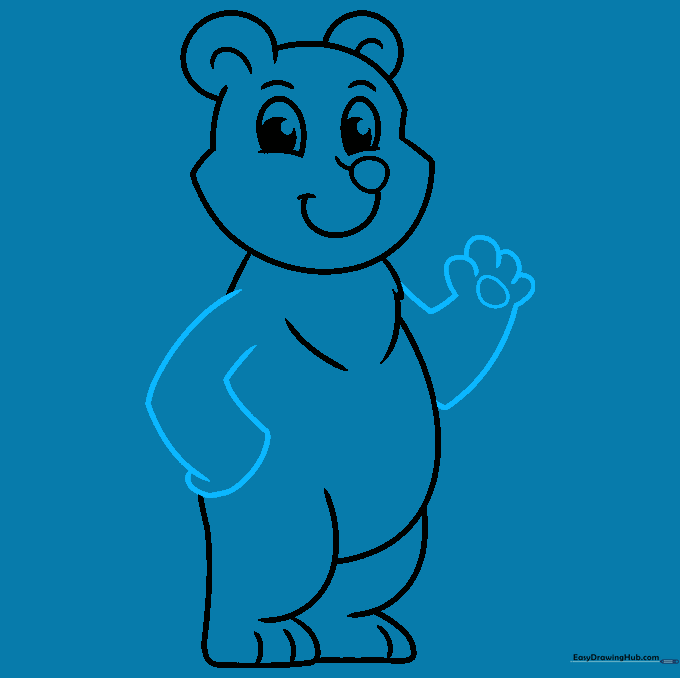
🎯 Final Result

Step-by-Step Instructions
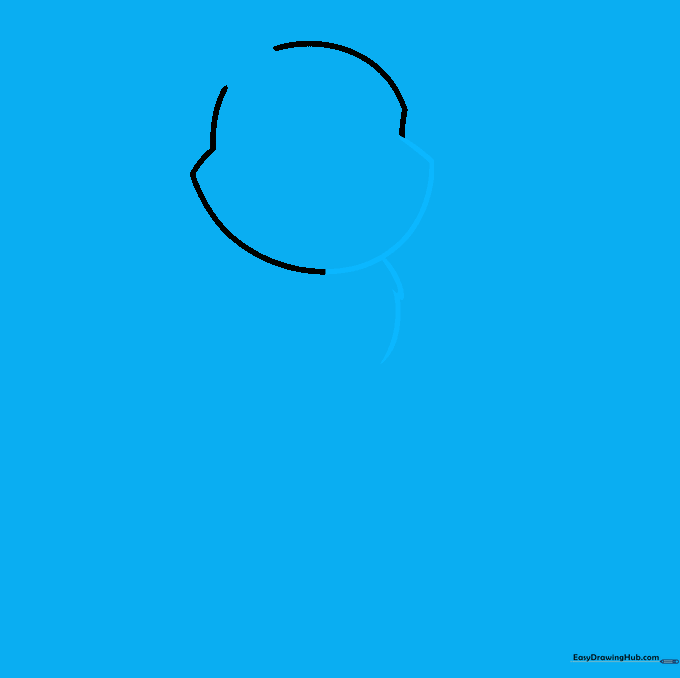
Step 1: Sketching the Head

Draw a soft, rounded shape for the head. Teacher's Tip: Keep the lines light and loose; think of it as a slightly squashed circle to give the bear a friendly, approachable look.
Step 2: Defining the Cheek and Chest
Add a curved line for the cheek and a series of soft, scalloped lines for the chest. Teacher's Tip: Use short, rhythmic strokes to mimic the look of fluffy fur.
Step 3: Outlining the Body

Continue the body outline with smooth, curved lines for the stomach and the start of the leg. Teacher's Tip: Imagine the bear is sitting down; keep the bottom curve wide to show weight.
Step 4: Drawing the Back and Paw

Draw a long, sweeping curve for the back, looping it at the bottom to form the foot. Add small curved lines for the toes. Teacher's Tip: Toes are just small 'U' shapes—don't overthink them!
Step 5: Adding the Rear Leg

Outline the remaining rear leg with a simple curve and add toe details. Teacher's Tip: Make sure the leg aligns with the body to keep the bear looking balanced.
Step 6: Drawing the Ears
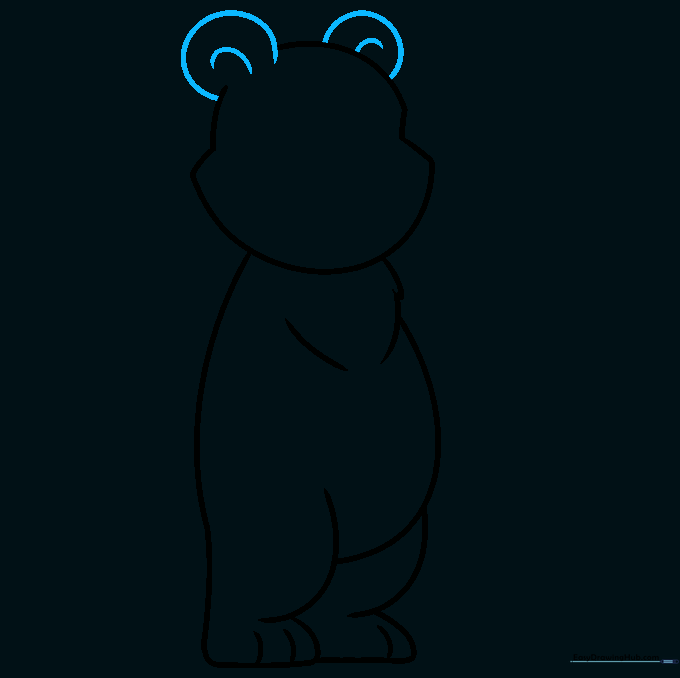
Add two 'C' shaped ears to the top of the head with smaller curves inside. Teacher's Tip: Place the ears slightly to the sides to give the bear a cute, wide-eyed expression.
Step 7: Creating the Face
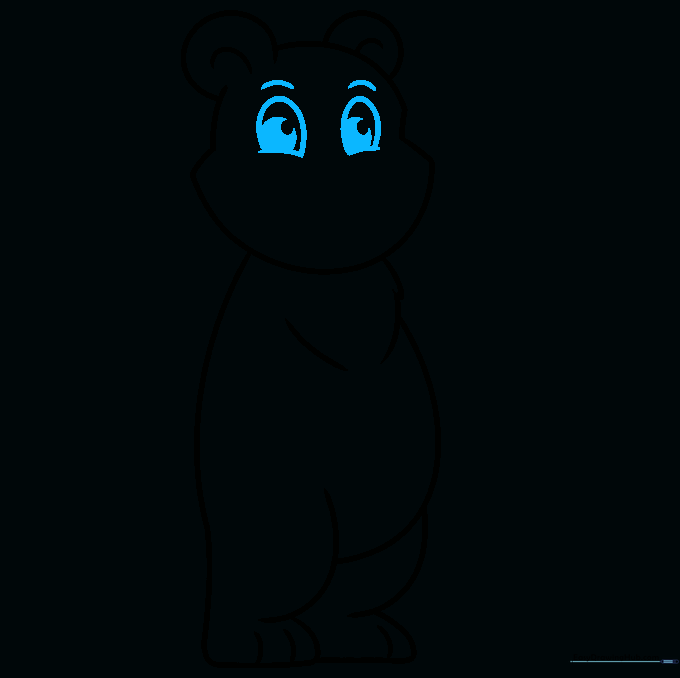
Draw two large eyes with pupils and arched eyebrows. Teacher's Tip: Leave a tiny white dot in the pupil to create a 'sparkle' effect, making the bear look lively.
Step 8: Adding the Snout and Smile
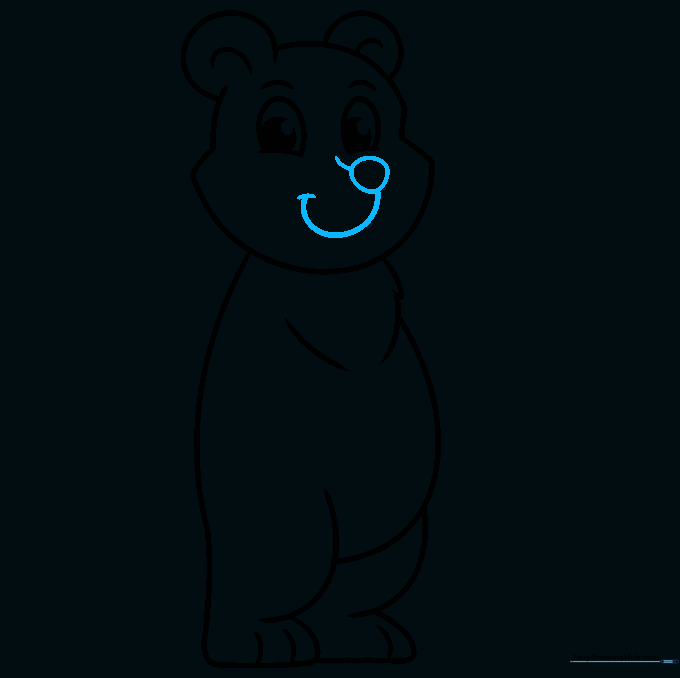
Draw a small circle for the nose and a gentle smile. Teacher's Tip: A slightly wider snout makes the bear look younger and cuter.
Step 9: Finalizing the Arms
Sketch the arms and paws, erasing any overlapping lines. Teacher's Tip: Use a simple oval for the paw pad to keep it clean and cartoonish.
Step 10: Coloring Your Bear

Bring your bear to life with color! We chose a warm brown, but feel free to experiment with honey-gold or even polar bear white. Teacher's Tip: Use light pressure with your pencil to create a soft, blended look.
More Tutorials


