How to Draw a Cute Anime Girl: Easy Step-by-Step Guide
Ready to bring your own anime character to life? This tutorial is perfect for artists ages 8+ looking to master the classic 'cute' manga style. Grab a pencil, an eraser, and a piece of paper to follow along as we build expressive features from simple geometric shapes.
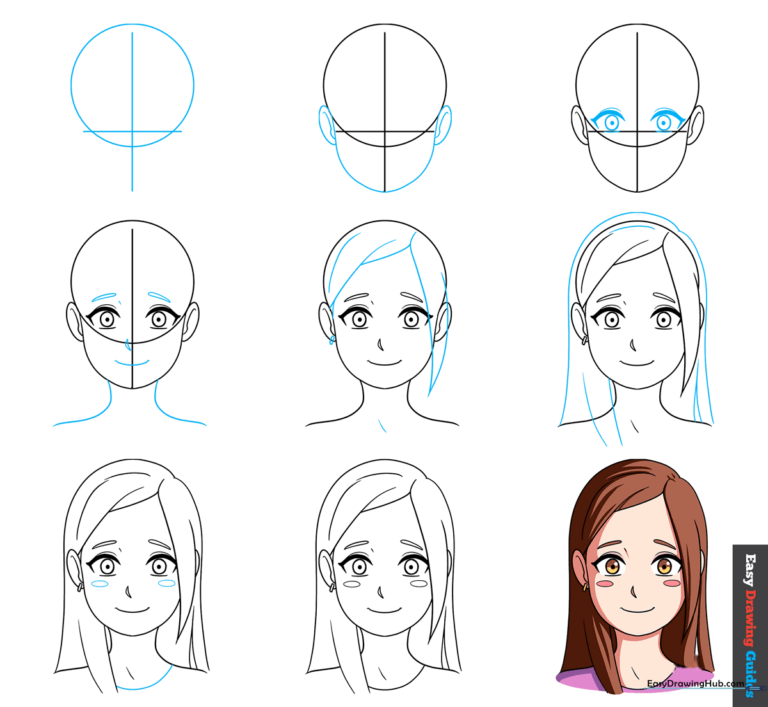
🎯 Final Result
Step-by-Step Instructions
Step 1: Establishing the Proportions
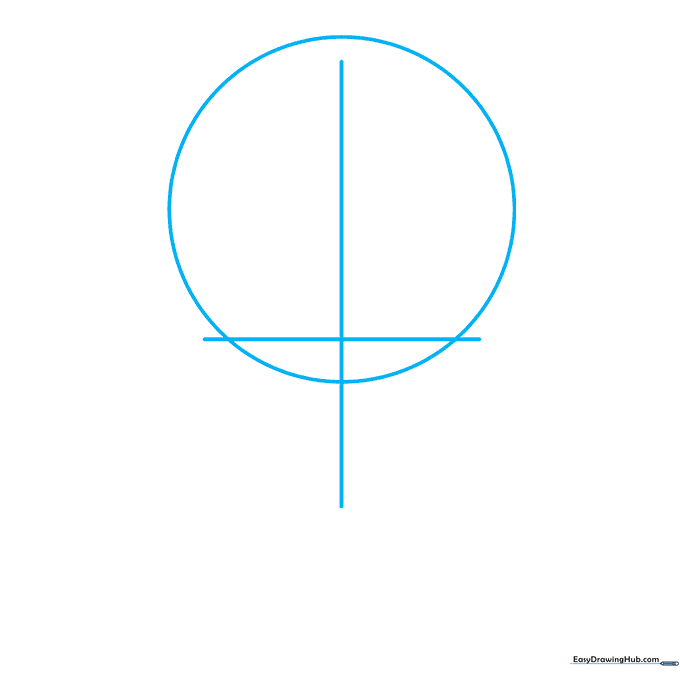
Start by drawing a light circle for the head. Add a horizontal line near the bottom and a vertical line down the center. Teacher's Tip: Keep your pencil pressure very light here; these are just 'construction lines' that we will erase later to keep your drawing clean.
Step 2: Shaping the Jaw and Ears
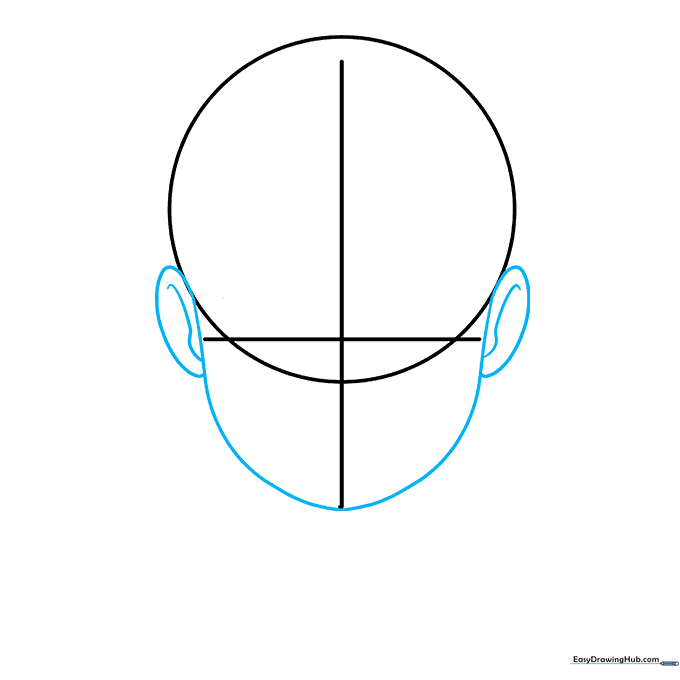
Connect a wide 'U' shape from the sides of the circle to create the chin. Add small curved lines on the sides for the ears. Teacher's Tip: Ensure the jawline is smooth—anime faces often have a soft, rounded chin to emphasize the 'cute' aesthetic.
Step 3: Drawing Expressive Eyes
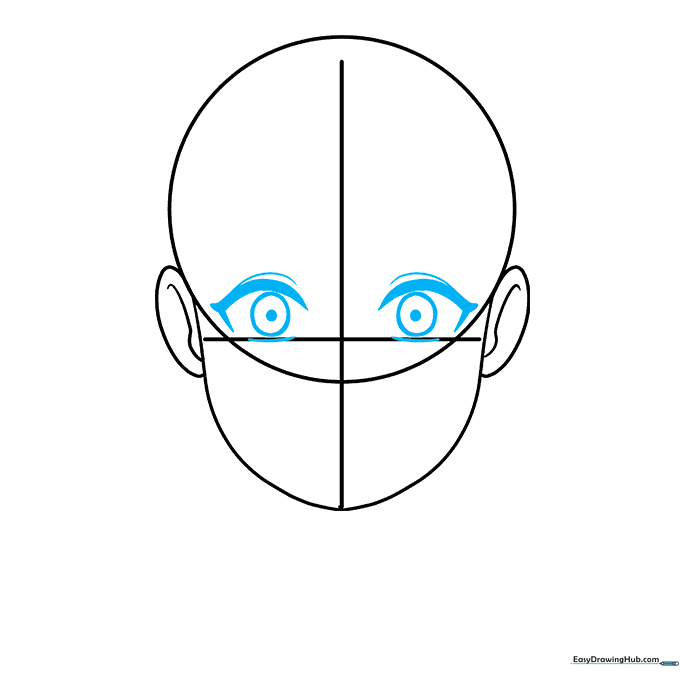
Sketch the large anime-style eyes using thick, curved lines for the upper lashes. Add a pupil and iris inside each eye. Teacher's Tip: The 'cute' look relies on large, bright eyes; leave a small white gap in the pupil to act as a light reflection, which makes the character look alive.
Step 4: Defining Features and Neck
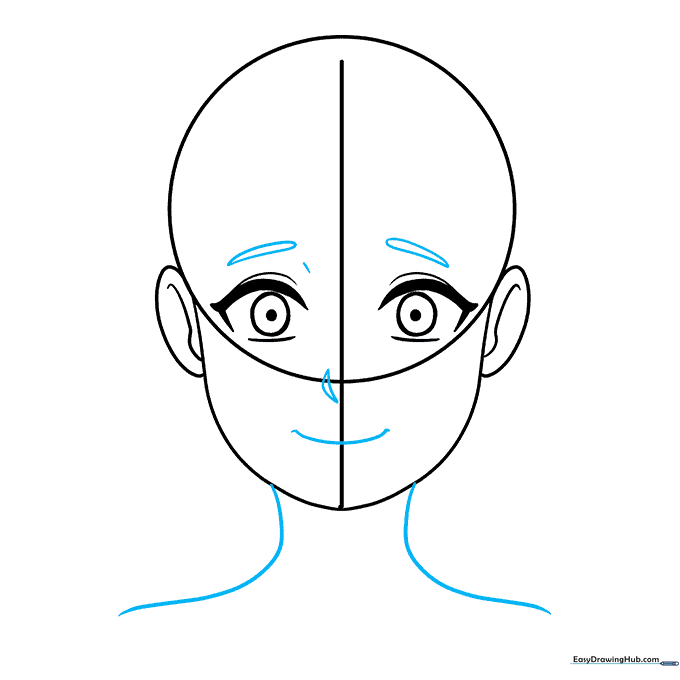
Erase your horizontal guideline. Add small eyebrows, a tiny nose dot, and a gentle mouth. Extend two lines down from the jaw for the neck. Teacher's Tip: Keep the nose and mouth very simple—in anime, less detail often creates a more youthful, endearing expression.
Step 5: Adding Hair and Details

Erase the remaining circle lines and sketch the bangs and hair strands. Add a small earring. Teacher's Tip: Draw hair in 'clumps' or 'locks' rather than individual strands to get that classic, clean anime look.
Step 6: Completing the Hairstyle
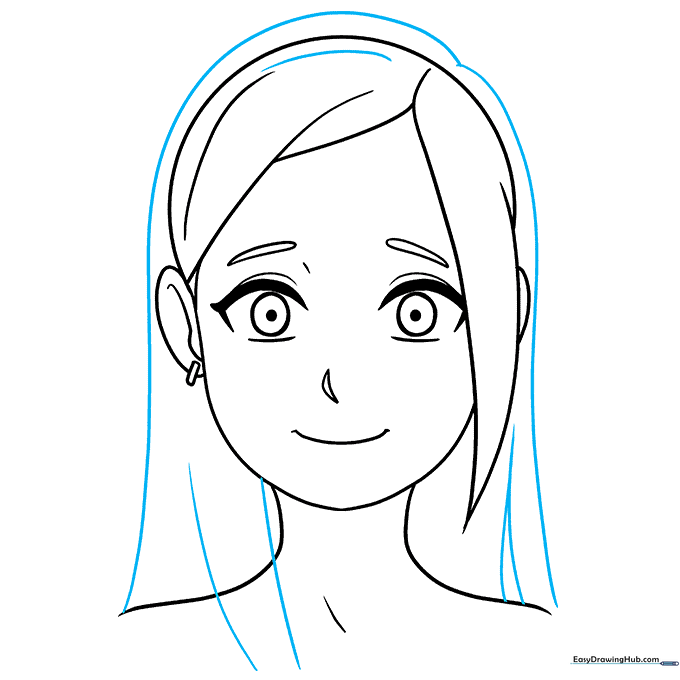
Draw longer hair strands falling over the shoulders. Teacher's Tip: Vary the length of the hair lines to make the hair look natural and flowing rather than stiff.
Step 7: Adding Final Touches
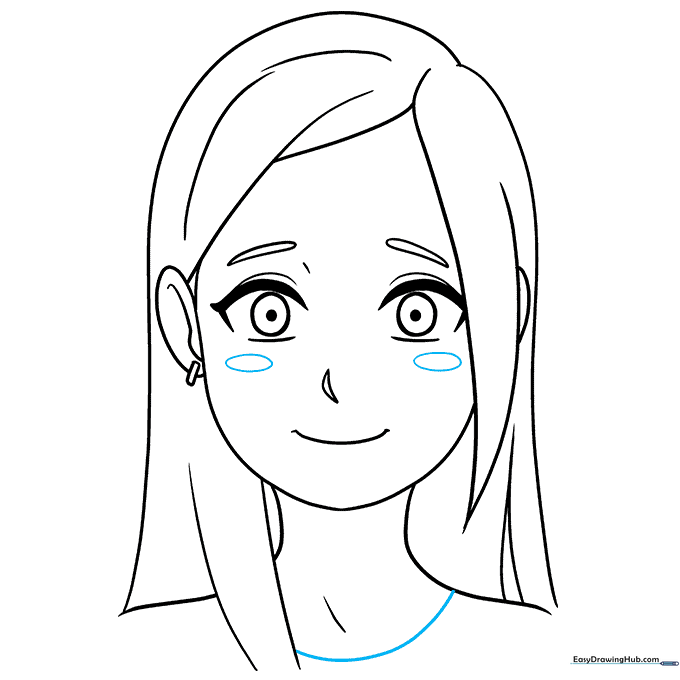
Add small ovals on the cheeks for a blushing effect and draw the collar of the shirt. Teacher's Tip: The blush adds a layer of personality and emotion, making your character look shy and sweet.
Step 8: Your Finished Character
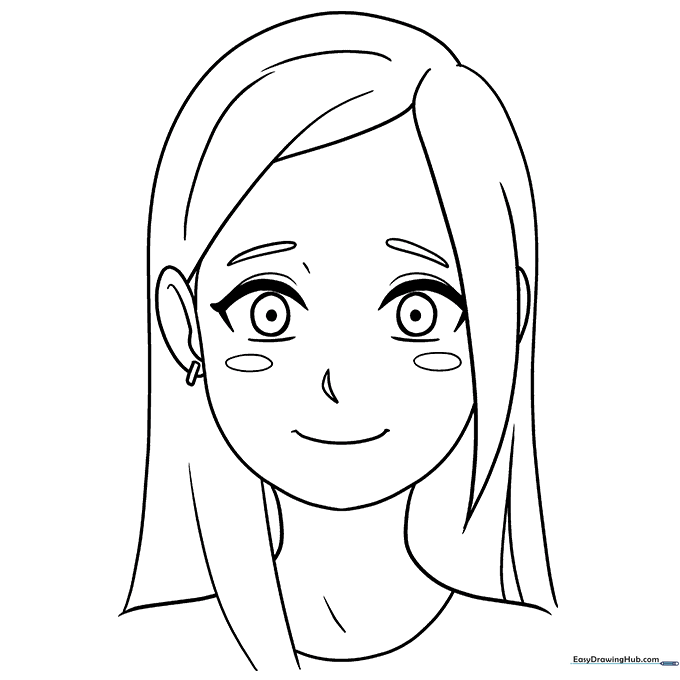
You've finished your anime girl! Now, feel free to add color or ink your lines to make your character pop. Great job!
More Tutorials


