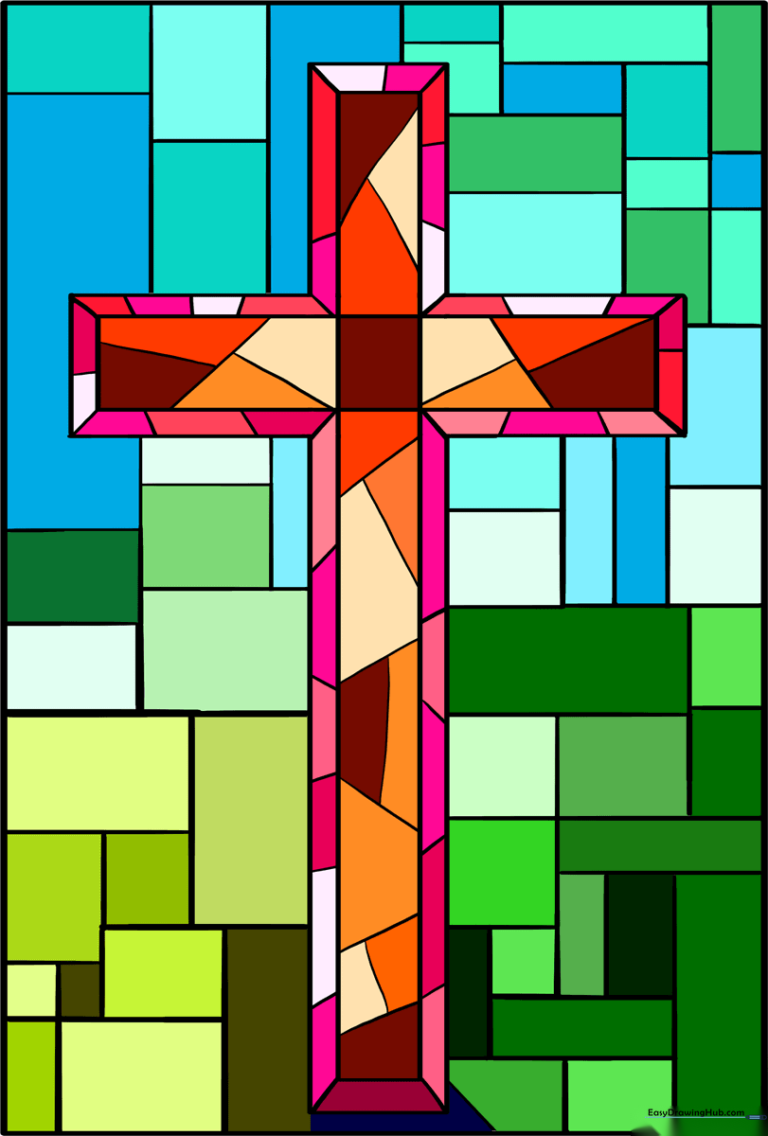
How to Draw a Stained Glass Cross: Easy 10-Step Guide
Looking for a calming, creative activity? This stained glass cross tutorial is perfect for artists ages 5 and up. You will only need a pencil, an eraser, and your favorite markers or crayons to create this vibrant design. Follow along to master geometric shapes and symmetry while practicing your steady hand.
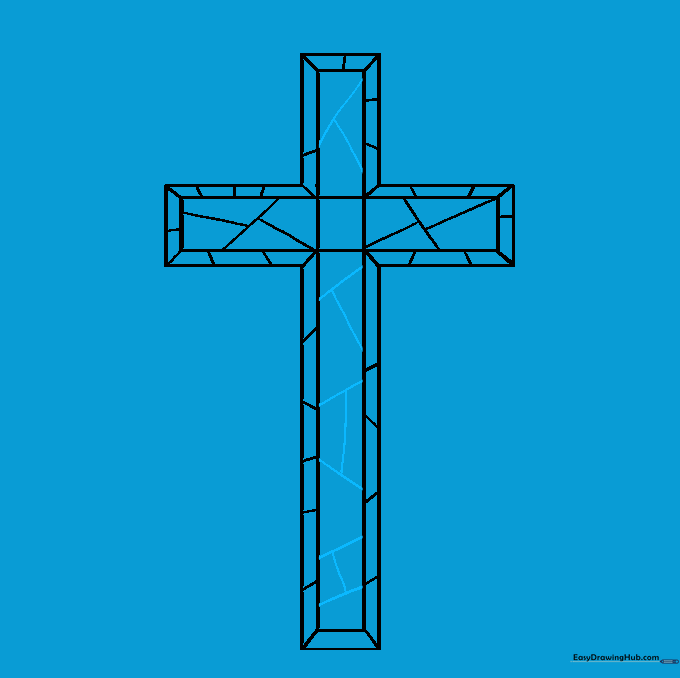
🎯 Final Result
Step-by-Step Instructions
Sketching the Vertical Base
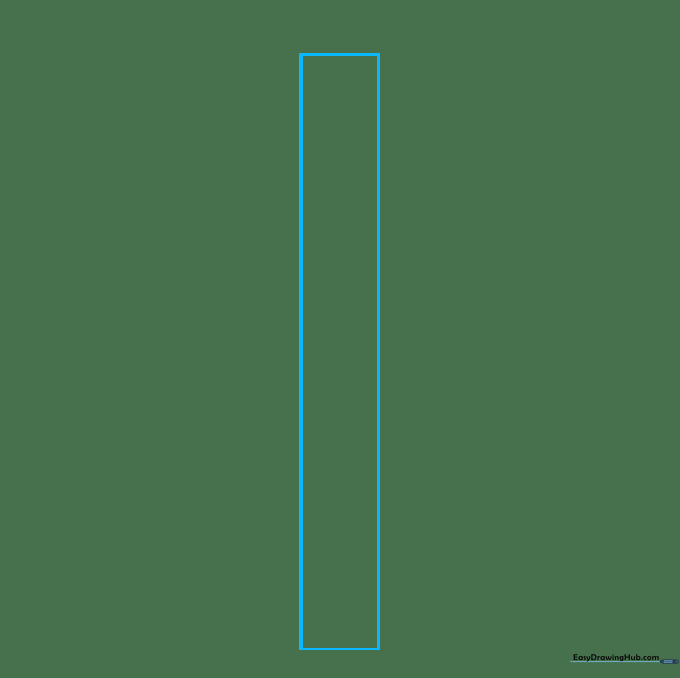
Draw a tall, narrow vertical rectangle. Teacher's Tip: Keep your pencil pressure light so you can easily erase your guidelines later!
Adding Depth to the Upright
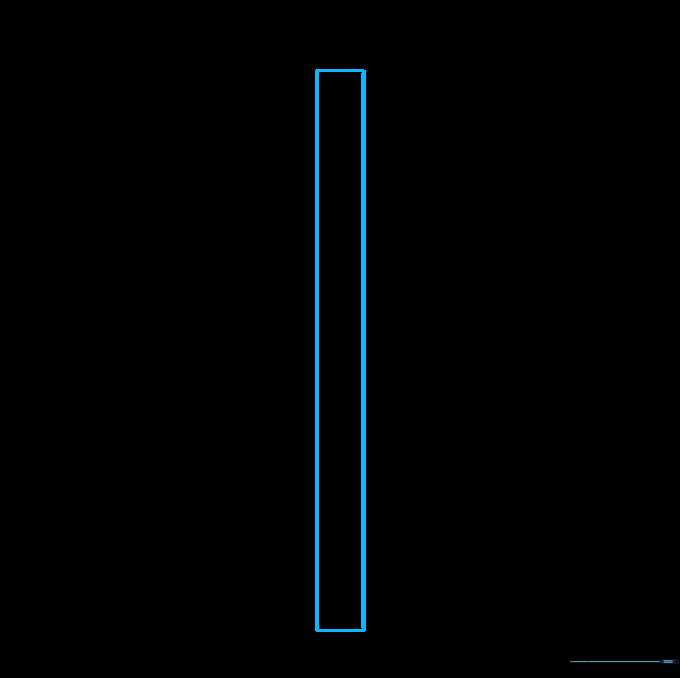
Draw a slightly smaller rectangle inside the first one to create a border. Tip: Try to keep the gap between the lines even on all sides for a professional look.
Drawing the Horizontal Arms
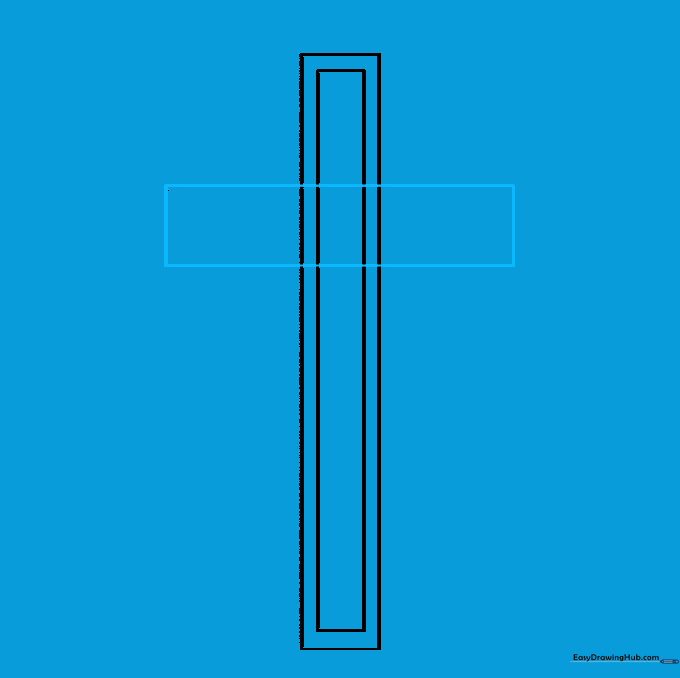
Draw a horizontal rectangle across the vertical one, positioned above the halfway point. Tip: Ensure the arms are centered so your cross looks balanced.
Framing the Horizontal Arms
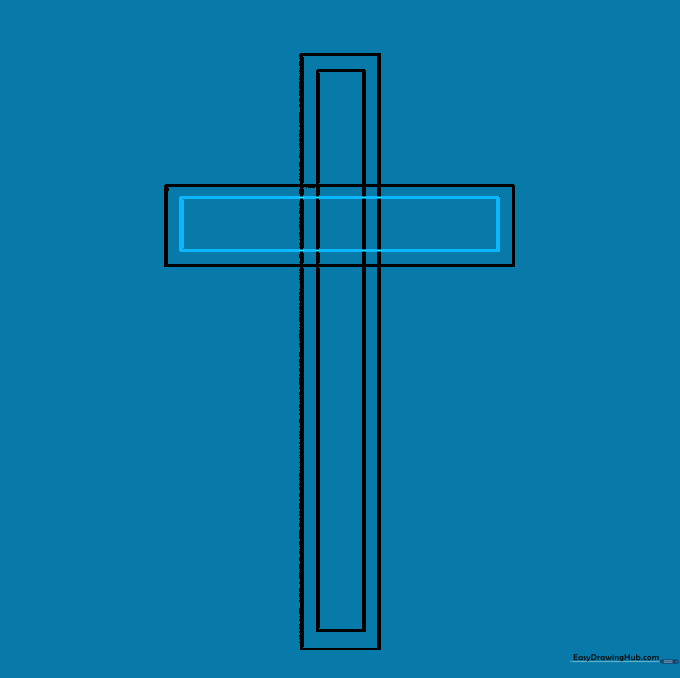
Just like you did with the vertical piece, draw a smaller rectangle inside the horizontal arms. Tip: Focus on keeping your corners sharp and clean.
Refining the Outline
Carefully erase the overlapping lines where the rectangles meet to create one solid, clean cross shape.
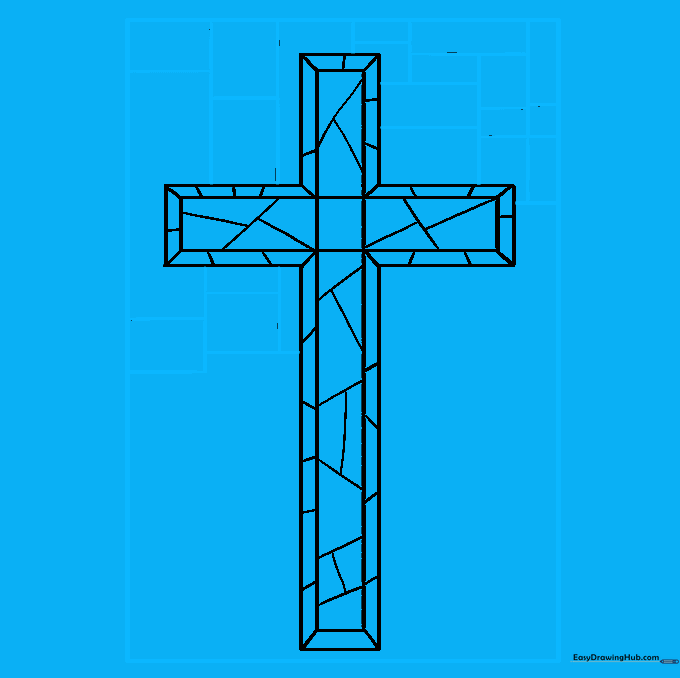
Creating Stained Glass Segments
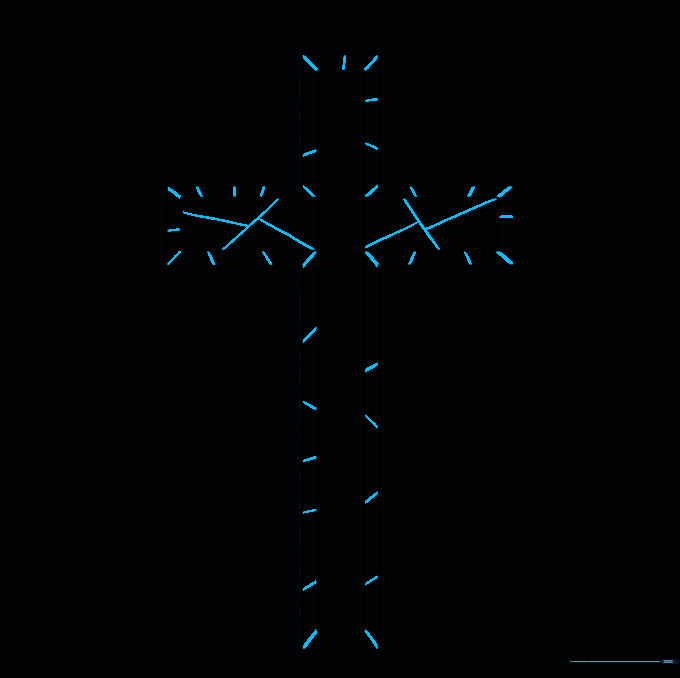
Draw short, slanted lines between the inner and outer edges of the cross. Tip: Varying the angles of these lines makes the 'glass' look more authentic.
Detailing the Upright Sections
Add more straight lines within the top and bottom of the cross to enclose irregular shapes. Tip: Don't worry about making them perfect; stained glass is naturally unique!
Adding the Outer Frame
Draw a large rectangle around the entire cross. Fill the space between the cross and the frame with various small squares and rectangles.
Completing the Mosaic Pattern
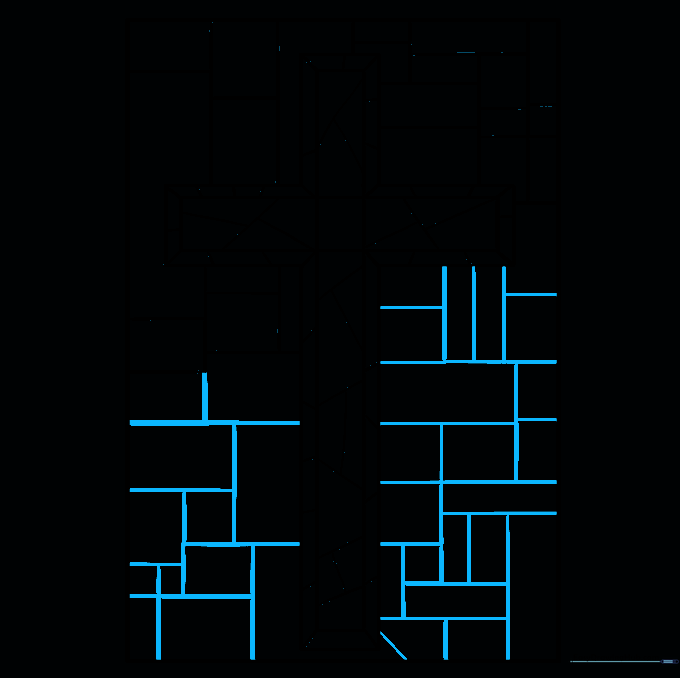
Fill any remaining empty space with smaller shapes to complete your stained glass window design.
Adding Color
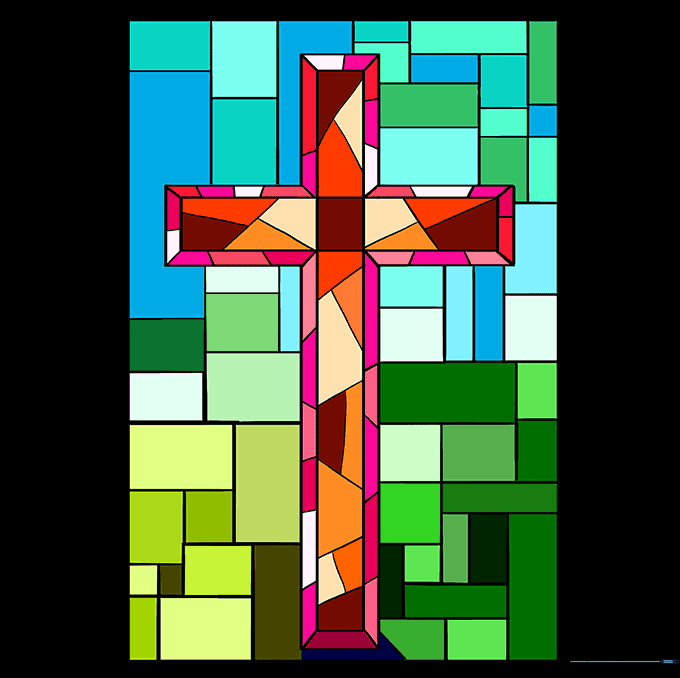
Use bright, contrasting colors for each shape to make your stained glass pop! Tip: Use a black marker to trace your lines first for a bold, finished look.
More Tutorials


