How to Draw a Cross with Wings: Easy 10-Step Guide
Looking for a meaningful and artistic project? This tutorial is perfect for artists of all ages to practice symmetry and feather detailing. You will only need a pencil, an eraser, and a piece of paper to bring this symbolic design to life.
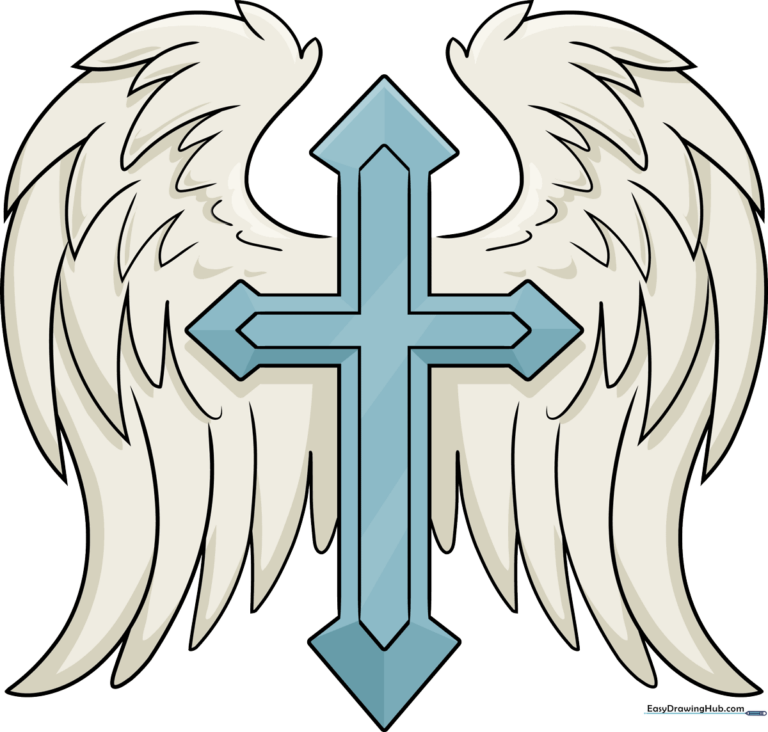
🎯 Final Result
Step-by-Step Instructions
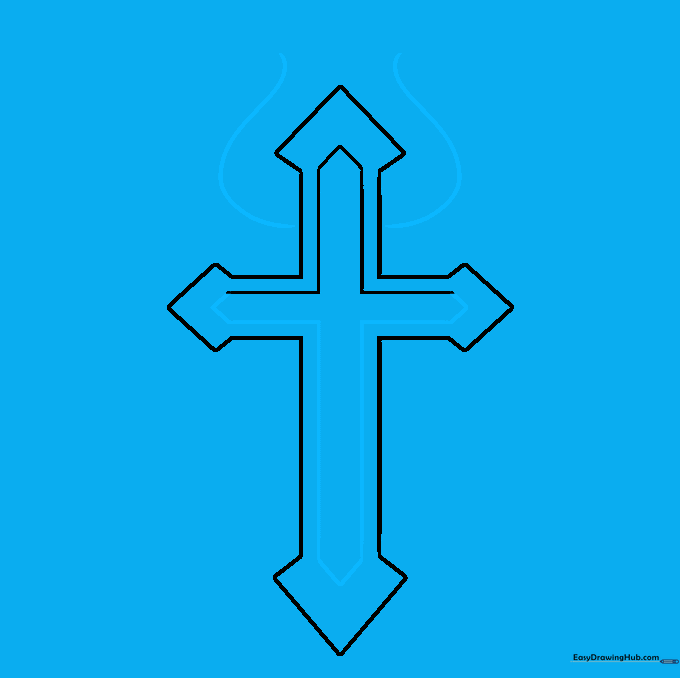
Step 1: Sketching the Base Cross

Start by drawing the main cross shape using 'L' shaped lines for the arms. Ensure the bottom vertical arm is longer than the top and sides. Teacher's Tip: Use a ruler if you want perfect geometry, but freehanding it builds better hand-eye coordination!
Step 2: Adding Depth to the Arms

Add arrow-like points to the ends of each arm to give it a classic, stylized look. Then, draw a smaller cross inside the first one to create a 3D effect. Tip: Keep your lines parallel to the outer edges to maintain the perspective.
Step 3: Defining the Wing Span
Finish the inner cross lines, then sketch two large, sweeping curves extending from the top arm. These will serve as the guide for your wings. Tip: Think of these as the 'shoulders' of your wings; keep them smooth and symmetrical.
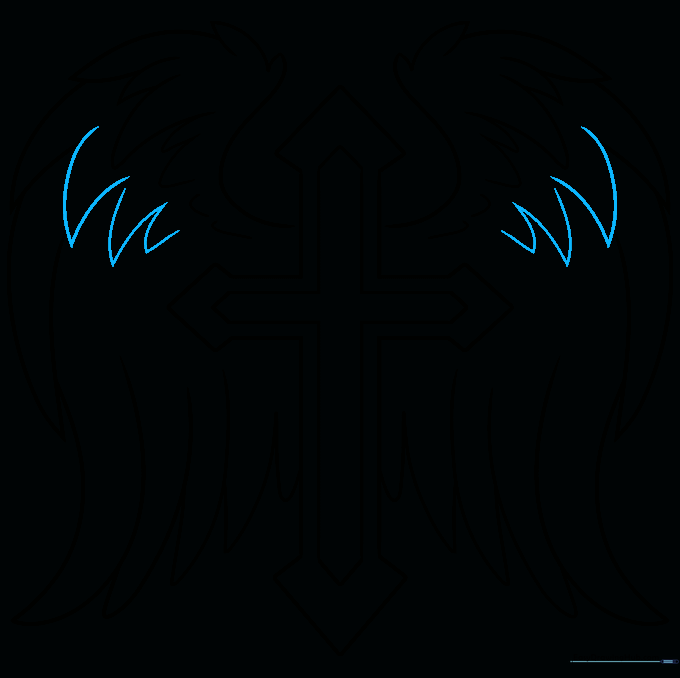
Step 4: Drawing Top Feathers
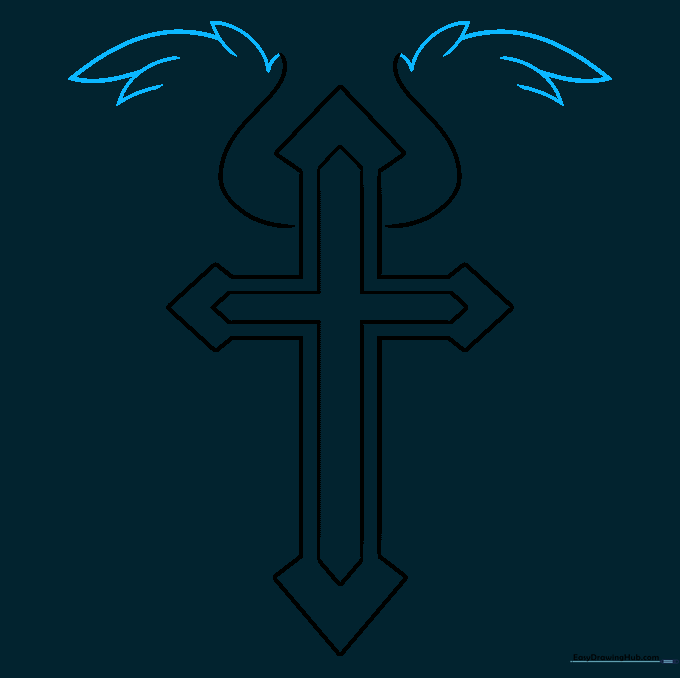
Start adding feathers at the top of the wings using overlapping curved lines. Tip: Make the feathers point slightly outward to give the wings a sense of movement.
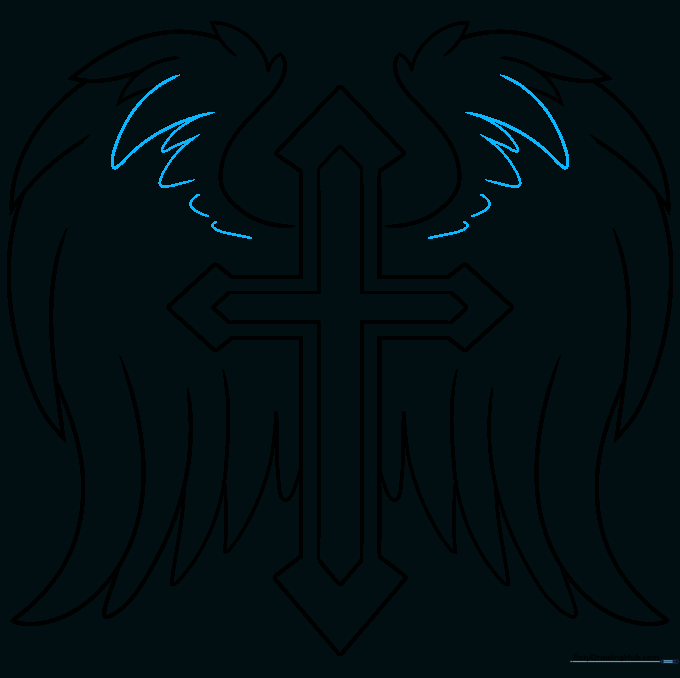
Step 5: Adding Long Wing Feathers

Draw longer, slender feathers along the sides of the wings. Use two curved lines that meet at a sharp point for each one. Tip: Vary the length of these feathers to make the wings look more natural.
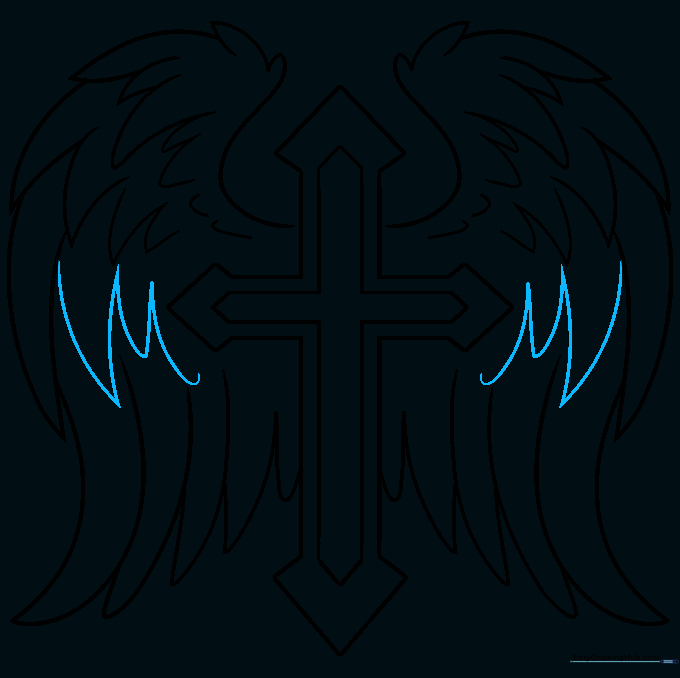
Step 6: Rounding the Bottom Feathers
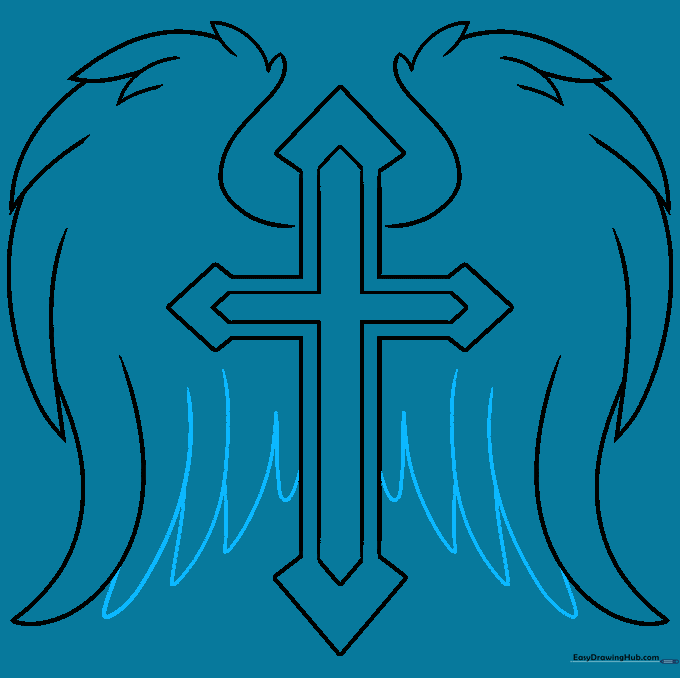
Fill in the bottom of the wings with rounded, 'U' shaped feathers. This contrast between pointed and rounded feathers adds great visual texture. Tip: Keep these feathers shorter than the ones you drew in the previous step.
Step 7: Filling the Wing Interior
Continue adding rows of 'U' shaped feathers toward the center of the wings. This creates a layered, dense look. Tip: Imagine you are tiling a roof—each row should slightly overlap the one below it.
Step 8: Adding Detail Rows
Add another row of feathers using 'V' shaped curves to create a sharper, more detailed texture. Tip: Use a lighter touch with your pencil here to keep the drawing from looking too crowded.
Step 9: Finalizing the Texture
Complete the wings by adding the final row of feathers near the cross. Ensure the feathers look consistent with the rest of the wing. Tip: Take a step back and look at your drawing from a distance to check for balance.
Step 10: Adding Color

Time to bring your drawing to life! Use your favorite colors to fill in the cross and wings. Tip: Use shading (pressing harder with your pencil) at the base of the feathers to give them a realistic, shadowed look.
More Tutorials


