How to Draw a Crab: Easy 10-Step Guide for Kids
Looking for a fun, screen-free activity? This step-by-step guide is perfect for young artists ages 5 and up to practice basic shapes and symmetry. All you need is a pencil, an eraser, and a piece of paper to bring your own crustacean to life.
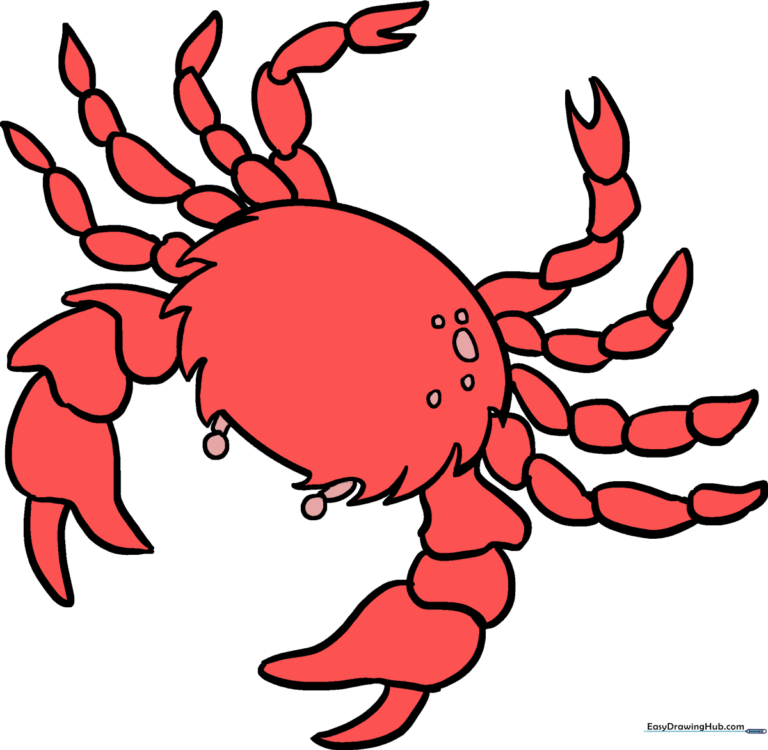
🎯 Final Result
Step-by-Step Instructions
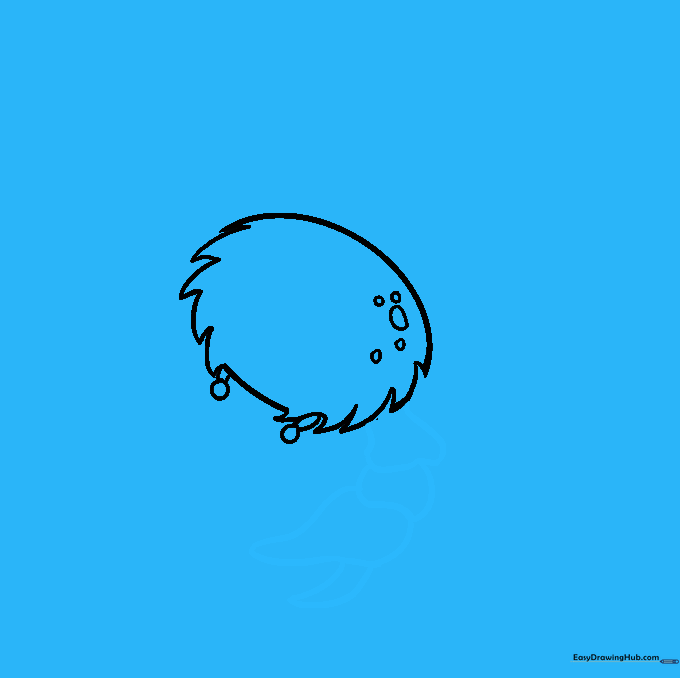
Step 1: Sketching the Body

Draw a large, horizontal oval in the center of your paper. Teacher's Tip: Keep this shape light and loose; it serves as the foundation for the entire crab.
Step 2: Adding Shell Texture
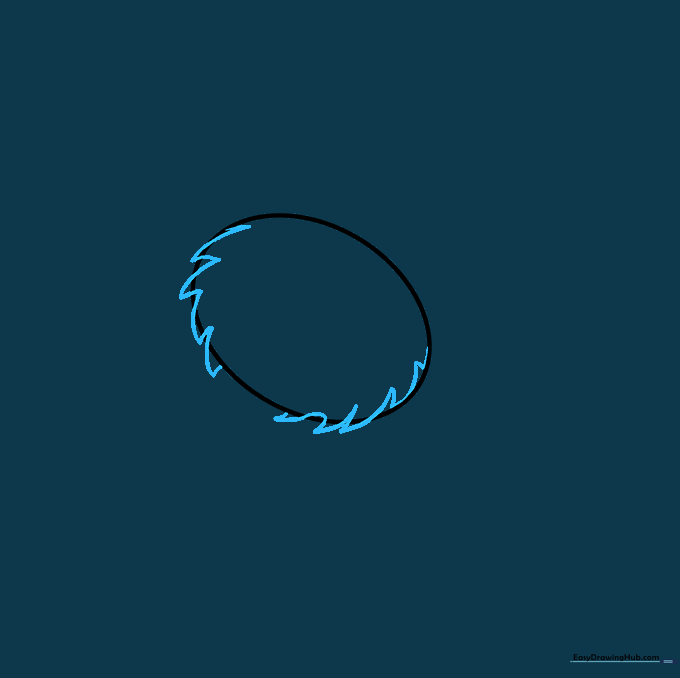
Add a series of small, connected curved lines along the sides of the oval to create a spiny shell edge. Teacher's Tip: Use short, quick strokes to make the shell look bumpy and natural.
Step 3: Cleaning the Outline
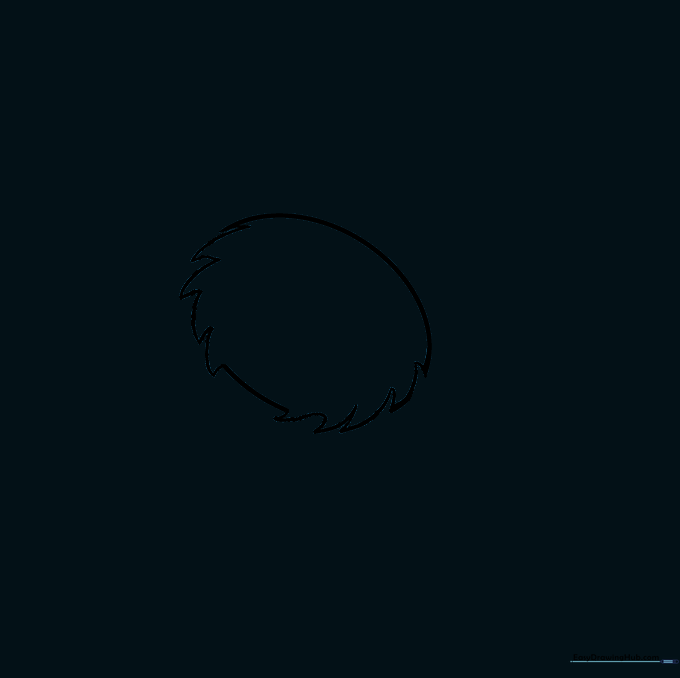
Carefully erase the original guide lines inside the shell. Teacher's Tip: Use a soft eraser and brush away the crumbs so your drawing stays clean for the next steps.
Step 4: Drawing the Eyes
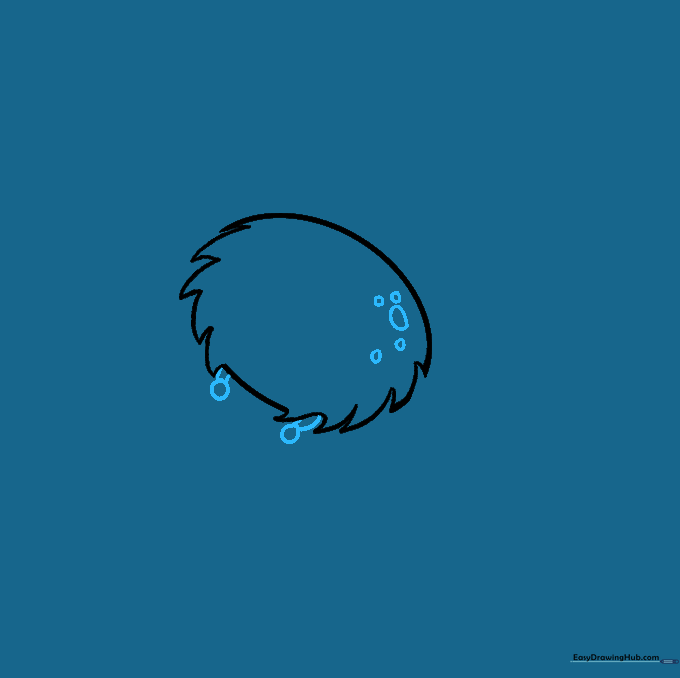
Draw two small stalks on top of the shell with circles at the ends for eyes. Teacher's Tip: Make the eyes look slightly outward to give your crab a friendly, curious expression.
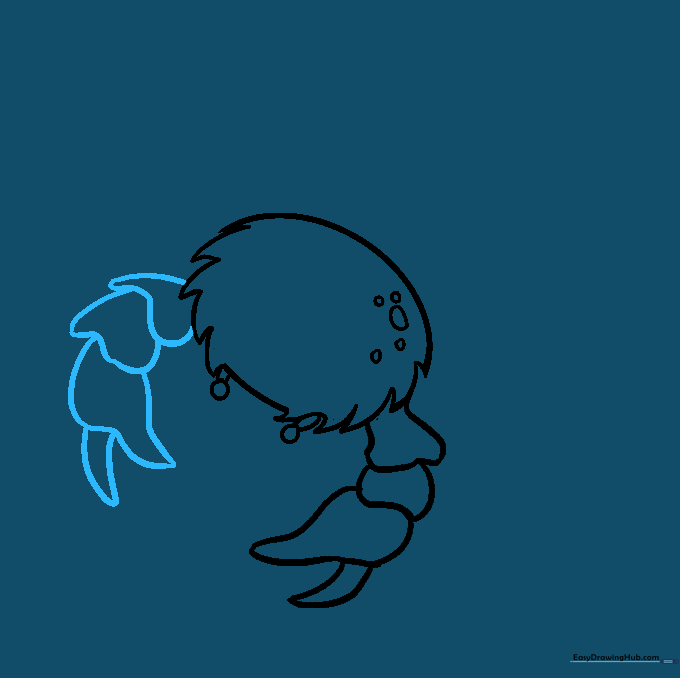
Step 5: Sketching the First Claw
Draw a series of irregular, connected shapes to form the arm and large pincer. Teacher's Tip: Think of the claw as a mitten shape—it's easier to draw that way!
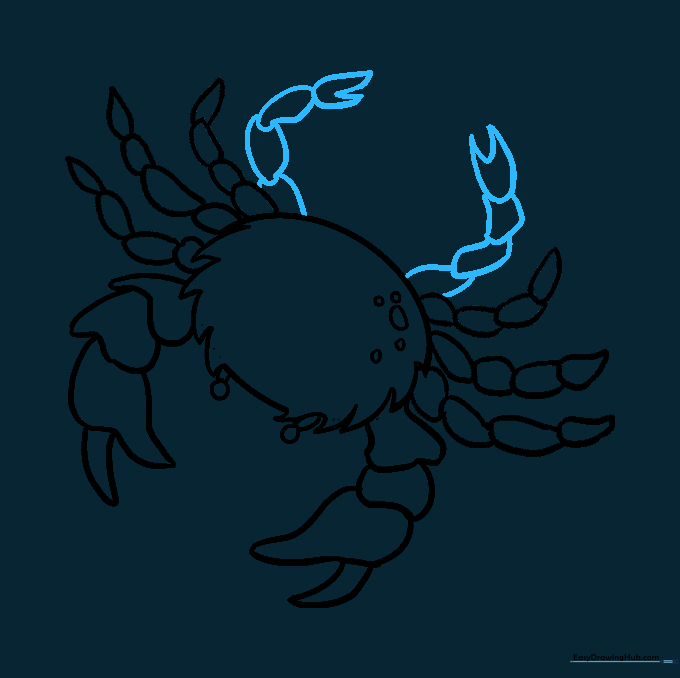
Step 6: Balancing the Second Claw
Mirror your first claw on the opposite side of the shell. Teacher's Tip: Check that both claws are roughly the same size to keep your crab looking balanced.
Step 7: Adding the First Set of Legs
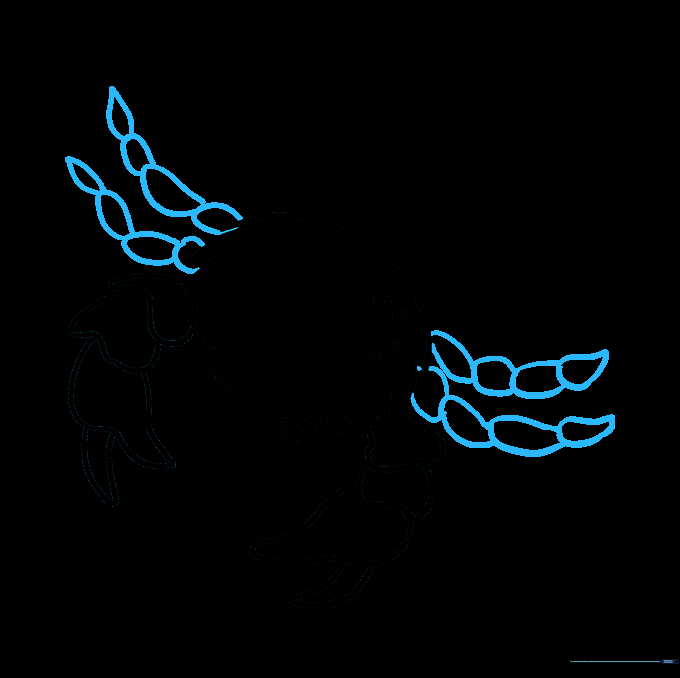
Draw the first four legs by connecting three small, irregular ovals, ending in a teardrop shape. Teacher's Tip: These pointed feet help the crab 'walk' on the sand.
Step 8: Adding the Second Set of Legs
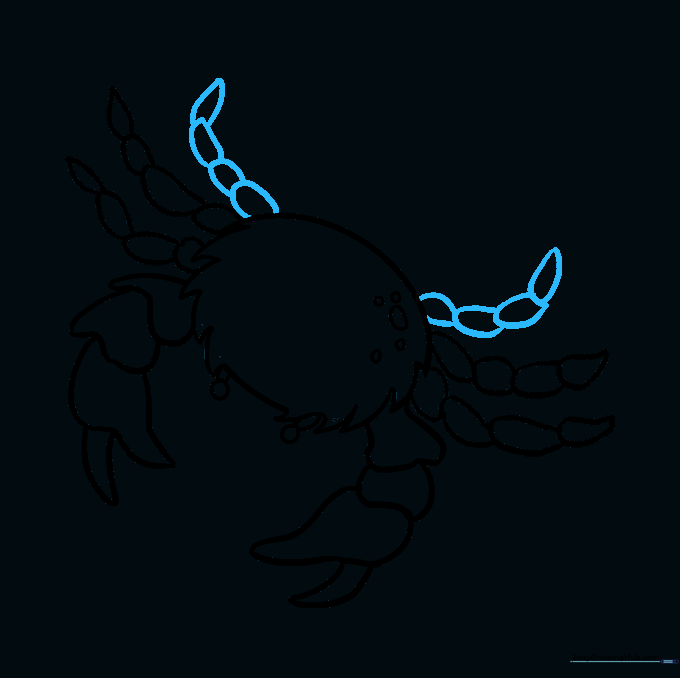
Draw the next set of legs slightly shorter than the first. Teacher's Tip: Varying the length of the legs adds a sense of movement to your drawing.
Step 9: Finalizing the Legs
Draw the final pair of legs, adding a small 'V' shape to the end of each foot. Teacher's Tip: This little detail makes the legs look like they have tiny joints.
Step 10: Coloring Your Crab
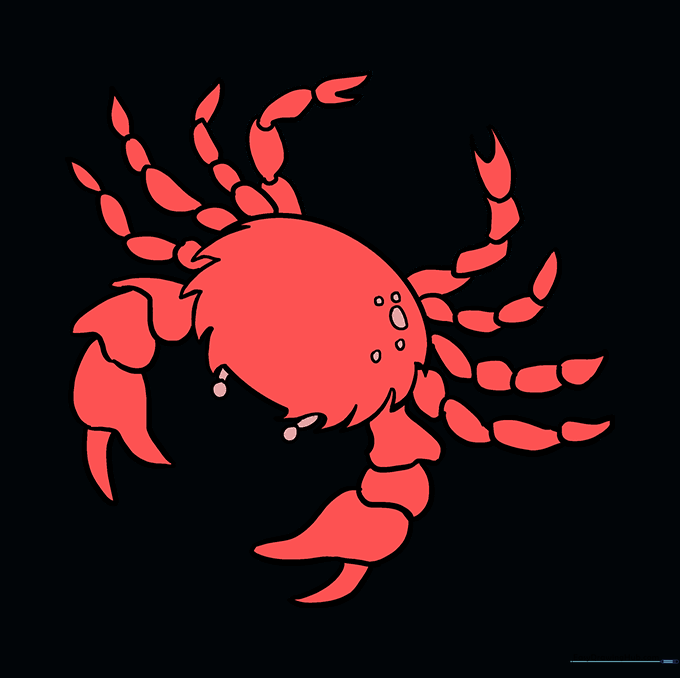
Time to color! Use bright red for a classic look, or try orange, brown, or even blue. Teacher's Tip: Use light pressure with your crayons to layer colors for a more realistic shell texture.
More Tutorials


