How to Draw a Cornucopia: Easy 10-Step Tutorial
Bring the spirit of the harvest to your sketchbook with this cornucopia drawing guide, perfect for artists ages 7 and up. You will need a pencil, an eraser, and your favorite coloring supplies to complete this festive horn of plenty. Follow these steps to master the art of overlapping shapes and creating a balanced, bountiful composition.
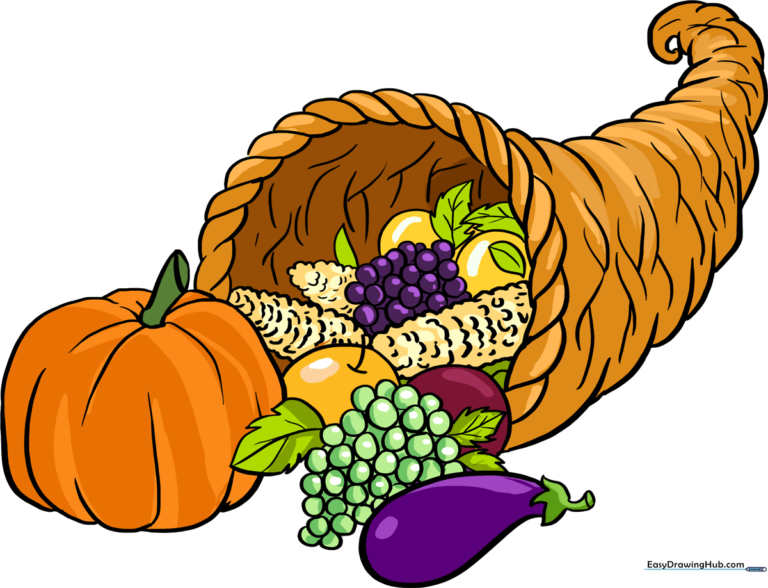
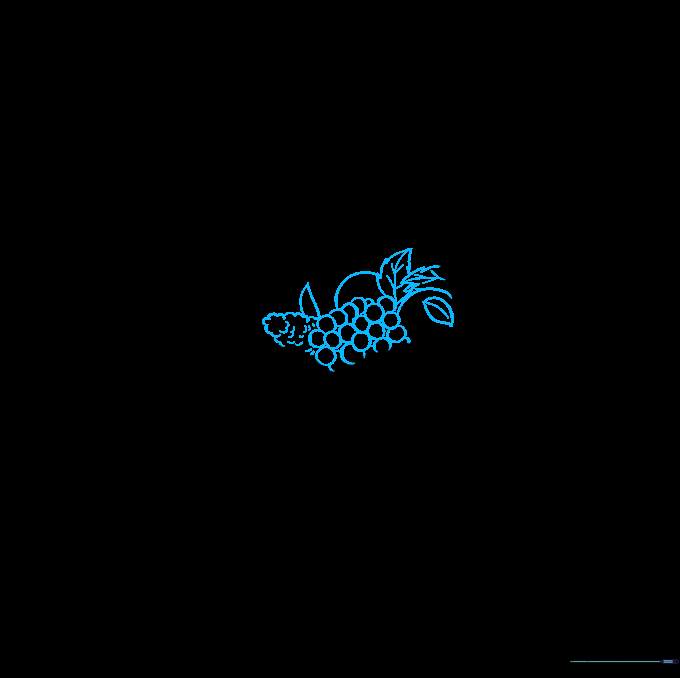
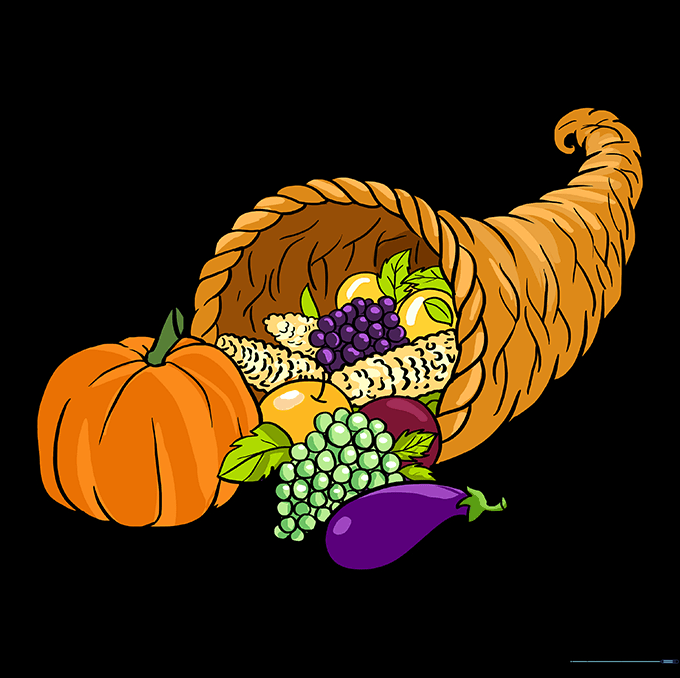
🎯 Final Result
Step-by-Step Instructions
Step 1: Sketching the Basket Opening

Begin by drawing the outer edge of the basket opening. Use pairs of curved lines to enclose small, connected, double-pointed teardrop shapes. Teacher's Tip: Keep these shapes uniform in size to create a consistent woven texture effect.
Step 2: Forming the Horn Shape

Use a series of overlapping curved lines to enclose the curled, triangular shape of the cornucopia. Teacher's Tip: Imagine the horn is a cone that has been slightly bent; keep your lines fluid and smooth.
Step 3: Drawing the Pumpkin
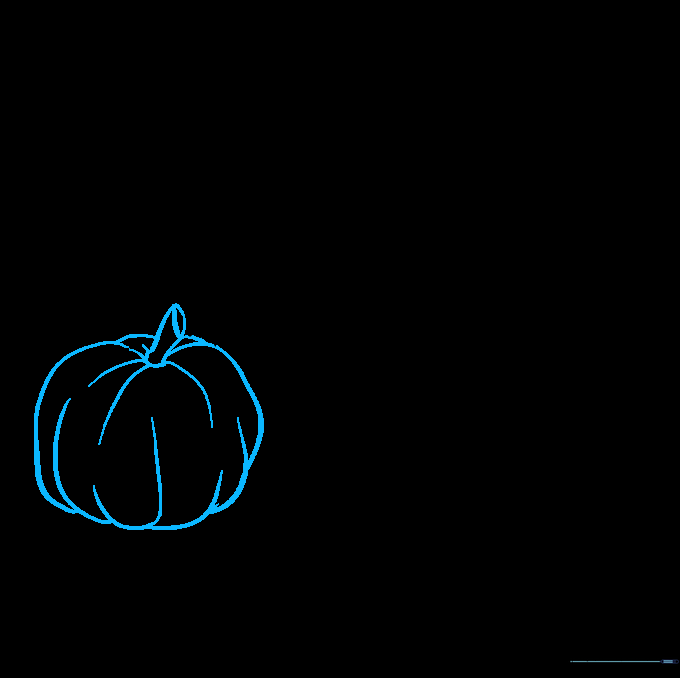
Start filling your horn by sketching a pumpkin. Use overlapping curved lines for the body and a small curved rectangle for the stem. Teacher's Tip: Add a tiny oval at the top of the stem to give it a realistic 3D look.
Step 4: Adding Corn Cobs
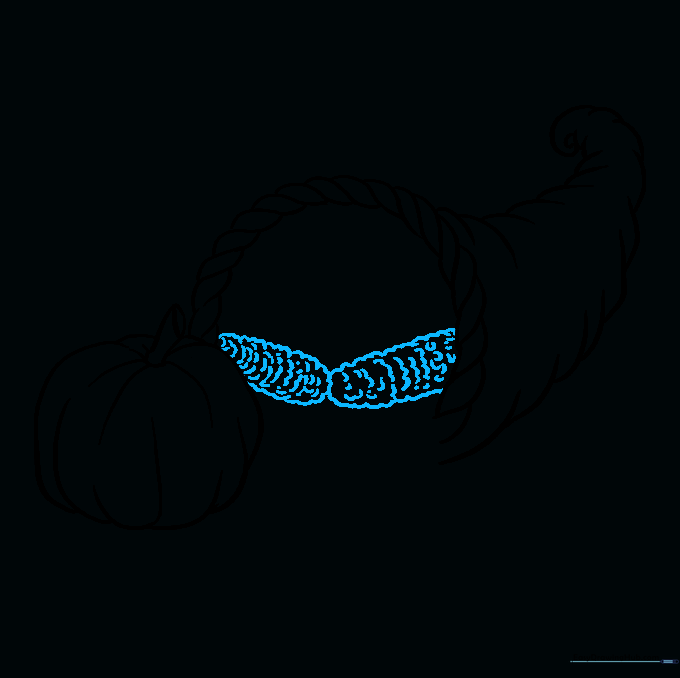
Draw ears of corn using short, connected, curved lines to create a scalloped edge. Fill the cob with rows of 'C' shaped lines. Teacher's Tip: Vary the size of the 'C' shapes slightly to make the kernels look natural.
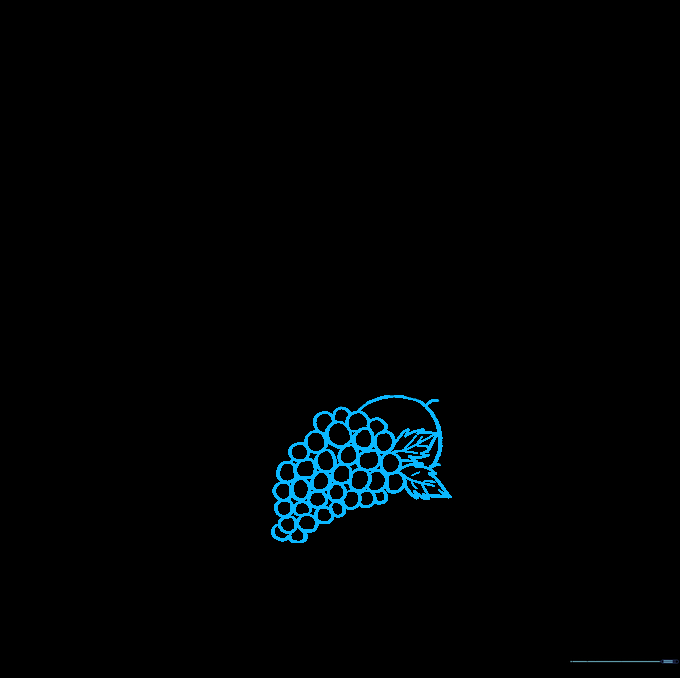
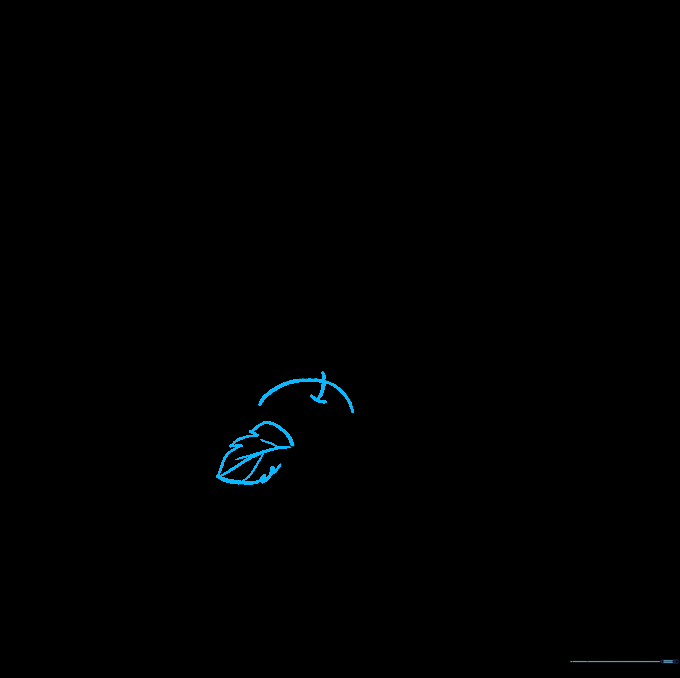
Step 5: Filling with Fruit and Leaves
Draw a bunch of grapes using small, overlapping circles and add some leaves. For leaves, use two curved lines meeting at a point, adding a third line for the vein. Teacher's Tip: Use jagged lines for the leaf edges to make them look more realistic.
Step 6: Overflowing Details
Add more fruit spilling out of the horn. Draw additional grapes and a large rounded fruit. Teacher's Tip: Don't worry if the lines overlap; that's what makes the pile look full and abundant!
Step 7: Sketching the Eggplant

Draw an eggplant by creating a curved body that doubles back on itself. Add a 'W' shaped line at the top for the sepal. Teacher's Tip: Keep the eggplant shape slightly teardrop-like to distinguish it from the other round fruits.
Step 8: Final Touches
Fill any remaining gaps with an apple. Use two perpendicular lines for the stem. Teacher's Tip: Adding small, varied items makes your drawing look like a professional harvest display.
Step 9: Texturing the Basket
Add final details to the basket by drawing overlapping curved lines along the body. Teacher's Tip: These lines represent the woven reeds; keep them consistent to maintain the basket's structure.
Step 10: Bring It to Life with Color
Color your cornucopia! Use warm browns for the basket and vibrant oranges, purples, and greens for the produce. Teacher's Tip: Use light and dark shades of the same color to add depth and shadows to your fruit.
More Tutorials