How to Draw a Cool Robot: Easy 10-Step Guide for Kids
Ready to build your own mechanical friend? This tutorial is perfect for young artists ages 6+ who want to master character design. Grab your pencil, eraser, and paper, and follow these steps to bring a futuristic robot to life on your page.
🎯 Final Result

Step-by-Step Instructions
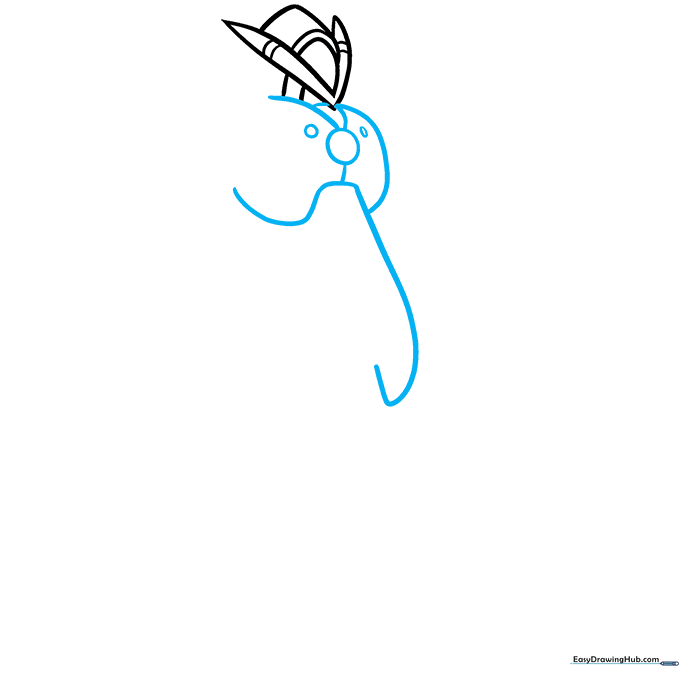
Step 1: Sketching the Head

Start by drawing a 'V' shape for the head, then cap the top with two short lines. Add three curved lines between the arms of the 'V' to create the faceplate. Teacher's Tip: Keep your pencil pressure light here so you can easily adjust the shape if needed.
Step 2: Defining the Torso
Draw a circle in the center of the chest to act as the power core. Surround it with overlapping curved lines to form the chest plates. Tip: Think of these as layers of armor protecting your robot's engine.
Step 3: Adding Shoulder Armor
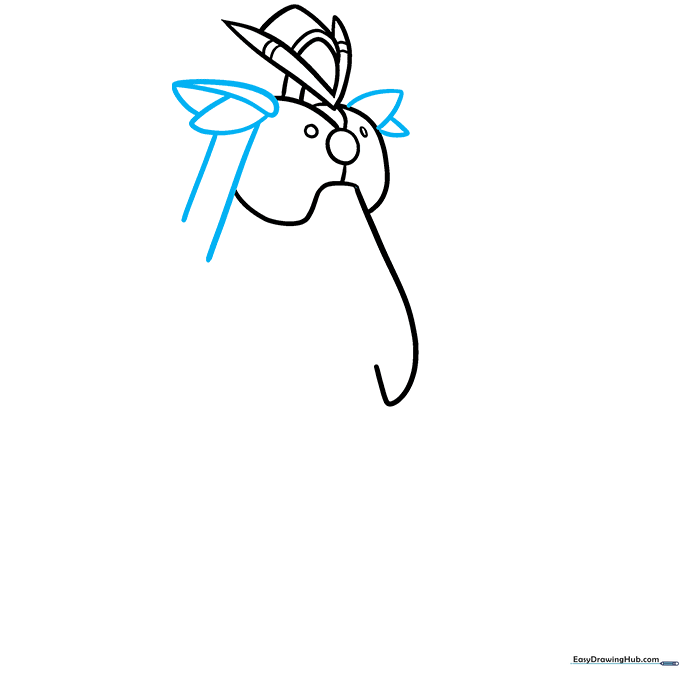
Create shoulder pads using two curved lines that meet at a point. Extend parallel lines downward to start the upper arms. Tip: Make sure the shoulder pads look symmetrical to give your robot a sturdy, balanced look.
Step 4: Designing the Arms
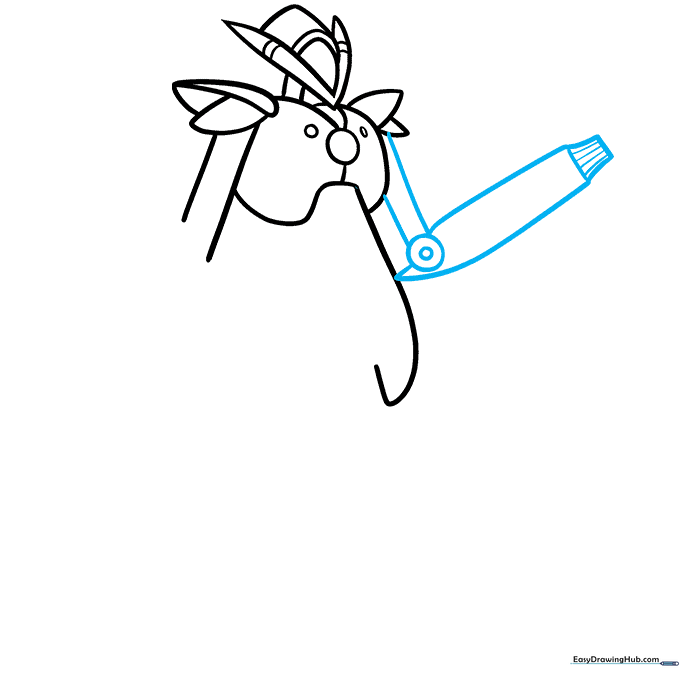
Draw the lower arms, adding a circle at the elbow joint to show where the robot bends. Finish the wrists with striped lines to mimic a sweater cuff. Tip: Use a ruler if you struggle to keep your parallel lines straight!
Step 5: Adding Gadgets
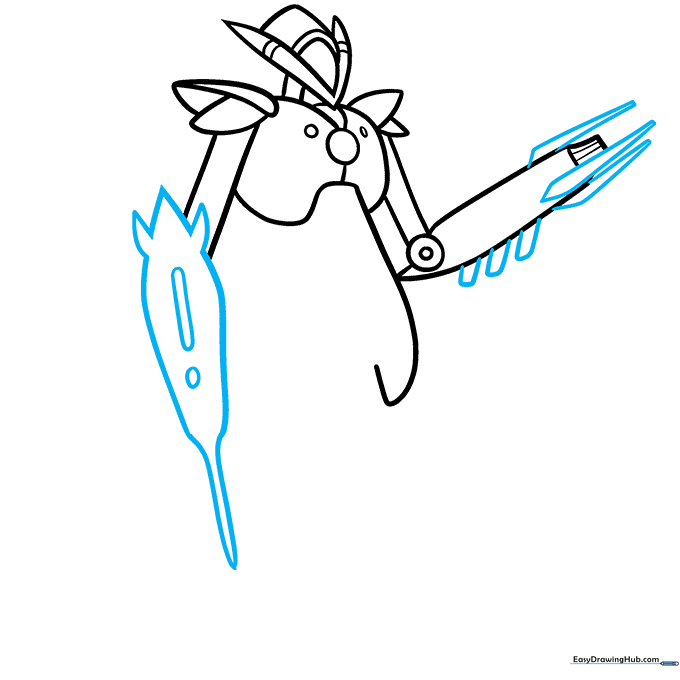
Add parallelogram and triangular stripes to the arms for extra detail. On one arm, draw a spiky rocket shape with a circle and rectangle inside. Tip: This is where you can get creative—what does your robot's rocket do?
Step 6: Torso and Blade
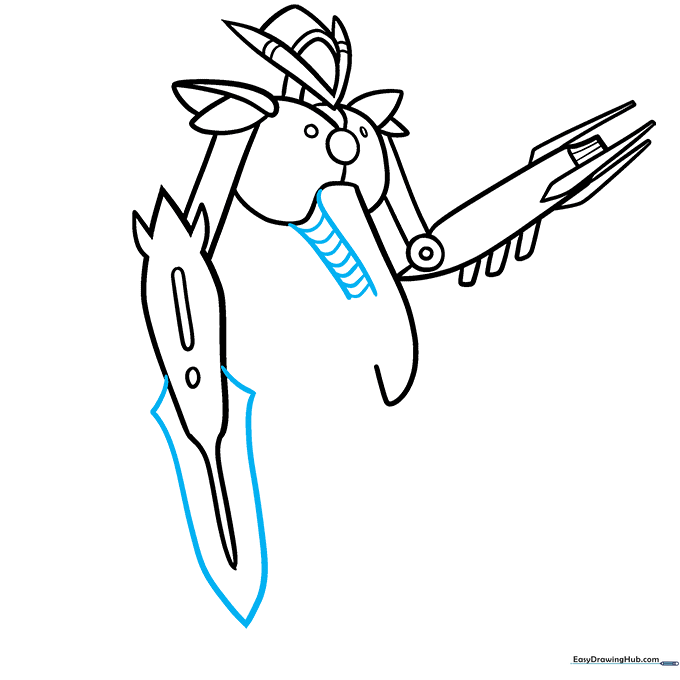
Draw parallel lines along the torso and connect them with short dashes to create a 'ribbed' look. Add a sword-like blade to the lower arm. Tip: Use short, quick strokes to make the ribbing look like industrial metal.
Step 7: Drawing the Legs
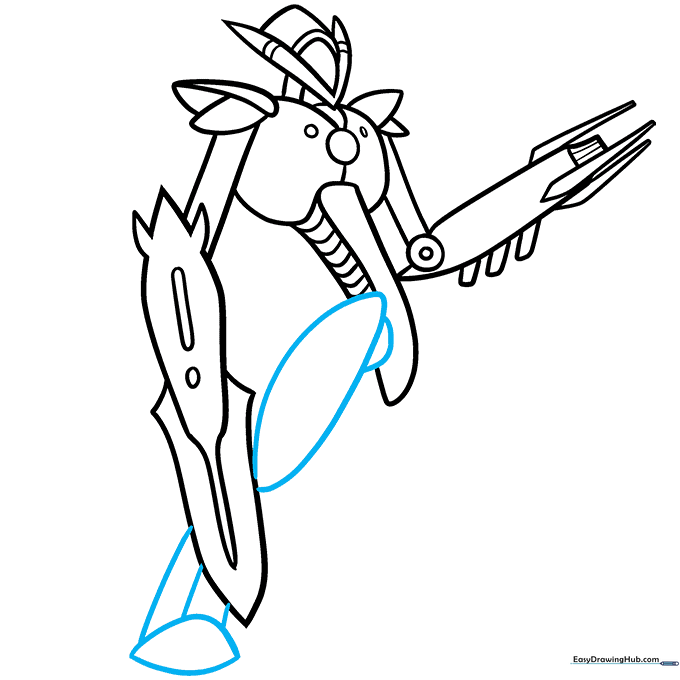
Use curved lines to outline the hip, upper leg, lower leg, and foot. Tip: Keep the legs slightly thicker than the arms to make the robot look like it can stand firmly on the ground.
Step 8: Finalizing the Legs
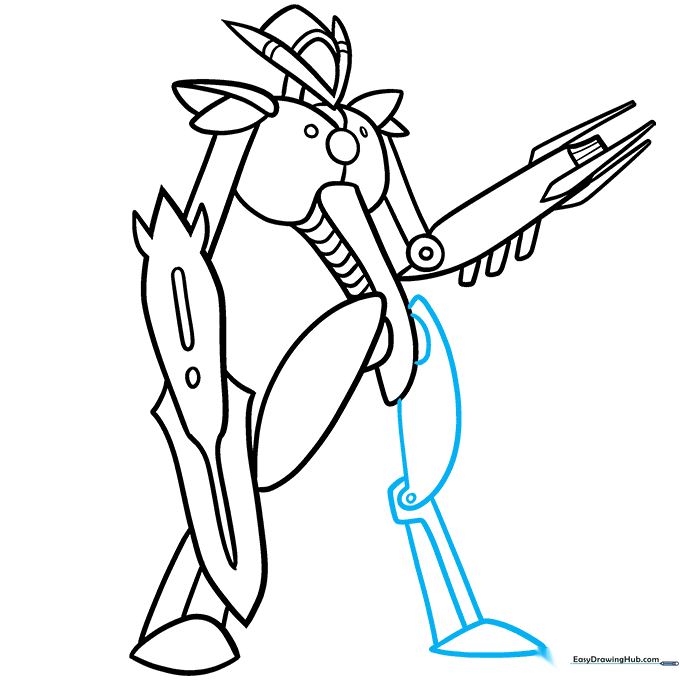
Repeat the process for the second leg. Add a small circle at the knee to show the hinge. Tip: Drawing the knee joint as a circle helps the viewer understand how the robot moves.
Step 9: Adding the Tail
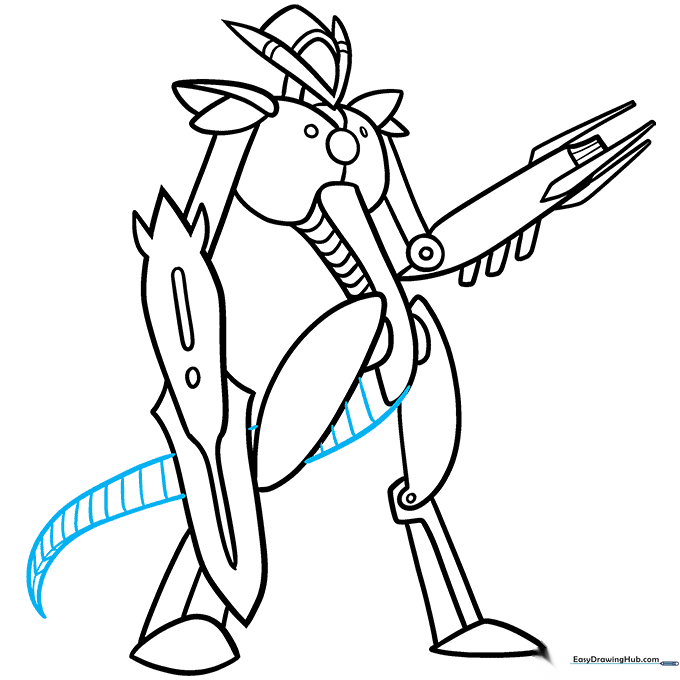
Extend the torso line to create a base for the tail. Draw two curved lines meeting at a point and add stripes. Tip: A tail adds a sense of balance and personality to your robot design.
Step 10: Bringing it to Life with Color
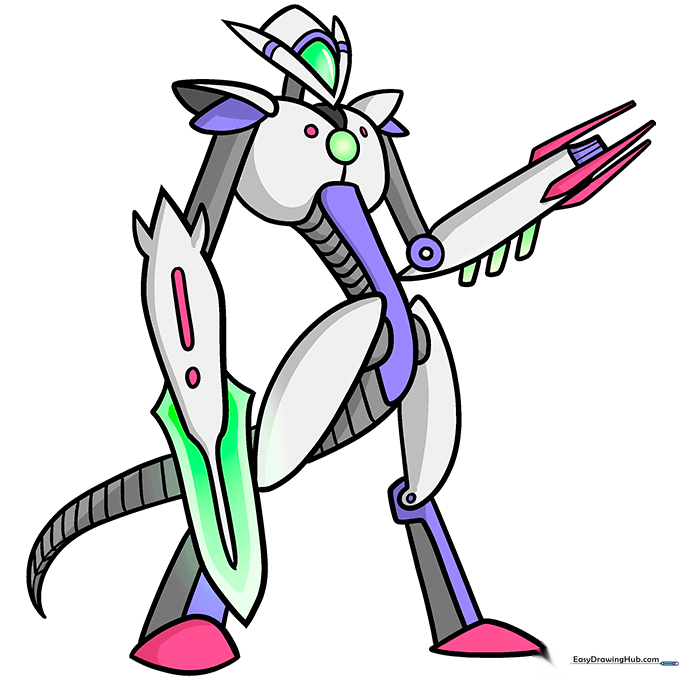
Time to color! Use metallic greys for the body and neon greens, pinks, or purples for the lights and gadgets. Tip: Use a darker shade of grey near the joints to create a shadow effect, making your robot look 3D.
More Tutorials


