How to Draw a Laptop: Easy 10-Step Guide for Kids
This step-by-step tutorial is designed for young artists ages 5 and up to build confidence in drawing 3D objects. All you need is a pencil, an eraser, and a piece of paper to get started. By the end of this lesson, you will master the basics of perspective and geometric shapes.
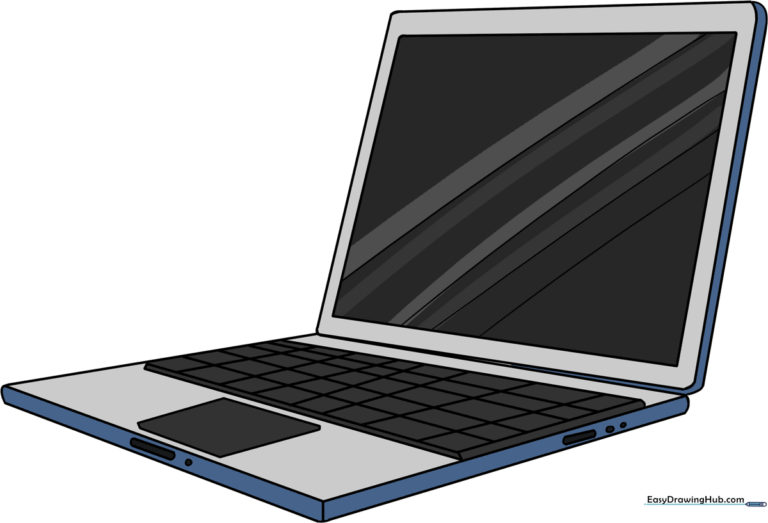
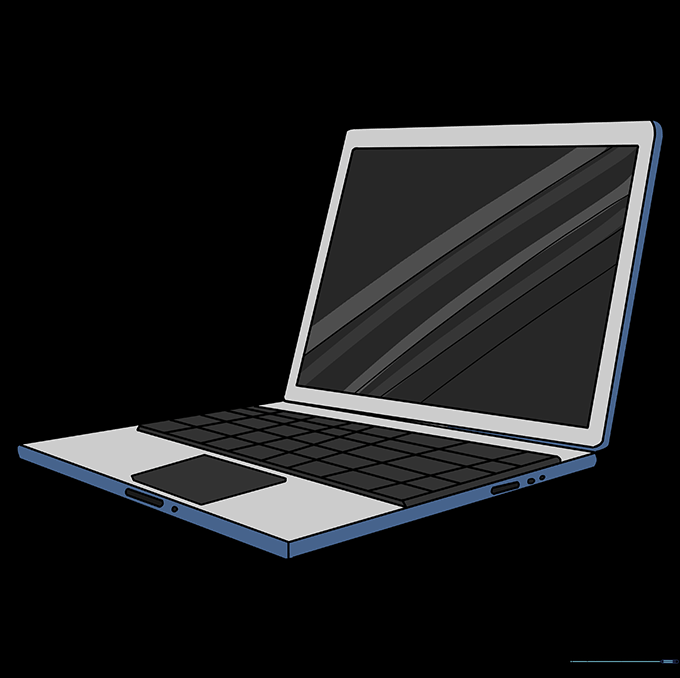
🎯 Final Result
Step-by-Step Instructions
Step 1: Sketching the Screen Base
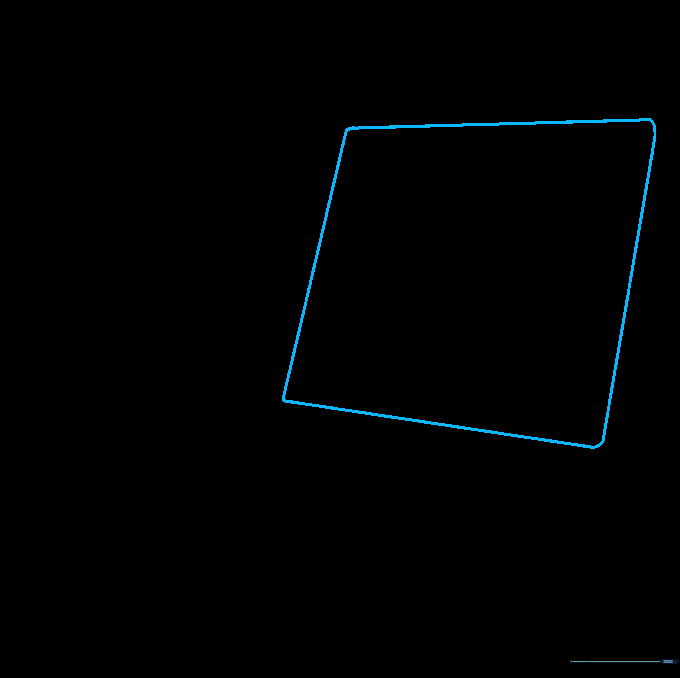
Draw a trapezoid shape to represent the laptop screen. Tip: Keep your pencil lines light and loose so they are easy to adjust later; the top line should be slightly shorter than the bottom to create a sense of depth.
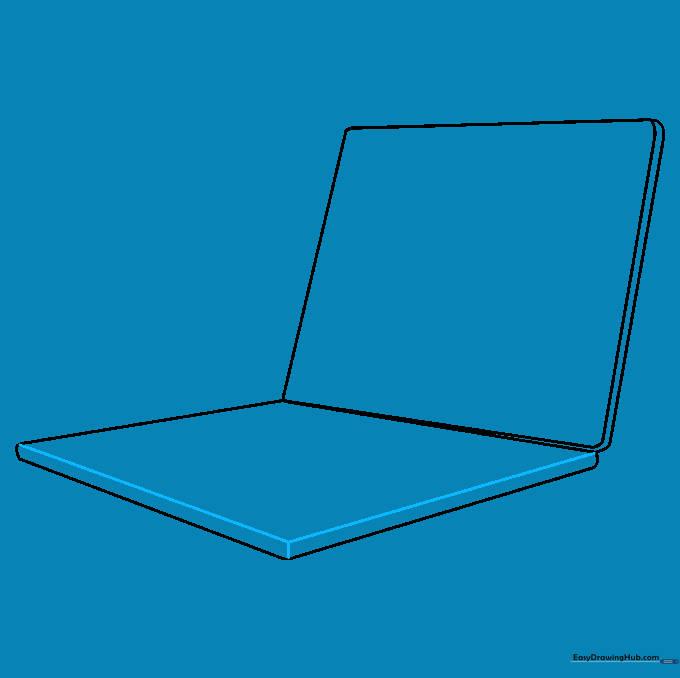
Step 2: Adding Screen Thickness
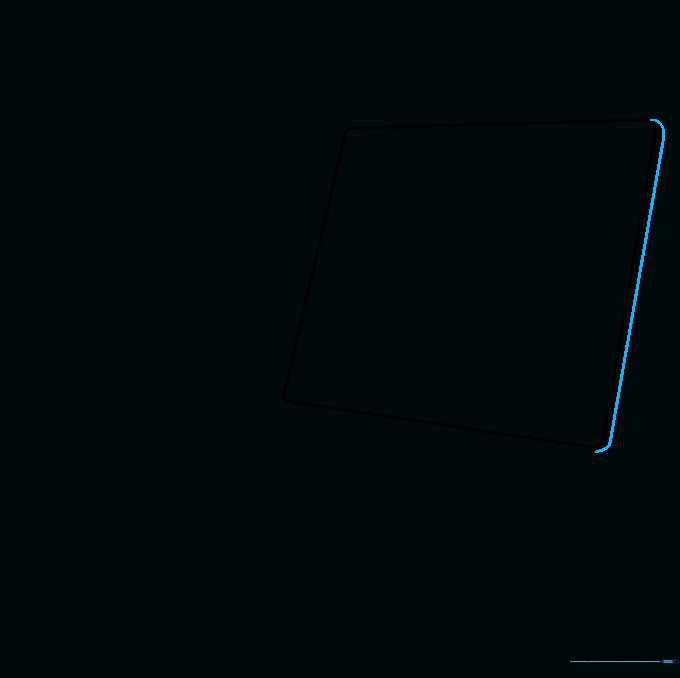
Draw a straight line parallel to the side of your screen, then connect the corners with small curves. Tip: These small rounded corners are key to making your drawing look like a real, modern device rather than a flat box.
Step 3: Outlining the Keyboard Base
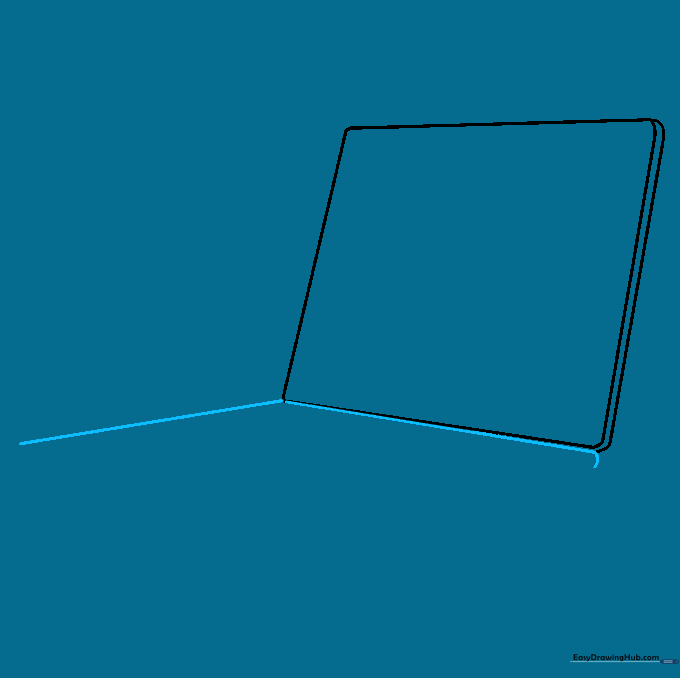
Draw a diagonal line from the bottom corner to start the keyboard area. Tip: Imagine the laptop is sitting on a table; keep your lines consistent to ensure the perspective looks correct.
Step 4: Closing the Keyboard Shape

Use two curved lines to finish the rhombus shape of the keyboard base. Tip: Don't worry if the lines aren't perfectly straight; the rounded corners give it a friendly, cartoon-style look.
Step 5: Adding Keyboard Depth
Draw a short vertical line up from the corner, then connect it to the other side. Tip: This creates the 'thickness' of the laptop body, making it look like it has weight.
Step 6: Defining the Screen Border
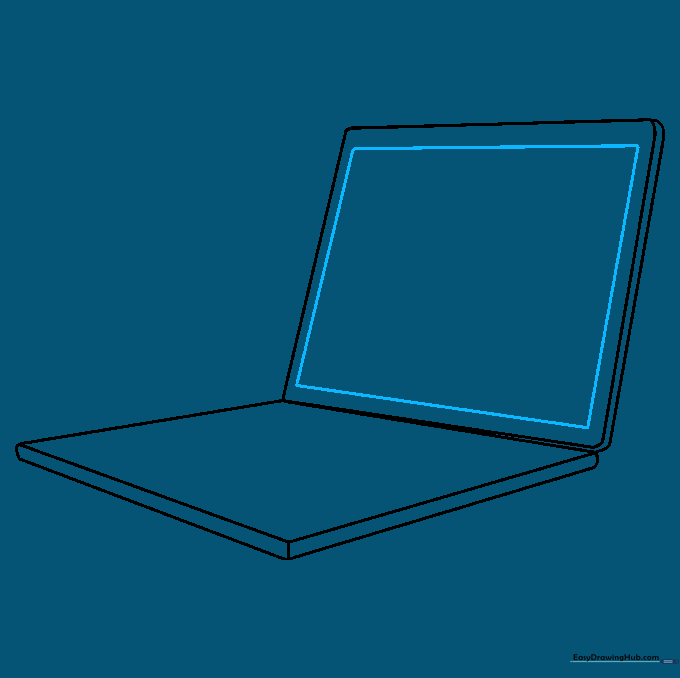
Draw a smaller rectangle inside your screen shape. Tip: Leave an even margin on all sides to make it look like a professional screen bezel.
Step 7: Drawing the Keys
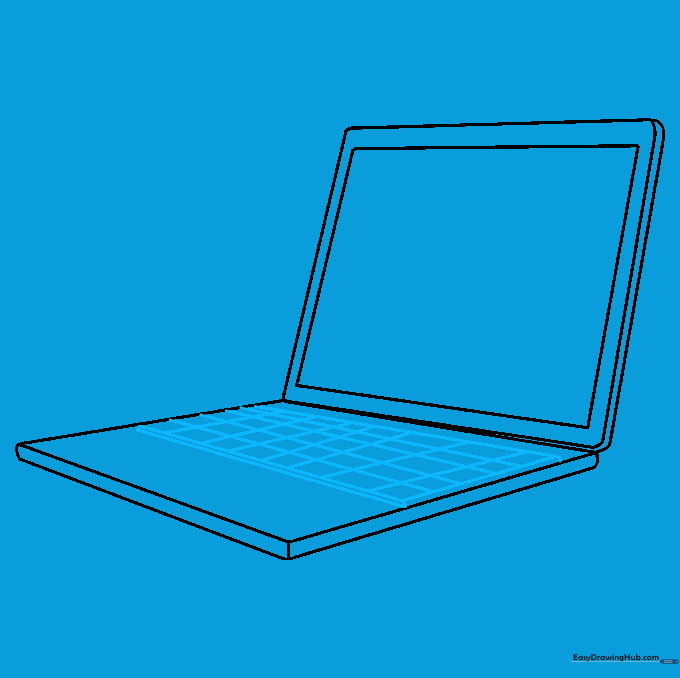
Create a grid of squares on the keyboard area by drawing intersecting horizontal and vertical lines. Tip: Use a ruler if you want perfect keys, or go freehand for a more artistic, organic feel.
Step 8: Adding Ports and Details
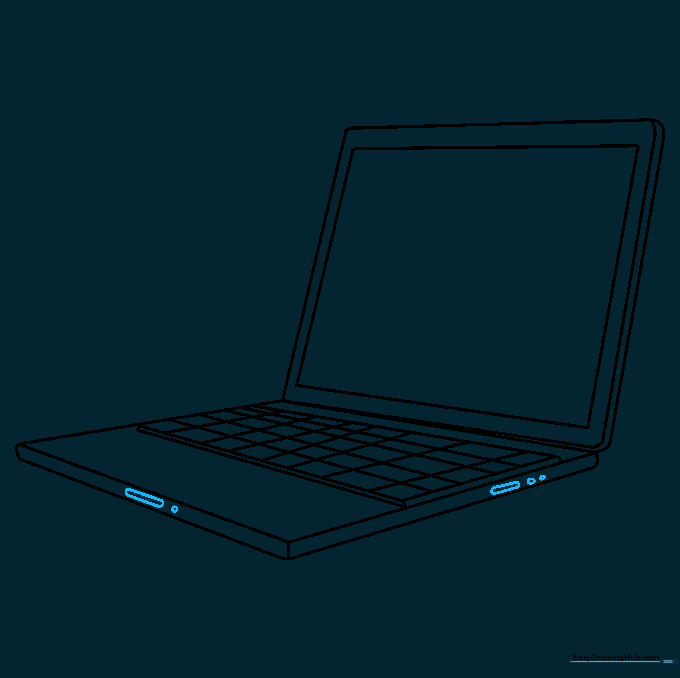
Add small circles and ovals along the side of the laptop base. Tip: These represent USB ports or headphone jacks—adding these tiny details makes your drawing look much more realistic.
Step 9: Adding the Touchpad and Screen Glare

Draw a small square for the touchpad and diagonal lines across the screen. Tip: The diagonal lines represent light reflecting off the glass, which adds a professional 'finished' look to your drawing.
Step 10: Final Touches and Coloring
Time to bring your laptop to life! Use your favorite colors to fill in the screen and keyboard. Tip: Try using a light blue for the screen to mimic a digital glow.
More Tutorials


