How to Draw a Compass: Easy 10-Step Guide for Beginners
Ready to map out your next adventure? This tutorial is perfect for young explorers and beginners ages 5+. You'll only need a pencil, an eraser, and a piece of paper to build your own navigational tool while practicing steady hand control and geometric shapes.
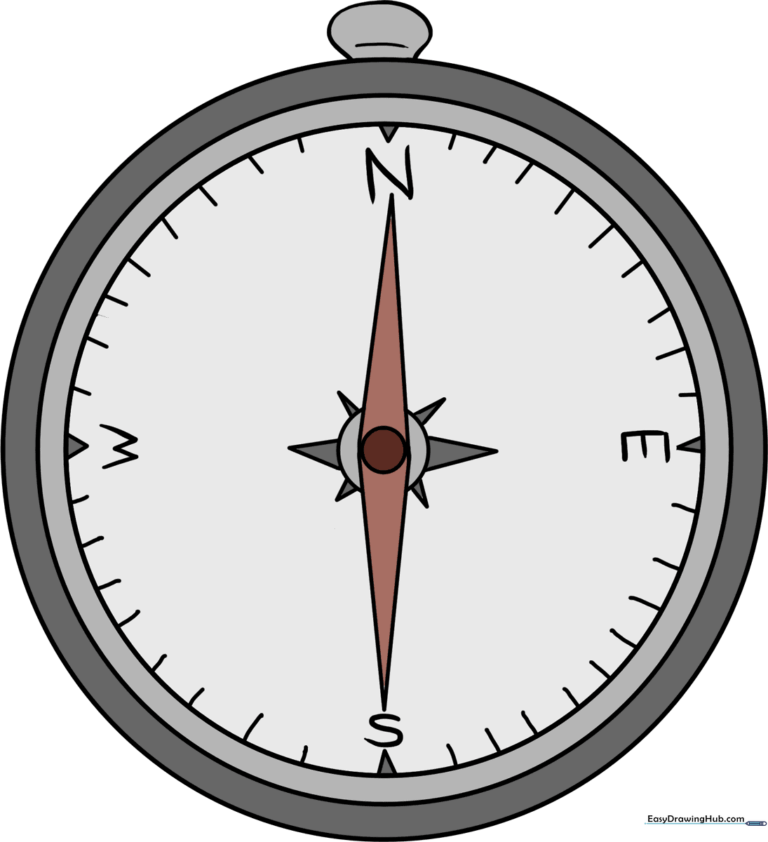
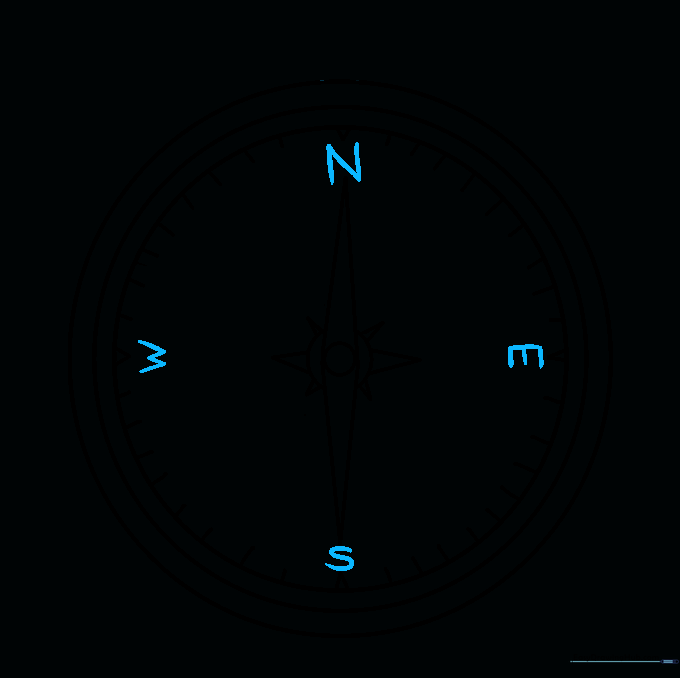
🎯 Final Result
Step-by-Step Instructions
Step 1: Sketching the Outer Casing

Draw a large, light circle to serve as the main body of your compass. Teacher's Tip: Don't worry about it being perfect—a slightly imperfect circle adds character, and you can always refine the shape as you go.
Step 2: Defining the Metal Frame
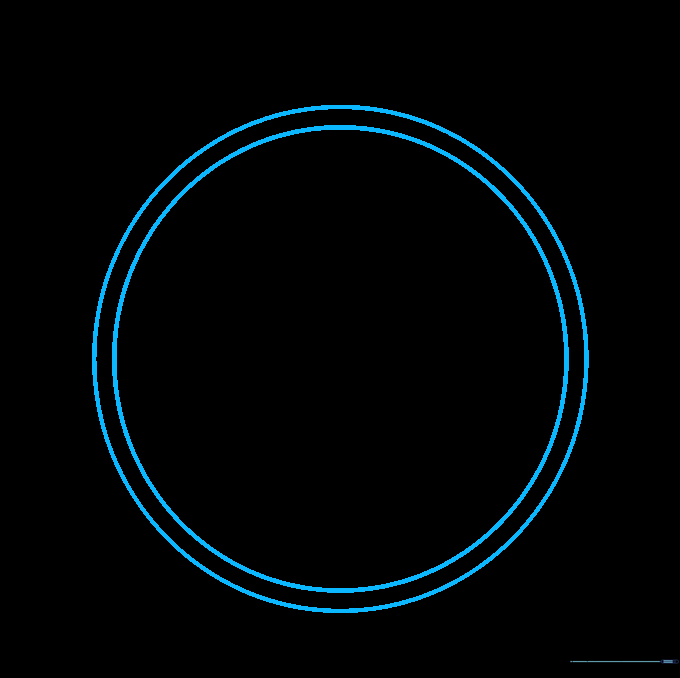
Draw two smaller circles inside your first one to create the thickness of the metal case. Teacher's Tip: Keep the space between these lines consistent to make the compass look professional.
Step 3: Creating the Pivot Point

Draw two tiny circles in the very center of your compass. This is the pivot point where the needle will sit. Teacher's Tip: Use a sharp pencil tip here to keep these small details clean.
Step 4: Drawing the First Needle Half

Extend two curved lines downward from the center to form a sharp, triangular point. Teacher's Tip: Imagine you are drawing a long, thin kite shape pointing toward the bottom.
Step 5: Completing the Needle
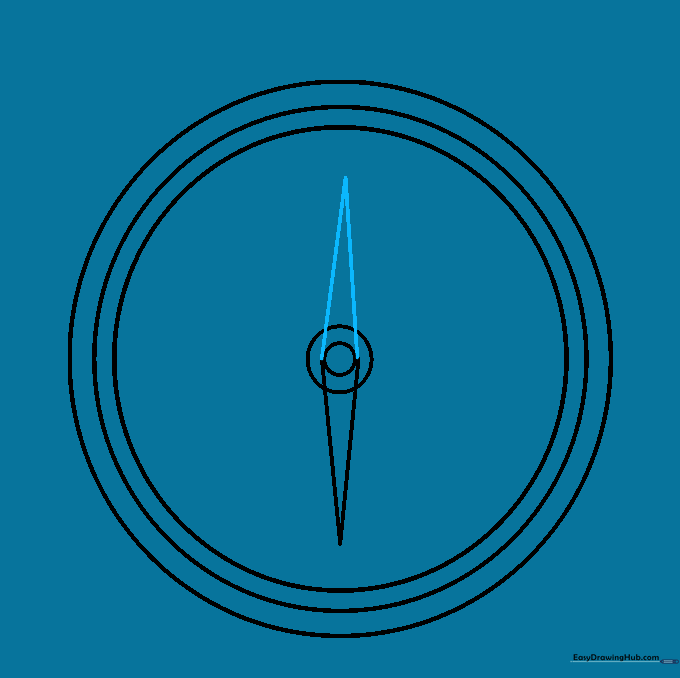
Repeat the process by drawing two curved lines extending upward to create the top half of the needle. Teacher's Tip: Make sure the needle is symmetrical so it looks balanced.
Step 6: Cleaning Your Lines

Gently erase any overlapping lines inside the center pivot area to make your drawing look polished. Teacher's Tip: Use a kneaded eraser if you have one; it's great for lifting graphite without smudging.
Step 7: Adding Dial Details
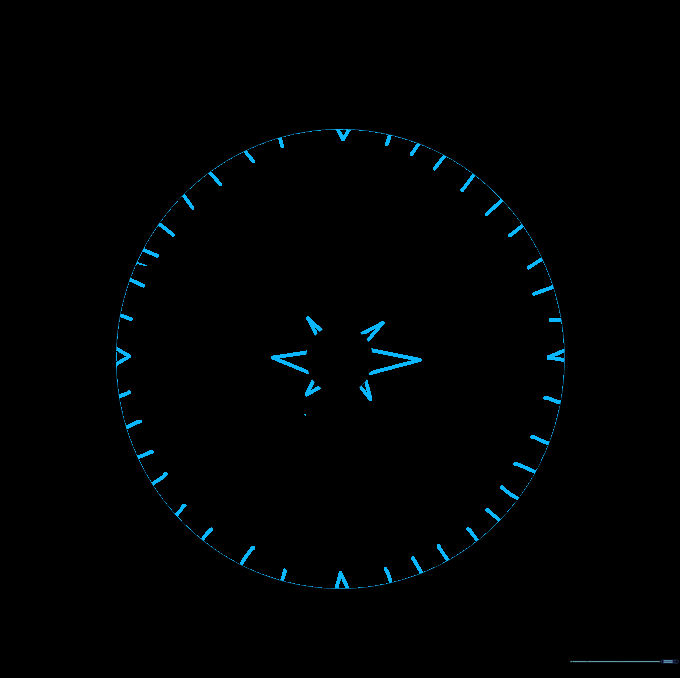
Add small triangles around the dial edge to represent the degree markings. Teacher's Tip: Place them at the top, bottom, left, and right first to keep them evenly spaced.
Step 8: Labeling Directions
Write N, S, E, and W near your triangles to show the cardinal directions. Teacher's Tip: Take your time with the lettering—try to make them all the same size.
Step 9: Drawing the Attachment Loop

Add a small oval at the top of the compass with a curved line to show depth. This is where the chain would attach. Teacher's Tip: A small shadow line inside the loop makes it look 3D.
Step 10: Adding Color
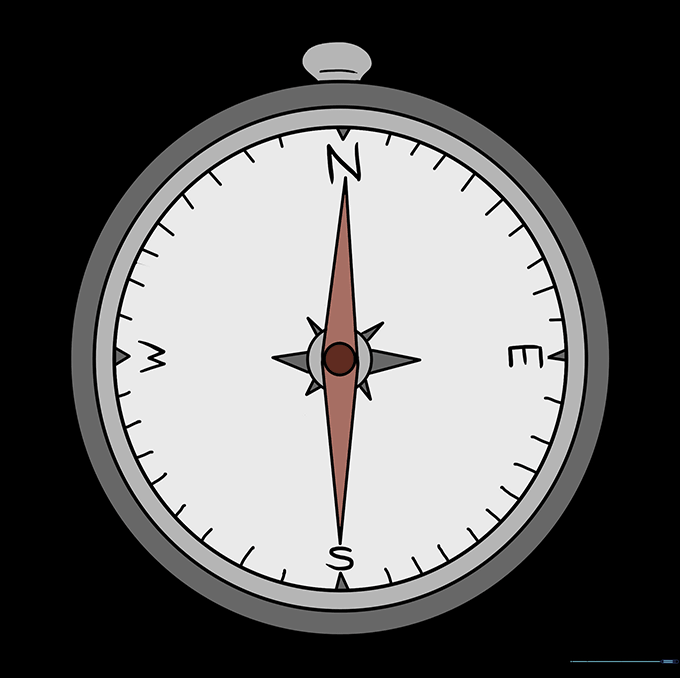
Bring your compass to life with color! Use metallic silvers or golds for the case and bold red for the north-pointing needle. Teacher's Tip: Use light pressure for a soft look or heavy pressure for vibrant, bold colors.
More Tutorials


