How to Draw a Coffin: Easy 10-Step Guide for Beginners
Perfect for Halloween-themed art projects, this tutorial helps young artists master 3D perspective using simple geometric shapes. You will need a pencil, eraser, and paper to get started. By following these steps, you will build confidence in creating depth and texture in your drawings.
🎯 Final Result

Step-by-Step Instructions
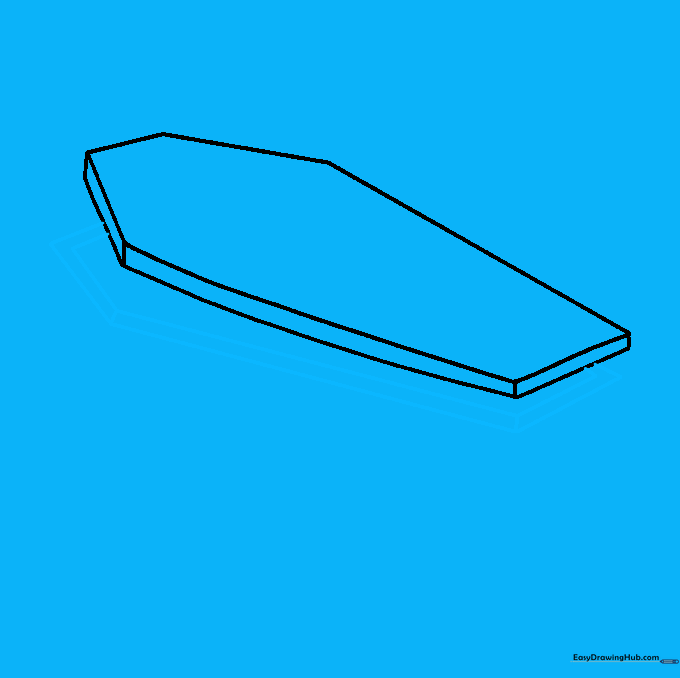
Step 1: Sketching the Hexagon Lid

Draw an elongated, six-sided hexagon shape. Tip: Make the top section slightly wider than the bottom to represent the shoulder area of the coffin. Keep your lines light!
Step 2: Creating 3D Depth

Extend short, vertical lines downward from each corner of your hexagon. Connect these with horizontal lines to give the lid a solid, 3D thickness. Tip: Ensure your vertical lines are all the same length for a balanced look.
Step 3: Drawing the Inner Opening
Draw a smaller, identical hexagon inside the main shape to represent the opening. Connect the corners of this inner shape to the outer edge. Tip: Use a ruler if you struggle with keeping these parallel lines straight.
Step 4: Defining the Base
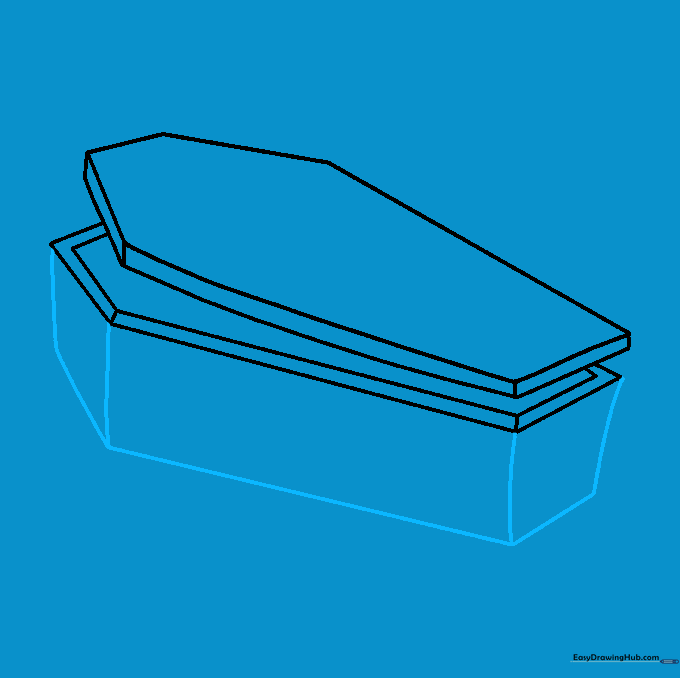
Extend lines downward from the base corners to complete the structure of the box. Tip: Think of this as drawing a tall, narrow crate.
Step 5: Adding the Cross

Draw a simple lowercase 't' shape on the lid. Tip: Center it carefully so it looks like a decorative inlay on the wood.
Step 6: Adding Wood Grain Texture

Draw long, vertical lines down the sides and lid to mimic wooden planks. Add a few short horizontal marks for knots. Tip: Vary the spacing of your lines to make the wood look more natural.
Step 7: Drawing Handles

Sketch two wide 'U' shapes on the sides for handles. Add a small rectangle above the cross. Tip: These handles should look like they are attached to the surface, so keep them rounded.
Step 8: Adding Lowering Details

Add more handles and small 'T' shapes on the top edges. These represent the hardware used for lowering the coffin. Tip: Keep these small so they don't distract from the main shape.
Step 9: Final Touches

Clean up your drawing by erasing unnecessary guide lines. Write 'RIP' inside the rectangle on the lid. Tip: Use a fine-liner pen to make your final lines pop before coloring.
Step 10: Color Your Coffin

Bring your drawing to life with color! Use dark browns and grays for the wood, and perhaps a metallic gold or silver for the handles. Tip: Use light shading on one side to show where the light source is coming from.
More Tutorials


