How to Draw a Coffee Cup: Easy 9-Step Guide for Beginners
Ready to draw your favorite morning beverage? This tutorial is perfect for young artists ages 5 and up to practice basic shapes and perspective. Grab a pencil, an eraser, and some paper to start sketching this cozy coffee cup today.
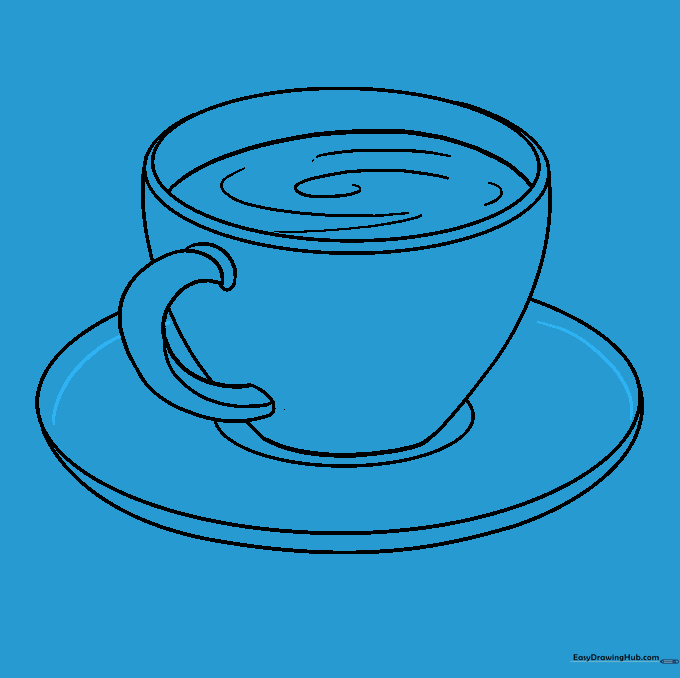
🎯 Final Result

Step-by-Step Instructions
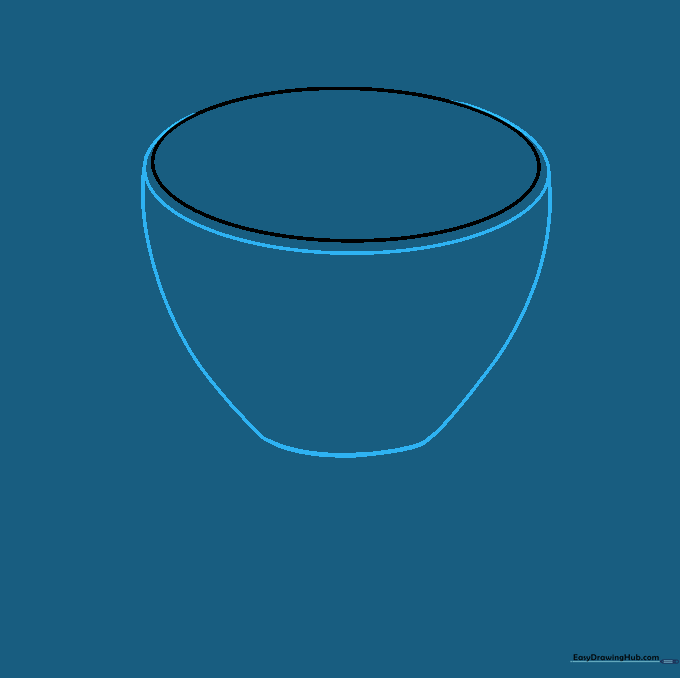
Step 1: Sketching the Rim

Draw a wide, horizontal oval to form the top rim of your cup. Teacher's Tip: Keep your pencil strokes light and airy so you can easily adjust the shape if it looks a bit lopsided.
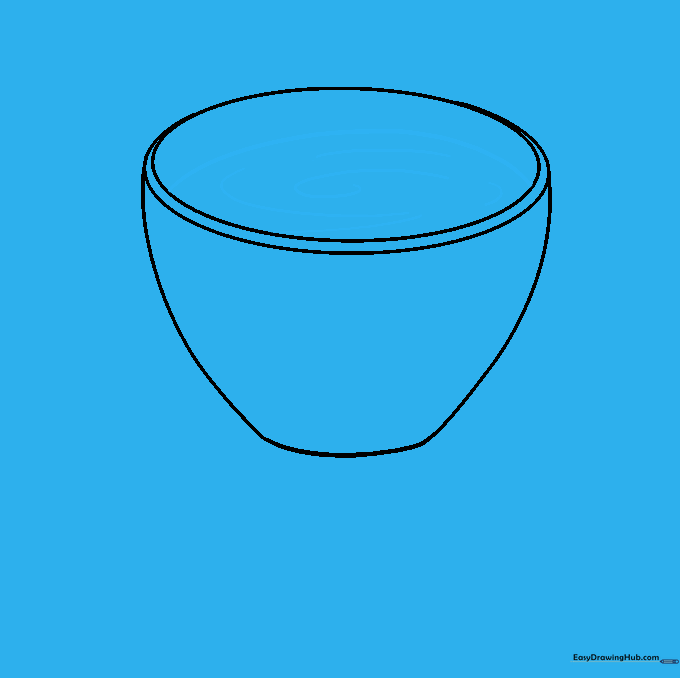
Step 2: Defining the Body
Draw two curved lines downward from the sides of your oval to create the walls of the cup, then connect them at the bottom with a gentle curve. Teacher's Tip: Imagine the cup is a cylinder; keep the sides symmetrical for a balanced look.
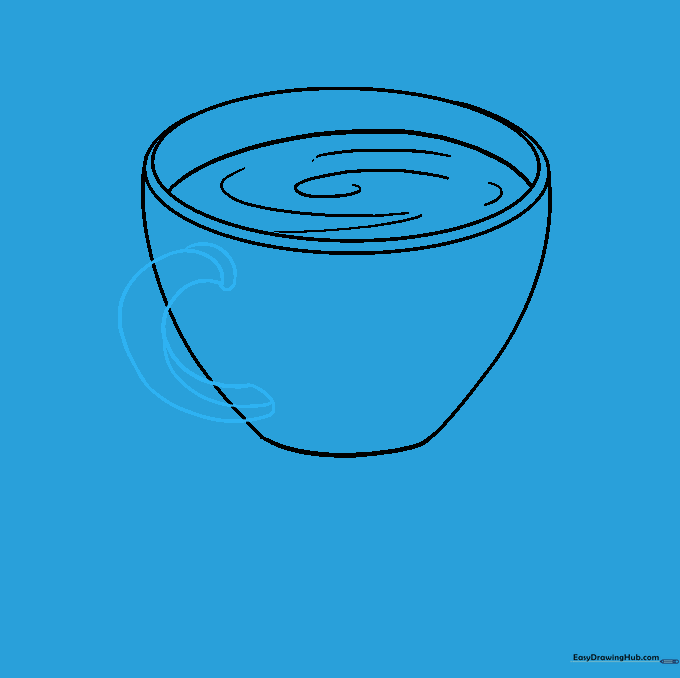
Step 3: Adding the Coffee
Draw a curved line inside the rim to show the surface of the coffee, then add small, wavy lines to suggest ripples. Teacher's Tip: Use short, quick strokes to make the liquid look like it's freshly poured.
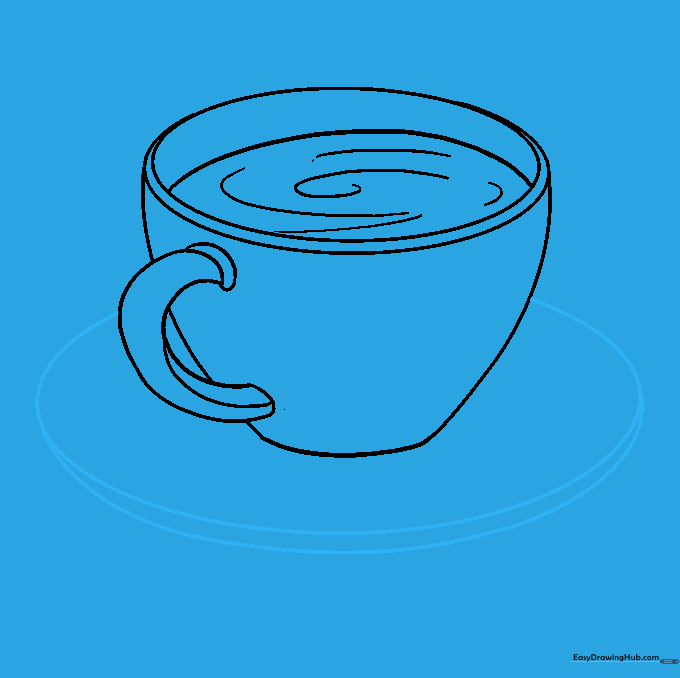
Step 4: Sketching the Handle
Draw two 'C' shaped lines on the side of the cup to create the handle. Teacher's Tip: Make the inner 'C' slightly smaller than the outer one to give the handle a realistic 3D appearance.
Step 5: Cleaning Up

Use your eraser to remove any overlapping guide lines where the handle meets the cup. Teacher's Tip: A clean drawing makes coloring much easier later on!
Step 6: Drawing the Saucer
Draw a large, flat oval around the base of the cup to represent the saucer. Teacher's Tip: Remember that the cup covers part of the saucer, so don't draw the line all the way through the cup!
Step 7: Adding Saucer Detail
Draw a smaller oval around the base of the cup to show the indentation where the cup sits. Teacher's Tip: This small detail adds a professional touch to your drawing.
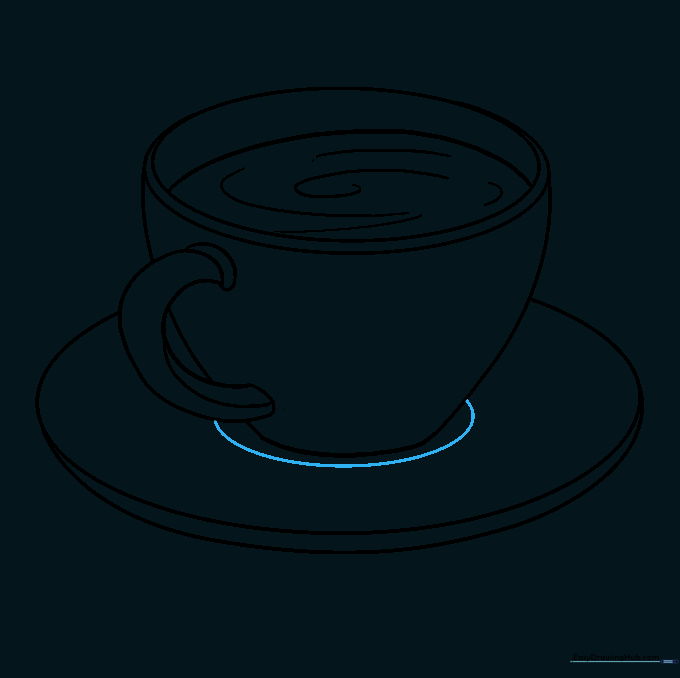
Step 8: Finalizing the Saucer
Add curved lines along the edge of the saucer to give it depth and thickness. Teacher's Tip: Keep these lines parallel to the outer edge of the saucer for a consistent look.
Step 9: Adding Coffee Beans
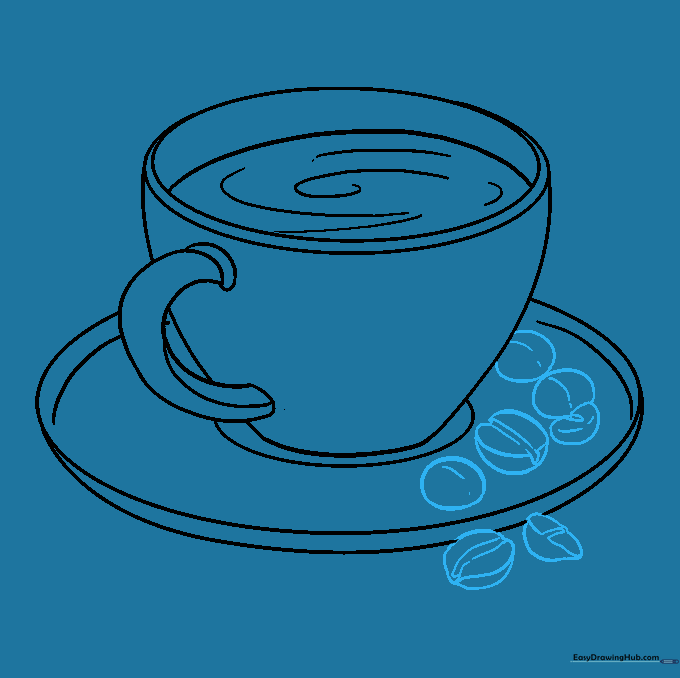
Draw a few small, oval-shaped coffee beans near the saucer. Add a small line down the center of each to show the split. Teacher's Tip: Vary the sizes of the beans to make your drawing look more natural.
Step 10: Color Your Masterpiece

Time to bring your drawing to life! Use your favorite colors for the mug, or try adding a pattern like polka dots or stripes. Teacher's Tip: Use a darker shade of brown for the coffee and a lighter shade for the mug to create contrast.
More Tutorials


