How to Draw a Coati: Easy 10-Step Guide for Kids
Ready to bring this curious jungle explorer to life? This tutorial is perfect for young artists ages 5 and up. Grab a pencil, an eraser, and some paper to practice your line control and character design skills.
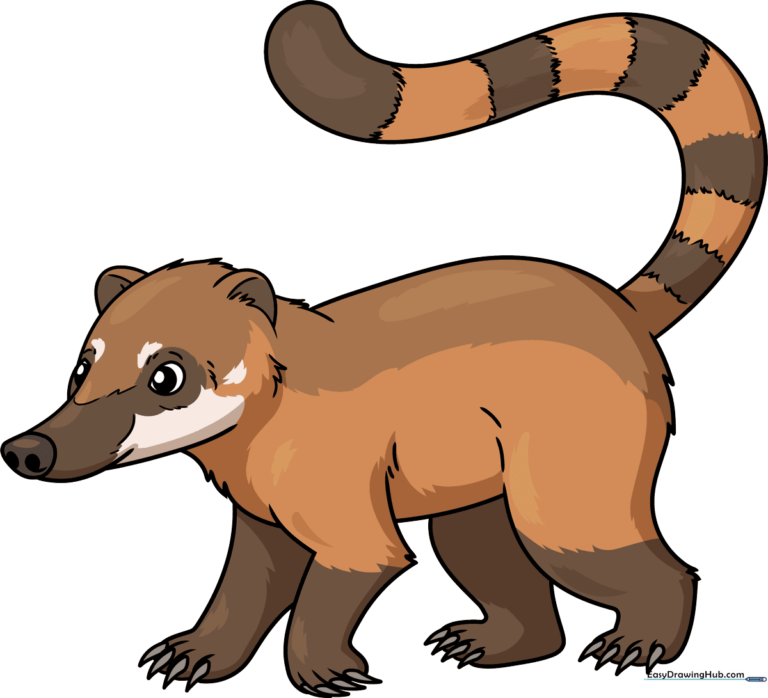
🎯 Final Result
Step-by-Step Instructions
Step 1: Sketching the Snout and Eye
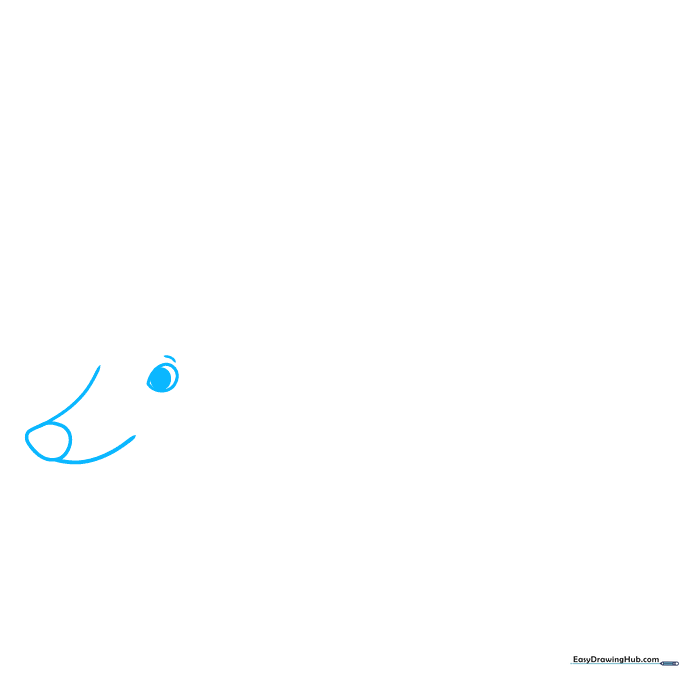
Start by drawing the coati's long, pointed nose. Create a small, irregular circle for the nose pad, then extend two curved lines outward for the snout. Add a teardrop shape for the eye. Teacher's Tip: Keep your pencil lines very light so you can easily adjust the shape of the snout if needed.
Step 2: Defining the Head and Ear
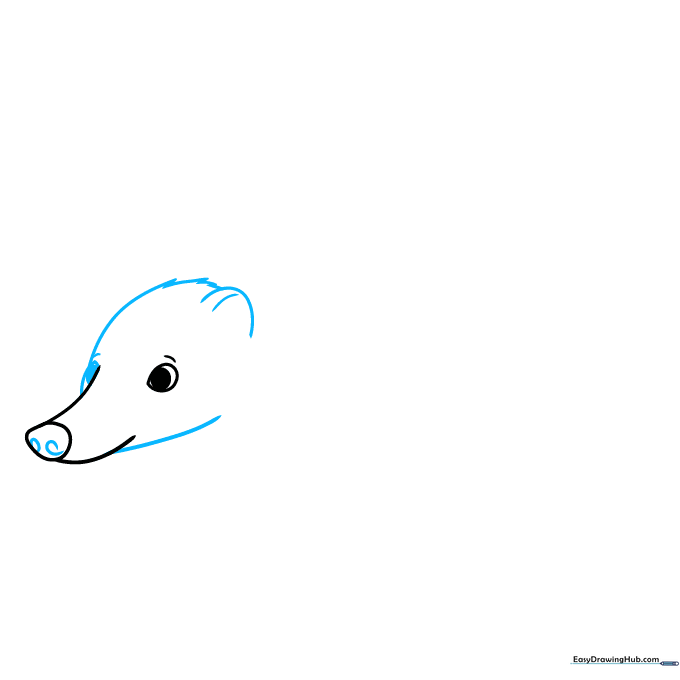
Add nostrils to the nose pad using a small circle and teardrop shape. Use jagged, short lines to draw the top of the head and jaw, which helps create a furry texture. Add a 'C' shaped ear. Teacher's Tip: Use short, quick strokes for the fur to make it look soft rather than smooth.
Step 3: Adding the Neck and Front Leg
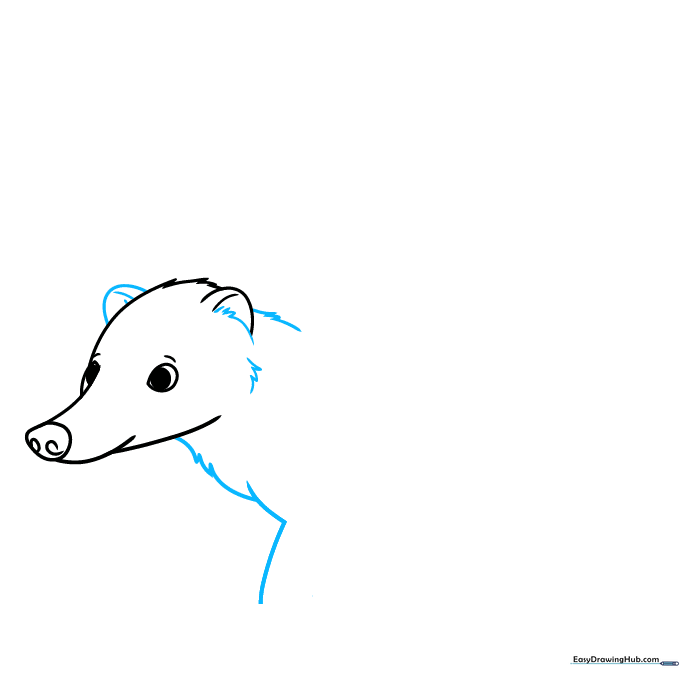
Outline the second ear and use jagged lines to connect the head to the neck, emphasizing the fur. Start the front leg with an 'L' shaped line. Teacher's Tip: Think of the neck fur as a series of small triangles pointing outward.
Step 4: Drawing the Front Paw
Draw the toes using pairs of curved lines, ending each with a sharp, teardrop-shaped claw. Use jagged lines to define the back of the leg. Teacher's Tip: Coatis are known for their strong claws, so make sure they look sharp and pointy!
Step 5: Sketching the Body
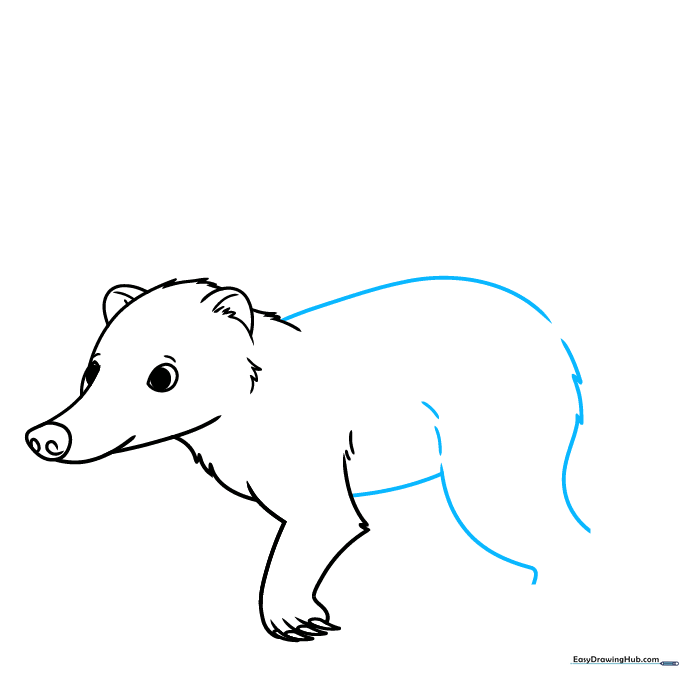
Extend long, smooth curved lines to form the back and the belly. Sketch the rear leg using curved lines. Teacher's Tip: Keep the back line slightly arched to give your coati a natural, active posture.
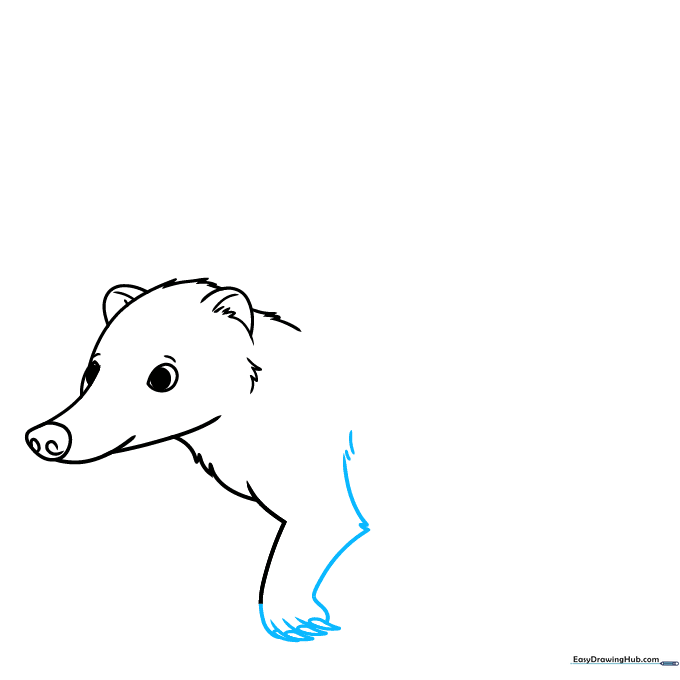
Step 6: Adding the Rear Paw
Draw the rear paw with overlapping curved lines and add the claws. Begin sketching the second foreleg. Teacher's Tip: Overlapping lines create depth, making the foot look like it's resting on the ground.
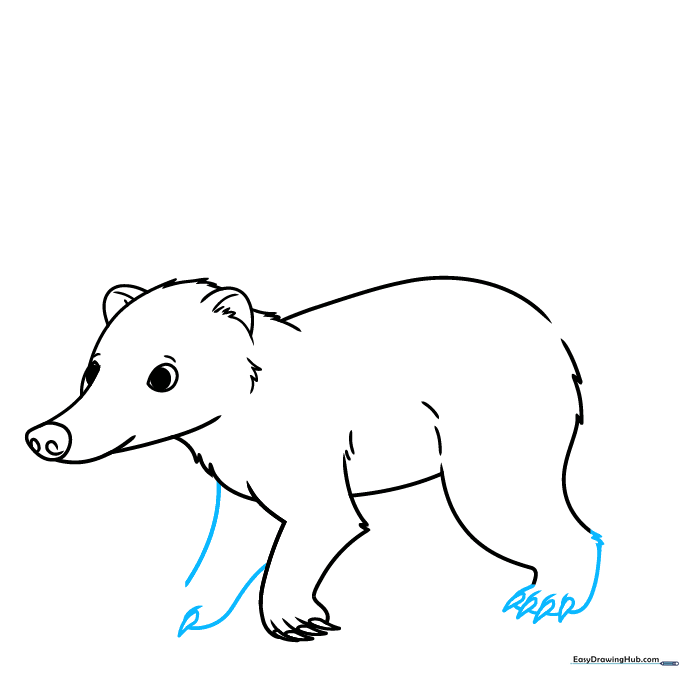
Step 7: Finishing the Legs
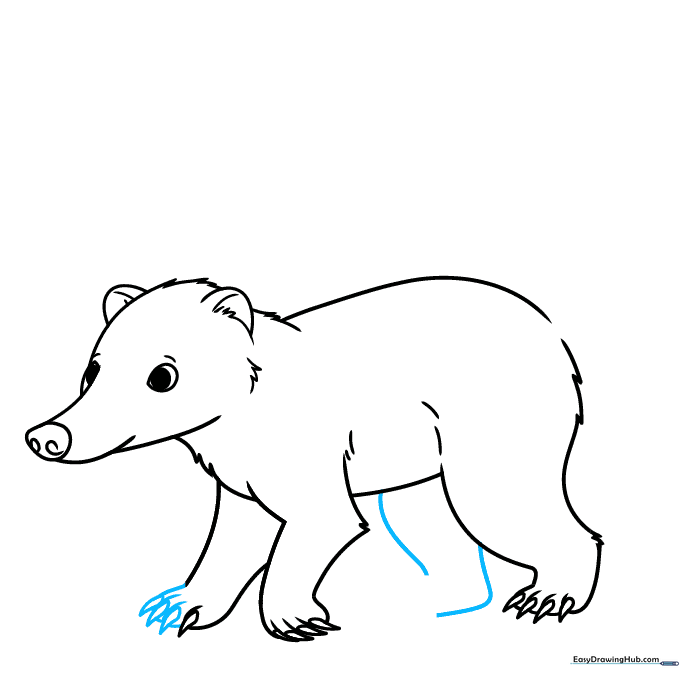
Complete the front paw with toes and claws. Outline the remaining rear leg. Teacher's Tip: Check that your claws are consistent in size across all four paws to keep the drawing balanced.
Step 8: Adding the Tail
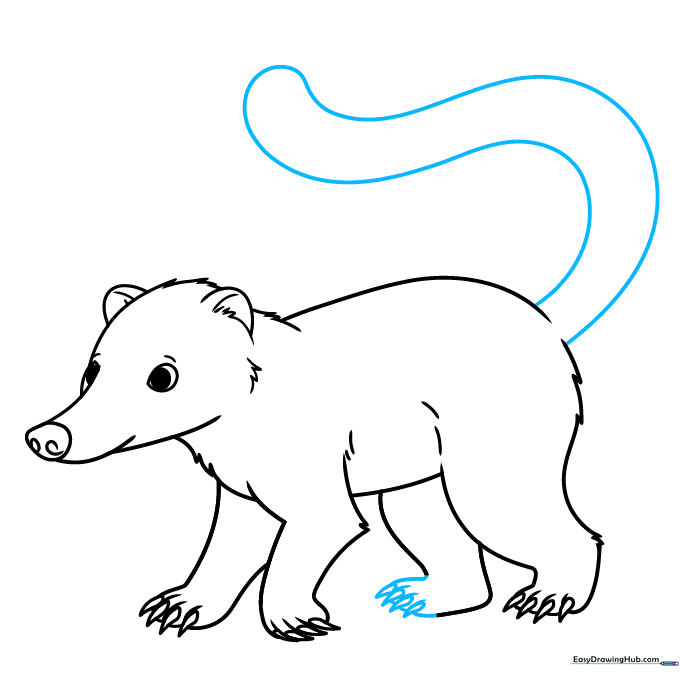
Finish the rear paw details. Extend a long, curved line from the hips and loop it back to create the long, iconic coati tail. Teacher's Tip: Make the tail nice and long—it's a signature feature of the coati!
Step 9: Adding Tail Stripes and Details

Use short zig-zag lines to add stripes along the tail. Add a few final contour lines to the face. Teacher's Tip: Vary the width of the stripes to make the tail look more natural and interesting.
Step 10: Coloring Your Coati
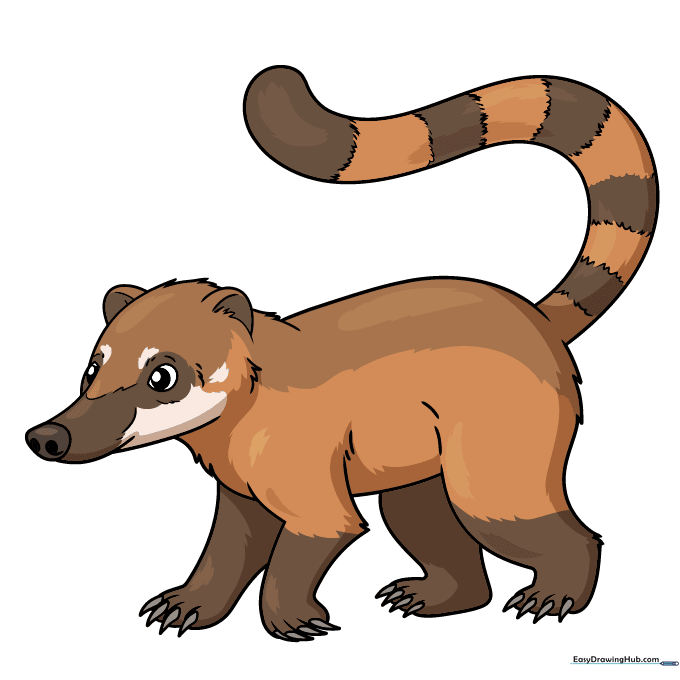
Your outline is complete! Use reddish-brown for the fur, with lighter cream colors for the face and belly. Darken the snout and use alternating dark brown and cream for the tail stripes. Teacher's Tip: Use light pressure with your colored pencils to blend the colors smoothly.
More Tutorials


