How to Draw a Clown Face: Easy 9-Step Guide for Kids
Bring a smile to your sketchbook with this fun, beginner-friendly clown face tutorial. Designed for young artists ages 5 and up, this activity requires only a pencil, paper, and an eraser. Follow these steps to master character proportions and expressive facial features.
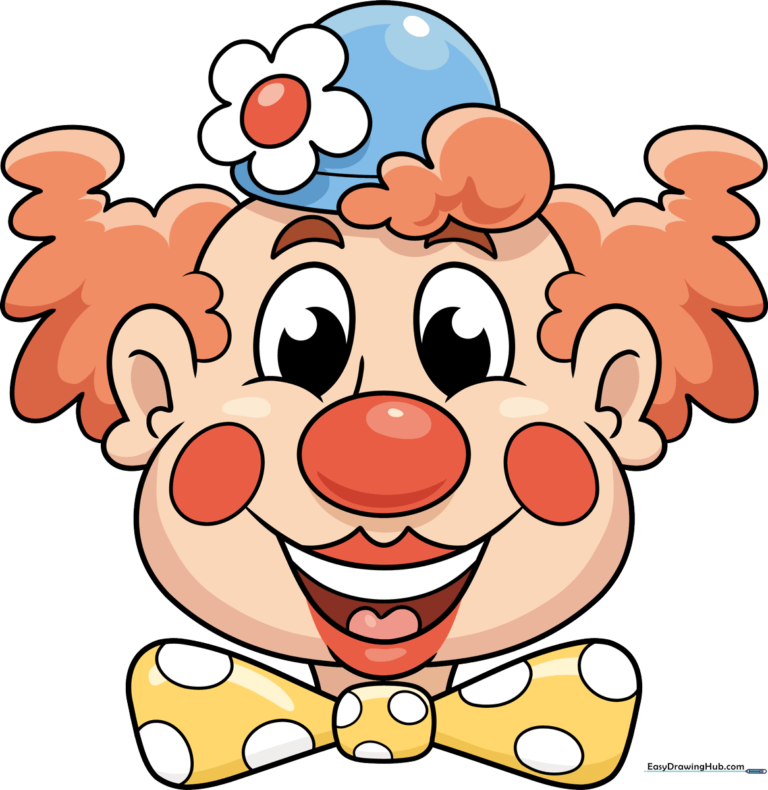
🎯 Final Result
Step-by-Step Instructions
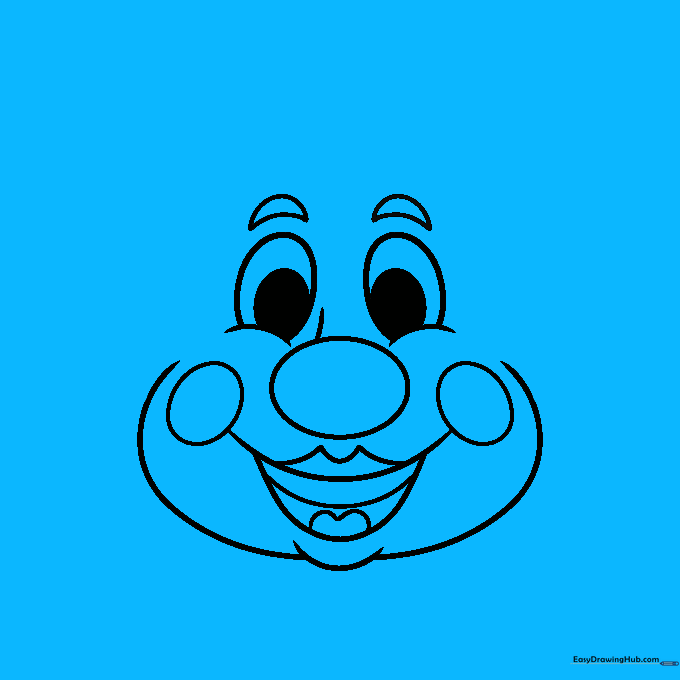
Step 1: Sketching the Eyes and Nose
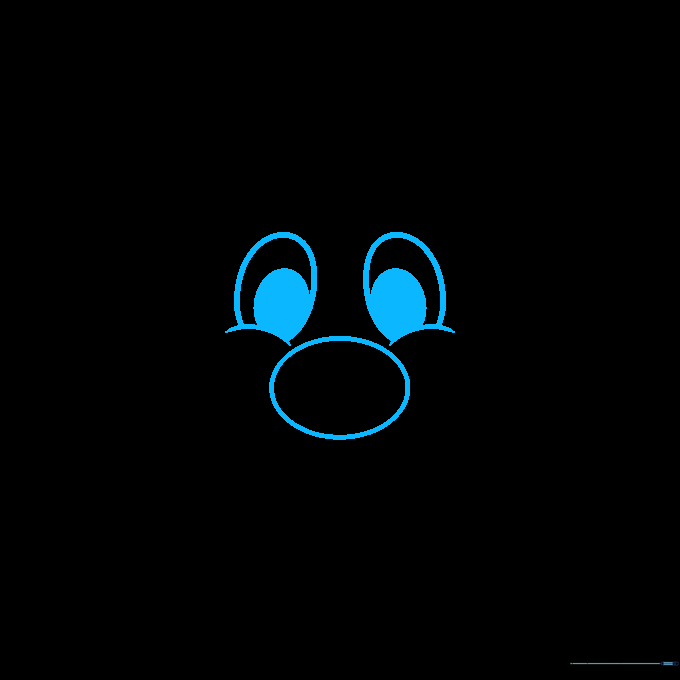
Start by drawing two curved lines for the cheeks. Above these, sketch two large ovals for the eyes, and place a prominent oval in the center for the nose. Teacher's Tip: Keep your pencil pressure light so you can easily adjust the symmetry of the eyes later.
Step 2: Adding Expression
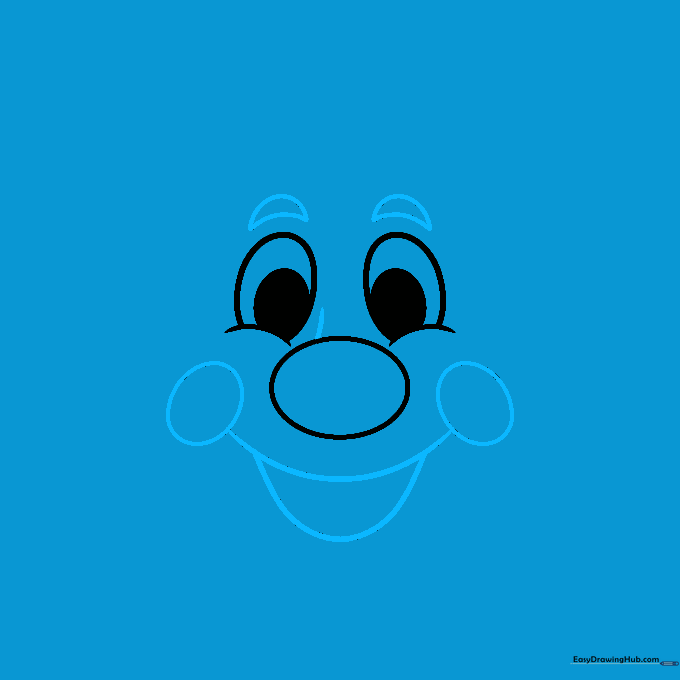
Add crescent-shaped eyebrows above the eyes to give your clown personality. Define the bridge of the nose, and draw a wide, half-moon smile between the cheeks. Teacher's Tip: A wider smile makes the clown look friendlier—don't be afraid to make it big!
Step 3: Defining the Face and Mouth
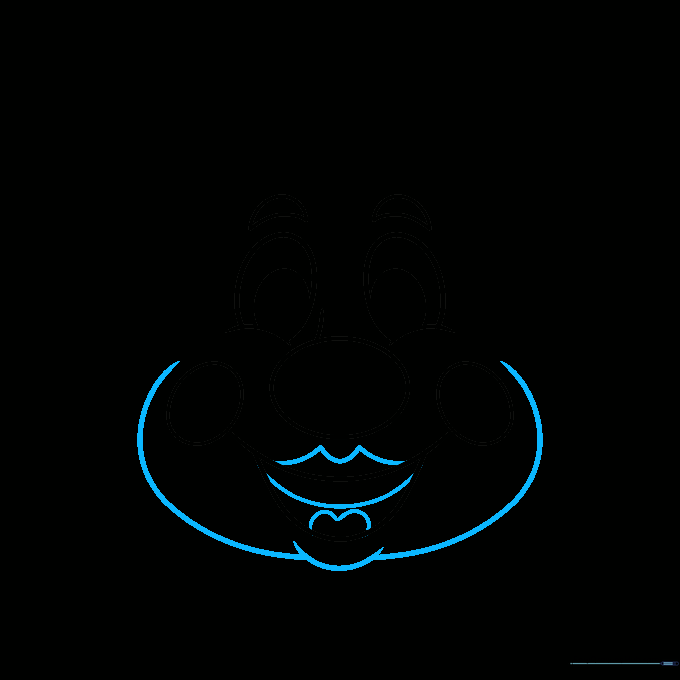
Outline the sides of the face and add a curved chin. Use an 'M' shape for the upper lip and add details for teeth and a tongue inside the mouth. Teacher's Tip: Use short, quick strokes for the lips to keep the cartoon style clean.
Step 4: Ears and Hair Base
Draw the ears on the sides of the head with internal detail. Start sketching the fluffy hair using rounded, cloud-like lines. Teacher's Tip: Vary the size of your 'fluff' loops to make the hair look voluminous and bouncy.
Step 5: Adding the Hat
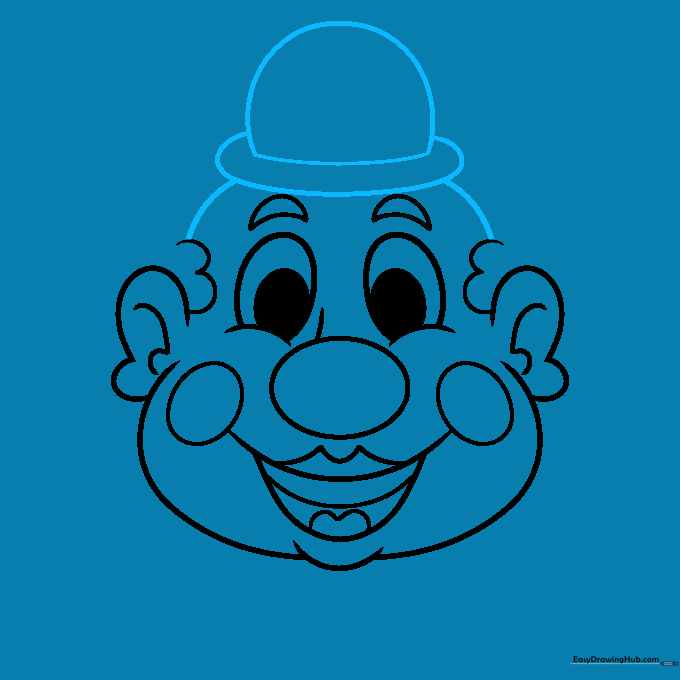
Sketch a small hat perched on top of the head. Connect the brim to the hair you started in the previous step. Teacher's Tip: A slightly tilted hat adds a playful, whimsical touch to your character.
Step 6: Building the Hair
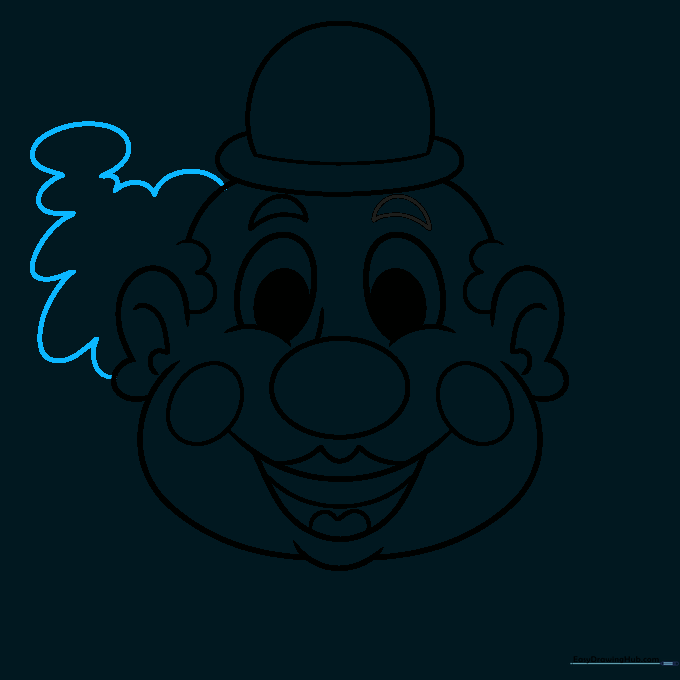
Continue drawing the fluffy hair using connected curved lines to create a triangular shape on one side. Teacher's Tip: Don't worry about making the hair perfectly symmetrical; clown hair is meant to be messy and fun!
Step 7: Balancing the Hair
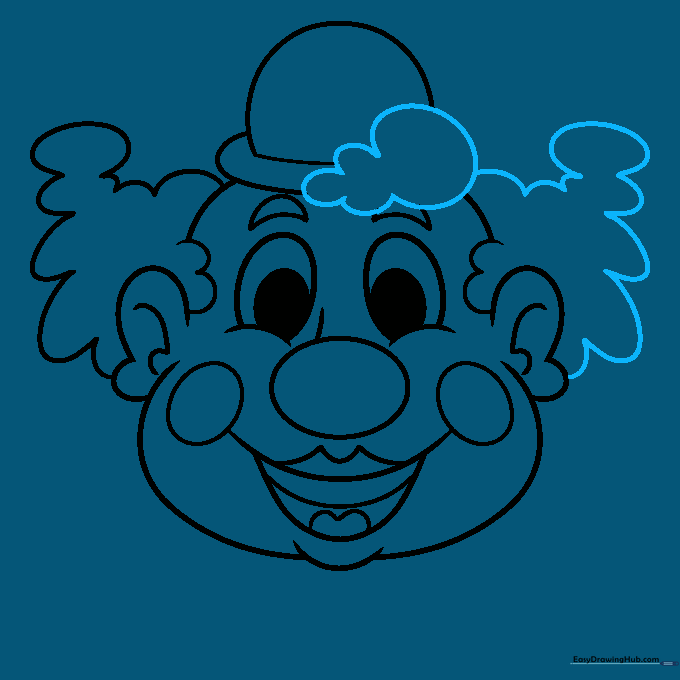
Repeat the process for the other side. Add a few stray tufts of hair crossing over the hat for a realistic, wild look. Teacher's Tip: Use your eraser to remove any lines hidden behind the hair to keep your drawing clean.
Step 8: Details and Bow Tie
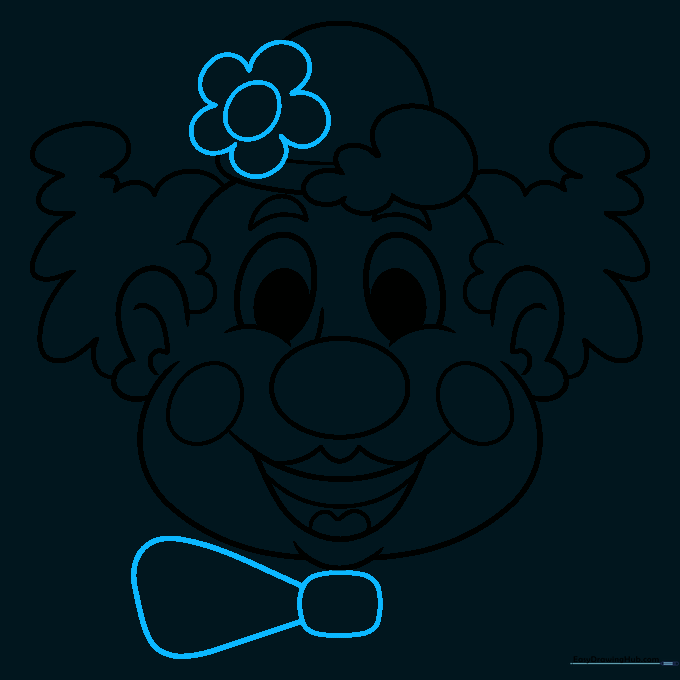
Add a flower to the hat and begin the bow tie with a rounded square knot. Extend curved lines to create the bow lobes. Teacher's Tip: The bow tie is the perfect place to add patterns later, so keep the lines simple for now.
Step 9: Final Touches
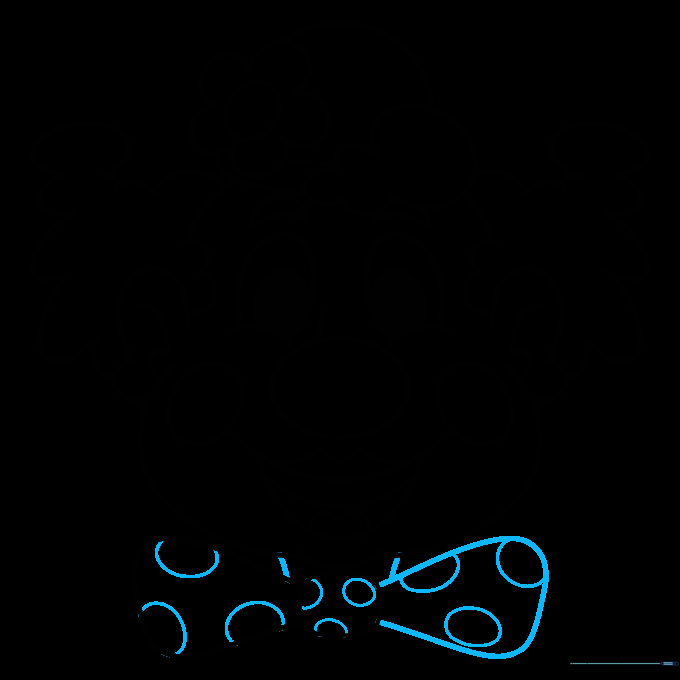
Finish the bow tie with polka dots and draw the neck. Your clown is now ready for color! Teacher's Tip: Use bright, contrasting colors like red, yellow, and blue to give your clown a classic, cheerful look.
Color Your Clown Face Drawing
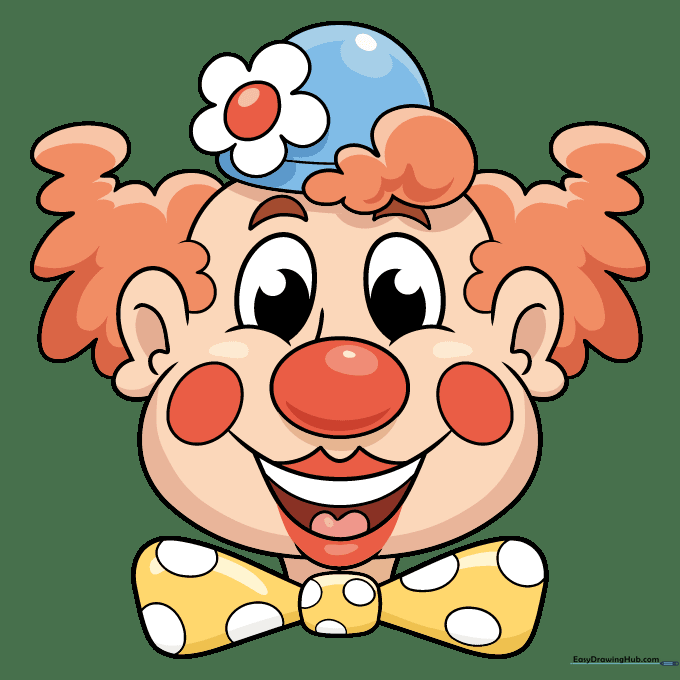
Bring your drawing to life with vibrant colors. We chose classic circus colors to emphasize the happy, silly expression of our clown.
More Tutorials


