How to Draw a Cicada: Easy 9-Step Guide for Kids
Capture the buzzing energy of summer by drawing your own cicada! This tutorial is designed for young artists ages 6+ and requires only a pencil, paper, and an eraser. Follow along to master insect anatomy while building confidence in your sketching skills.
🎯 Final Result

Step-by-Step Instructions
Step 1: Sketching the Eye

Start by drawing a medium-sized oval for the head, then add a smaller, shaded oval inside to create the eye. Teacher's Tip: Keep the eye shape slightly irregular to make your insect look more natural and less like a machine.
Step 2: Adding the Second Eye and First Leg
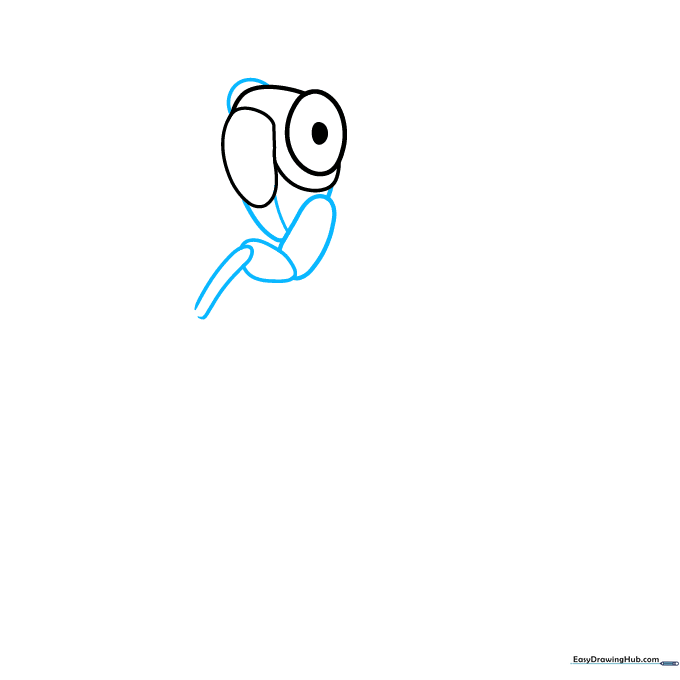
Draw a partial oval on the opposite side of the head for the second eye. Next, sketch a series of small, overlapping rounded shapes to form the first leg. Teacher's Tip: Think of the leg segments like a stack of beads; keep them connected with smooth, curved lines.
Step 3: Defining the Feet
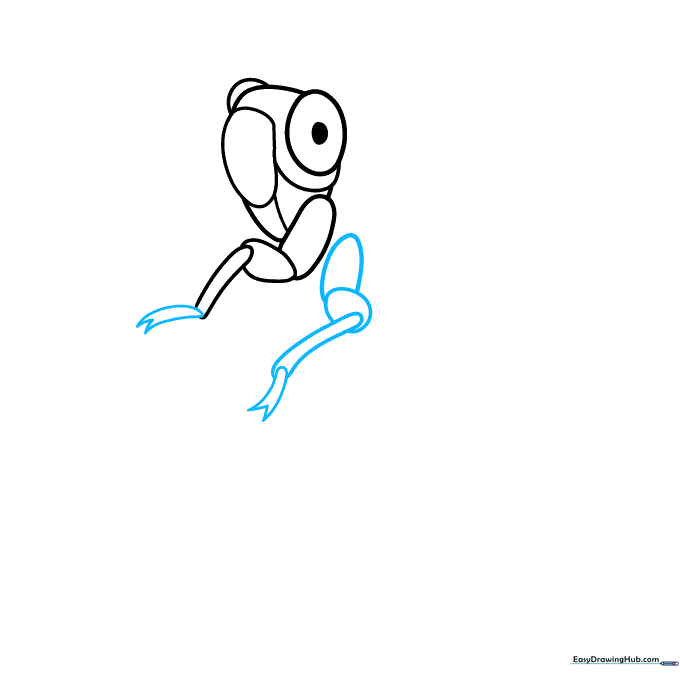
Extend two curved lines from the leg segments and join them with a sharp 'V' shape to create the foot. Repeat this process below the first leg to start the second one. Teacher's Tip: Use a light touch; cicada legs are delicate, so avoid pressing too hard with your pencil.
Step 4: Sketching the Wing and Body
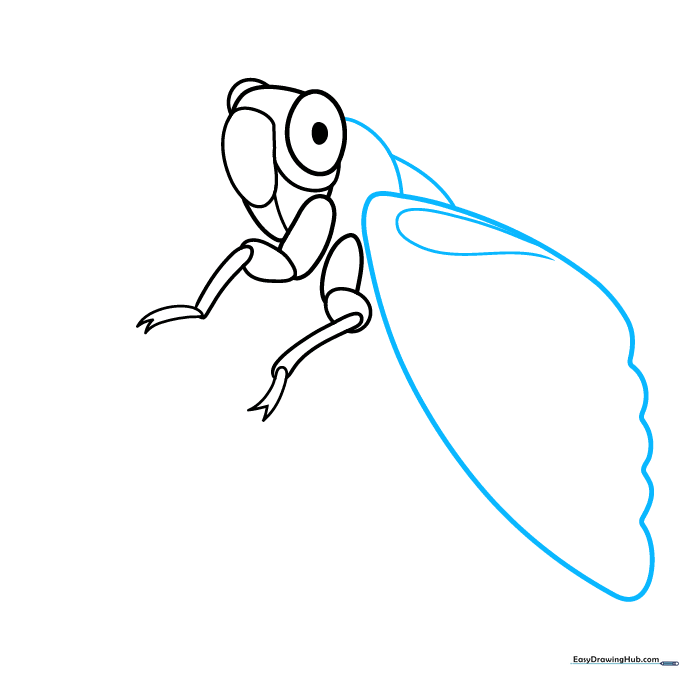
Draw a large, elongated triangle shape for the wing, using a scalloped line to close the end. Sketch the thorax and abdomen above the wing. Teacher's Tip: The wing should look slightly transparent, so keep the outline clean and simple.
Step 5: Adding Wing Veins
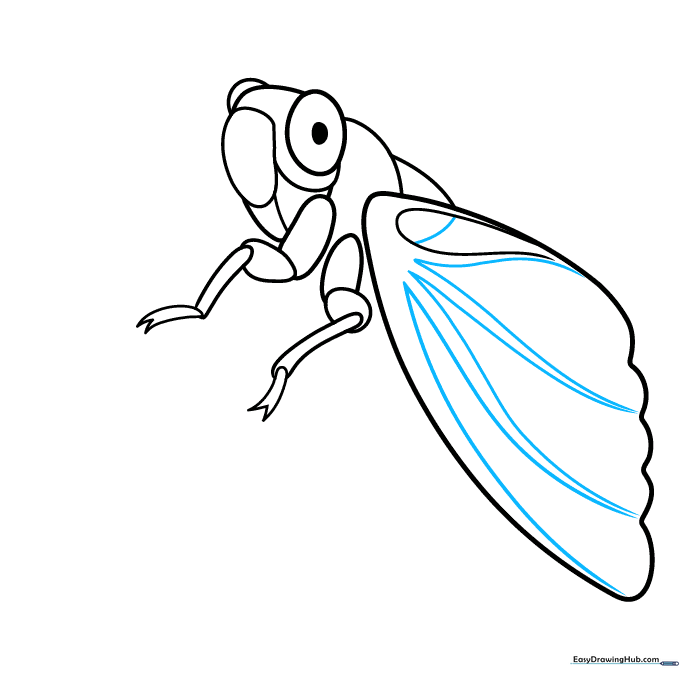
Add detail to the wing by drawing pairs of curved lines that meet at points to represent veins. Teacher's Tip: Cicada wings have a complex, glass-like network of veins. Don't worry about making them perfect; just aim for a repeating pattern.
Step 6: Drawing the Abdomen and Third Leg

Sketch the abdomen visible beneath the wing using curved lines that taper to a point. Add the third leg using the same segmented technique from earlier. Teacher's Tip: Ensure the abdomen looks like it is tucked slightly behind the wing to create depth.
Step 7: Finalizing Details and Antennae
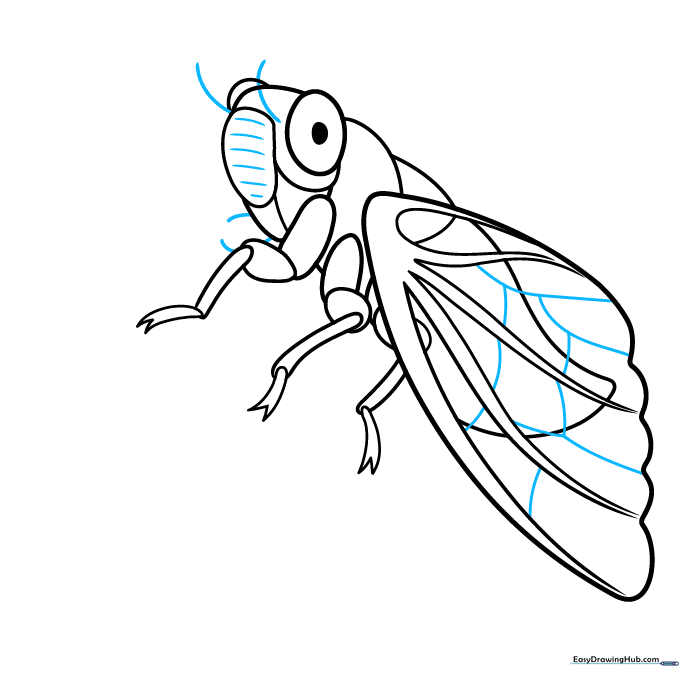
Add smaller veins to the wing, texture the head, and draw two small antennae extending upward. Start the fourth leg. Teacher's Tip: Antennae are very thin; use a sharp pencil point to keep them looking delicate.
Step 8: Adding the Branch
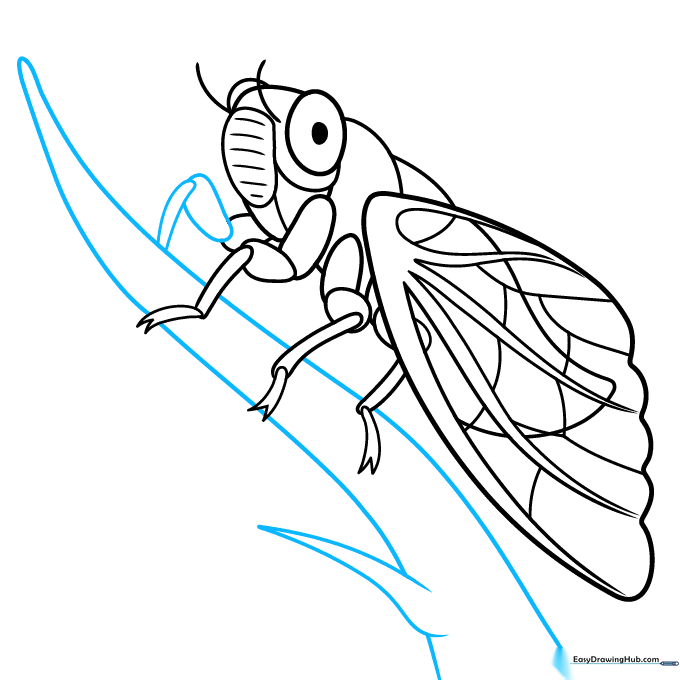
Finish the leg segments and draw a sturdy tree branch for your cicada to rest on. Teacher's Tip: Use rough, jagged lines for the branch to give it a realistic, woody texture compared to the smooth insect.
Step 9: Adding Leaves
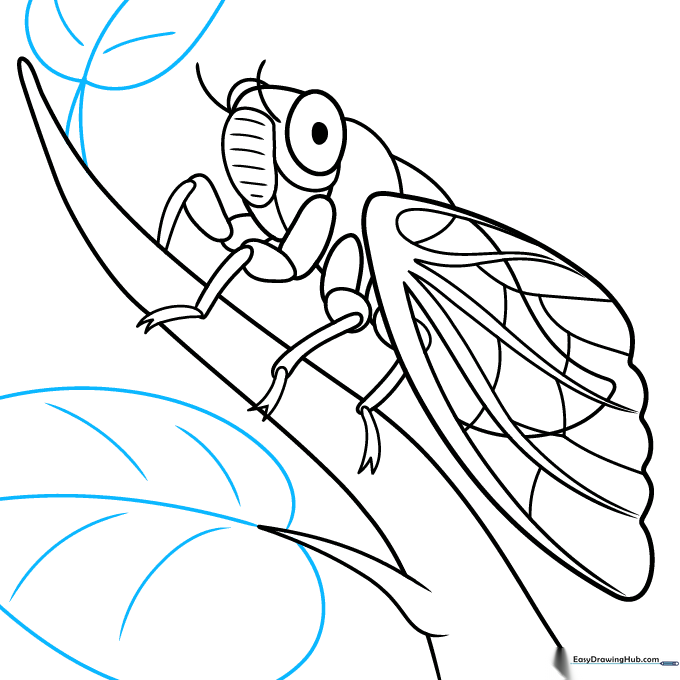
Complete your scene by drawing heart-shaped leaves around the branch. Teacher's Tip: Add a center vein to each leaf to make them look more three-dimensional.
Step 10: Bring It to Life with Color

Time to color! Use earthy tones like brown, black, or olive green for the body, and bright orange for the eyes. Teacher's Tip: Leave the wing areas slightly lighter or use a light blue to suggest transparency.
More Tutorials


