How to Draw a Chrysanthemum: Easy 10-Step Flower Guide
Bring the beauty of autumn into your sketchbook! This tutorial is designed for young artists and beginners, requiring only a pencil, eraser, and paper. By following these simple steps, you will master the layered petal structure of a chrysanthemum while building confidence in your drawing flow.
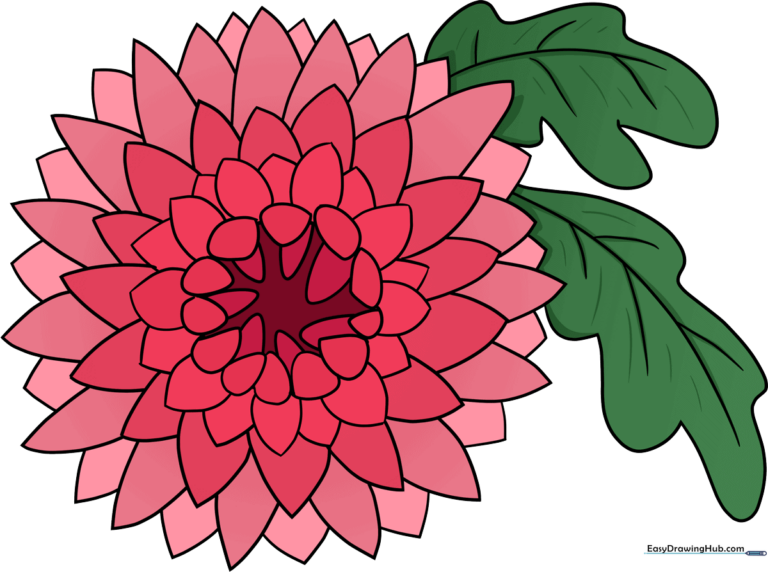
🎯 Final Result
Step-by-Step Instructions
Step 1: Sketching the Base Circle

Draw a light circle to act as your guide. Teacher's Tip: Keep your pencil pressure very light here; this is just a frame, and you'll want to erase it easily once the petals are in place.
Step 2: Adding the Inner Petals

Draw pairs of curved lines starting from the outer edge toward the center, meeting at a point. Teacher's Tip: Think of these as small, soft triangles—don't worry about them being perfect, as nature is rarely symmetrical!
Step 3: Creating Overlapping Petals

Add irregular rounded shapes that overlap the edge of your circle. Teacher's Tip: Varying the size of these shapes helps the flower look more realistic and less like a stamp.
Step 4: Refining the Shape

Erase your guide circle and any overlapping lines. Now, add a new layer of petals by extending pairs of curved lines outward. Teacher's Tip: Use your eraser to clean up the center so the flower looks layered rather than flat.
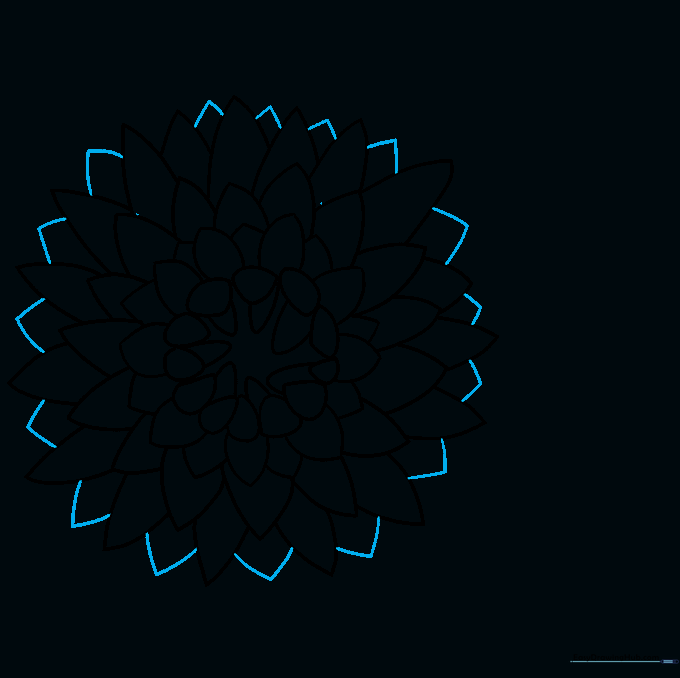
Step 5: Filling the Gaps

Draw more petals between the existing ones. Teacher's Tip: Focus on the negative space—if you see a gap, tuck a new petal in there to make the flower look full and lush.
Step 6: Expanding the Petals
Extend larger petals from the tips and sides of your current work. Teacher's Tip: Keep your lines fluid; chrysanthemum petals are long and graceful, so avoid making them too stiff.
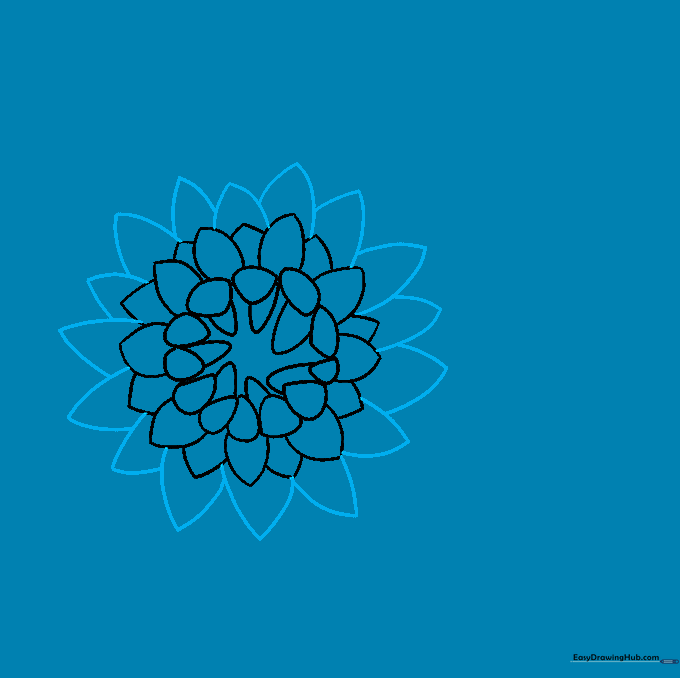
Step 7: Adding Length and Overlap
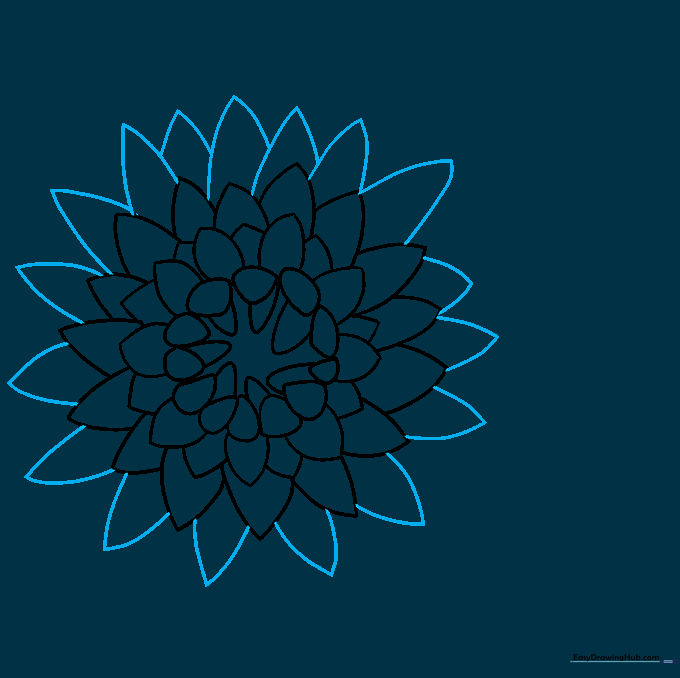
Add a layer of long, sweeping petals. Allow them to overlap slightly. Teacher's Tip: Overlapping is the secret to making a drawing look 3D instead of like a flat sticker.
Step 8: Final Petal Details
Add one final layer of smaller petals protruding from the base. Teacher's Tip: This adds 'fluff' to your flower, making it look like a real, blooming mum.
Step 9: Drawing the Leaves
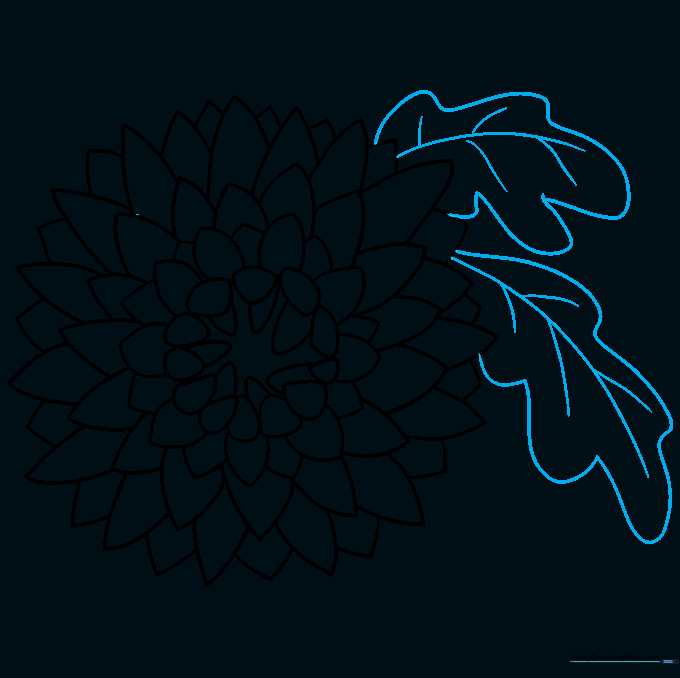
Draw lobed leaves that resemble oak leaves. Add a central vein and smaller veins branching out. Teacher's Tip: Observe real leaves—they aren't perfectly smooth, so add little 'bites' or curves to the edges.
Step 10: Bringing It to Life with Color
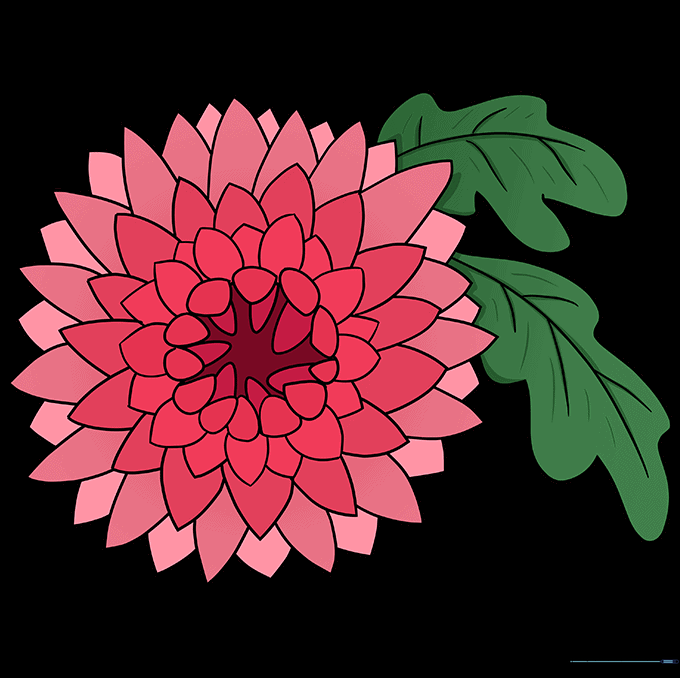
Time to color! Chrysanthemums come in vibrant yellows, oranges, reds, and purples. Teacher's Tip: Try using two shades of the same color—a lighter one for the base and a darker one for the shadows near the center—to make your flower pop.
More Tutorials


