How to Draw a Christmas Tree: Easy 10-Step Guide
Bring the holiday spirit to your sketchbook with this fun, beginner-friendly Christmas tree tutorial. Designed for ages 5 and up, this activity requires only a pencil, paper, and an eraser to build confidence in basic shape construction. Follow along to create a festive masterpiece that is perfect for handmade cards or winter art projects.
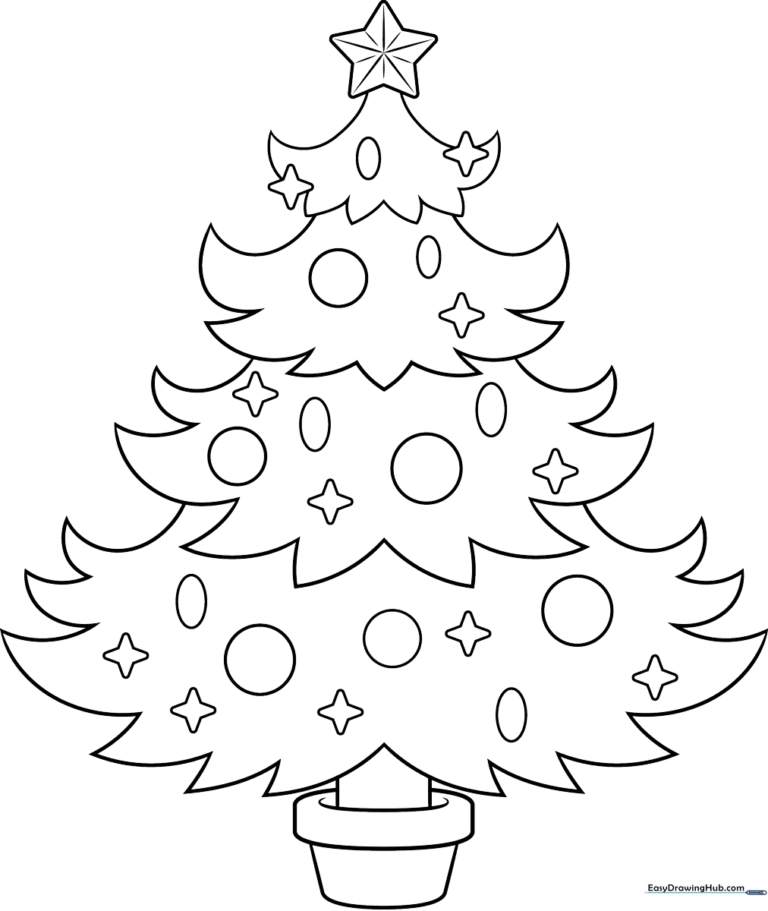
🎯 Final Result
Step-by-Step Instructions
Step 1: Sketching the Tree Top
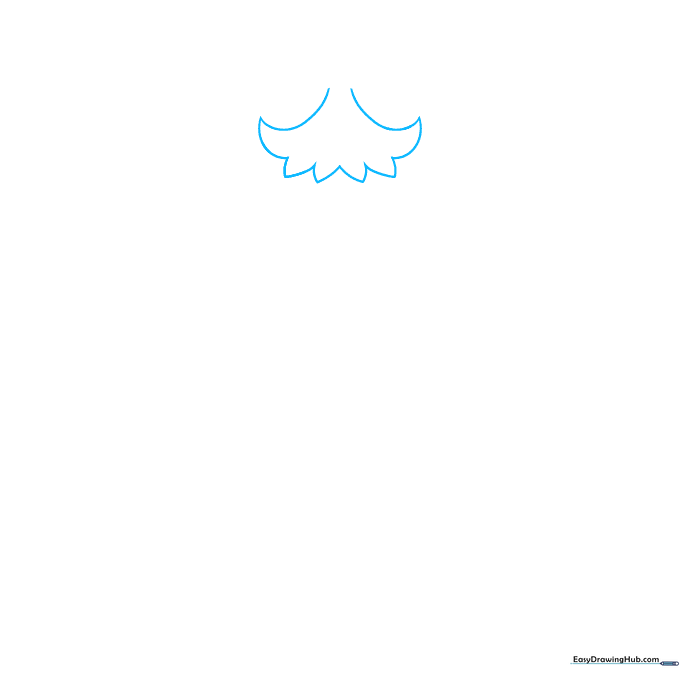
Start by drawing the top bough using two curved lines that meet at a point. Teacher's Tip: Keep the lines light and loose; don't worry about making them perfectly symmetrical, as nature is beautifully irregular!
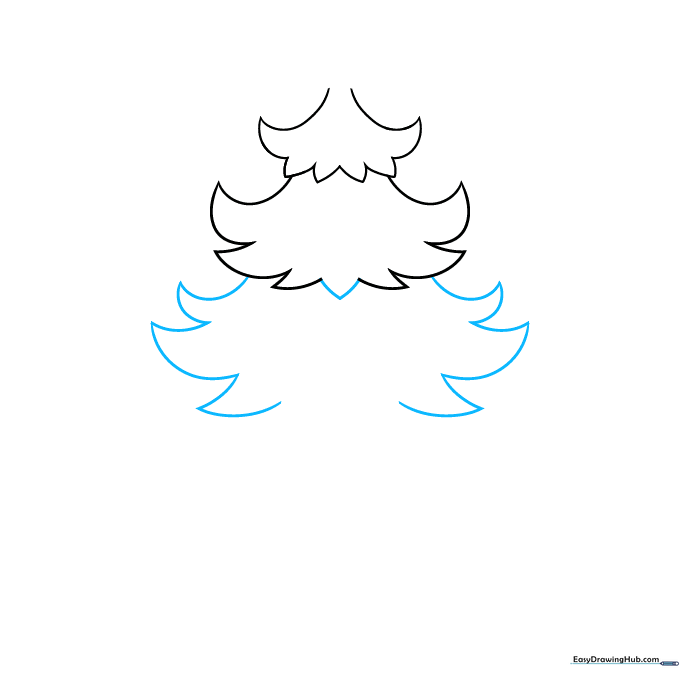
Step 2: Adding the Second Layer

Draw the next layer of the tree beneath the first. Use a series of curved lines that meet at jagged points to create the look of pine needles. Teacher's Tip: Imagine you are drawing little 'V' shapes connected side-by-side.
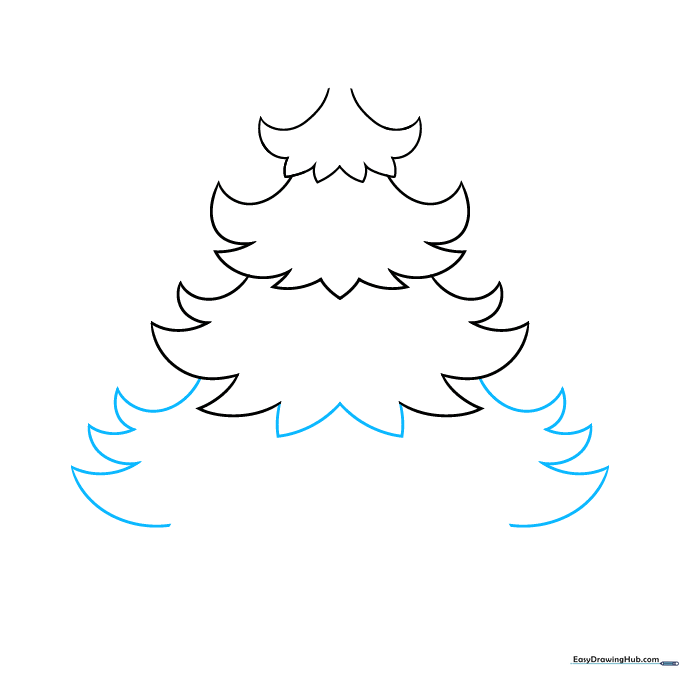
Step 3: Expanding the Boughs
Complete the second bough with a 'V' shaped line, then begin the third layer. Teacher's Tip: Make each layer slightly wider than the one above it to give your tree a realistic, sturdy shape.
Step 4: Creating the Base
Finish the third bough and draw the fourth, widest layer. Teacher's Tip: If your lines get a bit messy, don't worry! That's what the eraser is for—embrace the process of refining your drawing.
Step 5: Adding the Trunk
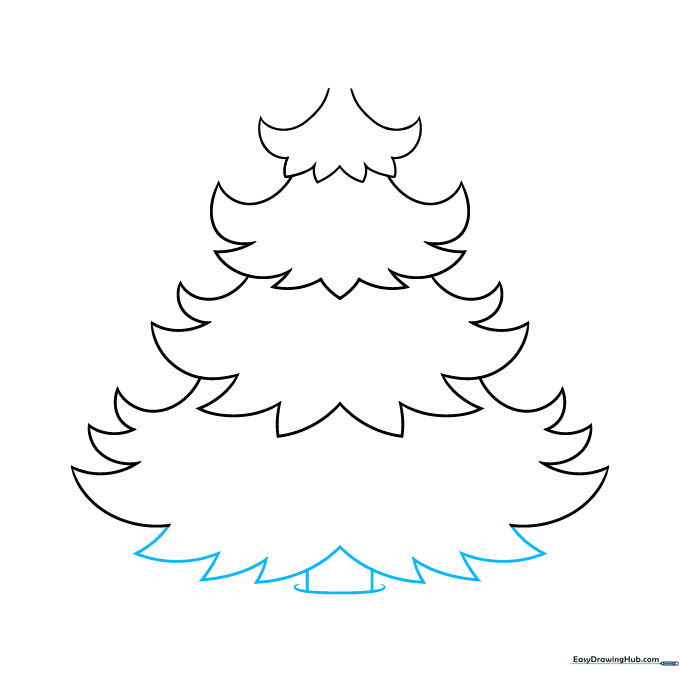
Close the bottom bough and draw two vertical lines to form the trunk. Connect them with a curved line at the bottom. Teacher's Tip: Keep the trunk short so the tree looks balanced.
Step 6: The Star and Pot
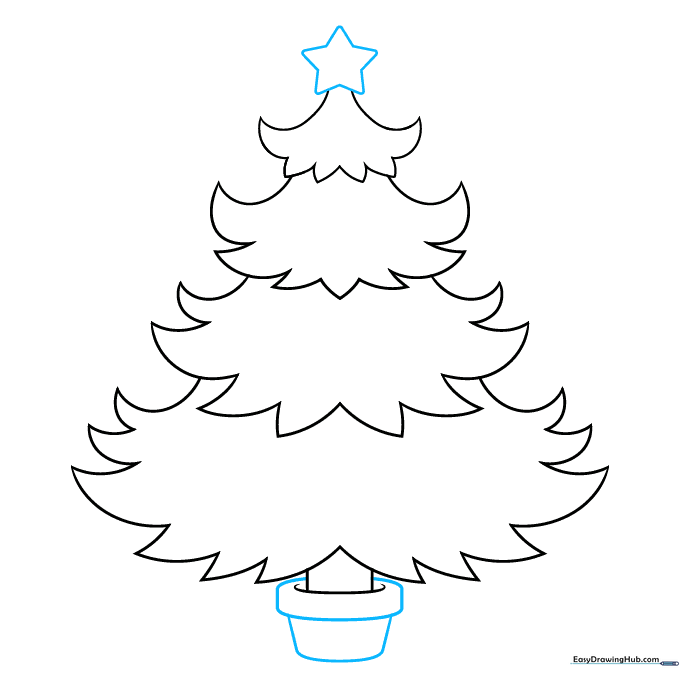
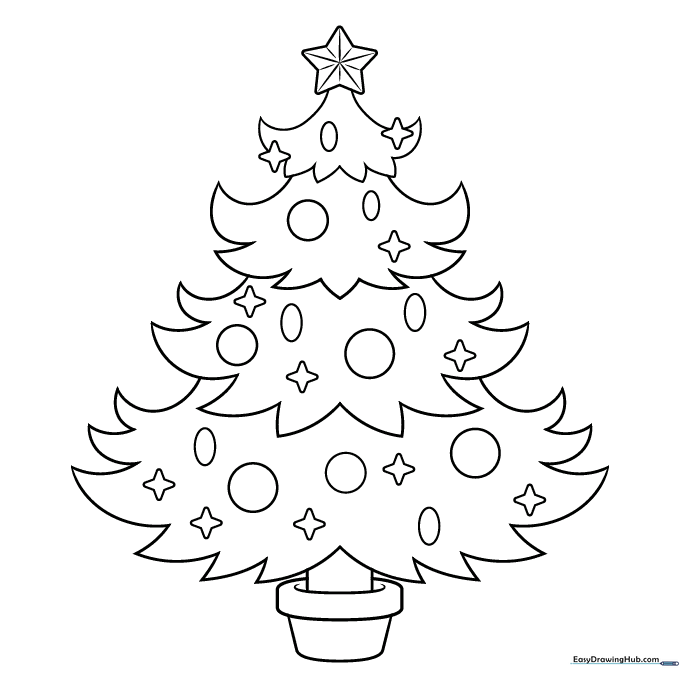
Draw a five-pointed star on top and a rounded pot at the base. Teacher's Tip: To draw a perfect star, try drawing a small 'A' shape and adding the extra points.
Step 7: Adding Dimension and Ornaments
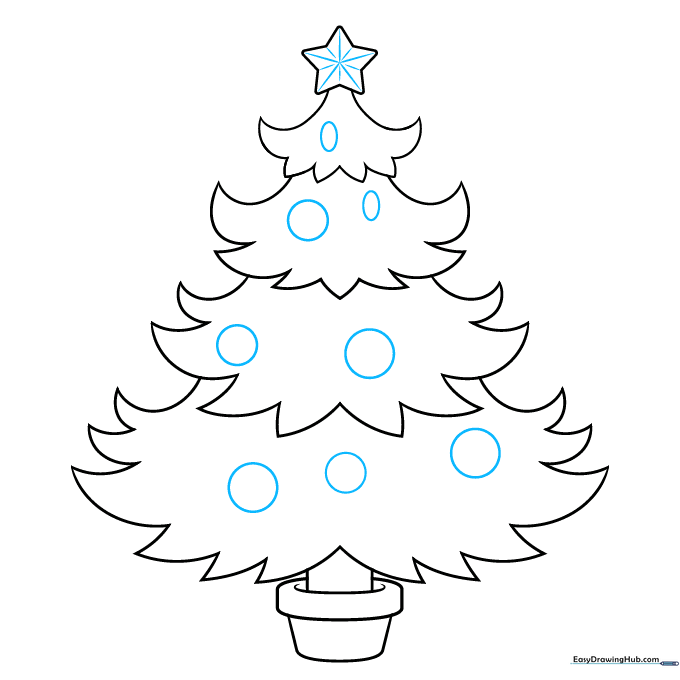
Add lines to the star to make it 3D, then draw circles and ovals for ornaments. Teacher's Tip: Vary the sizes of your ornaments to make the tree look more decorated and festive.
Step 8: Adding Sparkle
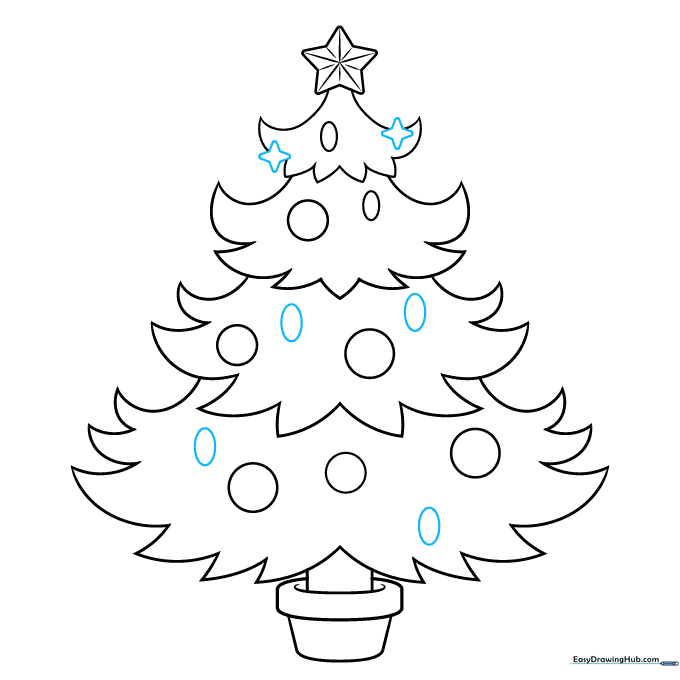
Draw four-pointed stars around the tree to represent twinkling lights. Teacher's Tip: Place these 'sparkles' in the empty spaces between your ornaments to fill the tree nicely.
Step 9: Final Touches
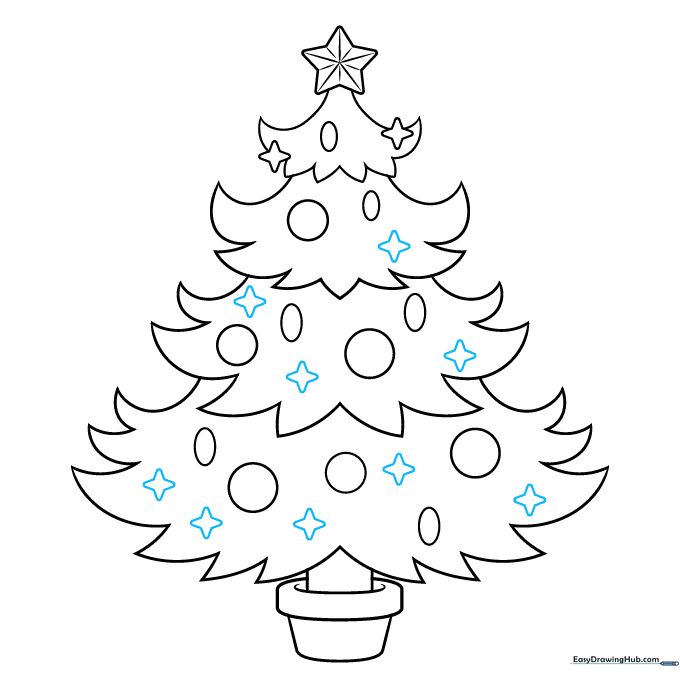
Fill in any remaining empty spots with more four-pointed stars. Teacher's Tip: Step back and look at your drawing from a distance—this helps you see if you need to add more details.
Step 10: Bring It to Life with Color
Time to color! Use traditional greens for the needles and bright, bold colors for the ornaments. Teacher's Tip: Use a yellow or gold for the star to make it pop against the green branches.
More Tutorials


