How to Draw a Christmas Stocking: Easy 10-Step Guide
Bring holiday cheer to your sketchbook with this simple Christmas stocking tutorial. Designed for ages 5 and up, this screen-free activity requires only a pencil, eraser, and paper. Follow along to build confidence in your drawing skills while creating a festive masterpiece.
🎯 Final Result

Step-by-Step Instructions
Step 1: Sketching the Stocking Cuff

Draw two parallel, diagonal lines. Connect them with small curves at the ends to create the folded cuff. Teacher's Tip: Think of this as a soft, rectangular band that sits at the top of your stocking.
Step 2: Forming the Boot Shape

Extend a long, curved line downward from the cuff, looping it back to create the heel and toe. Teacher's Tip: Keep the curve smooth to make the stocking look soft and fabric-like.
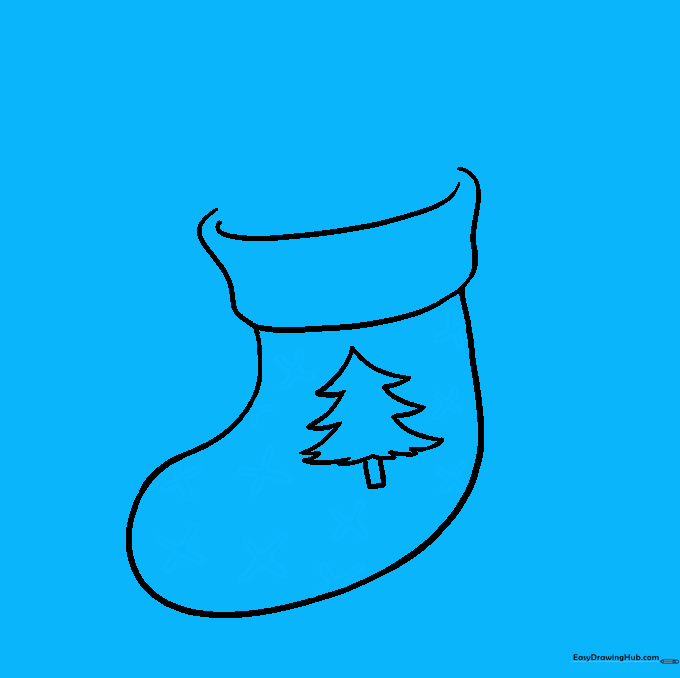
Step 3: Adding a Pine Tree Motif

Draw a small pine tree on the side of the stocking using jagged, pointed lines. Add a simple rectangular trunk at the bottom. Teacher's Tip: Keep the tree small so it fits neatly within the stocking's surface area.
Step 4: Adding Decorative Details
Sketch small 'X' shapes across the stocking to represent snowflakes or festive stitching. Teacher's Tip: Vary the spacing of your 'X's to make the pattern look natural and balanced.
Step 5: Texturing the Cuff

Draw several wavy, parallel lines across the cuff area. Teacher's Tip: This adds a cozy, 'fuzzy' texture to the stocking, making it look like soft wool or fur.
Step 6: Drawing a Gift

Draw a rectangular box peeking out from the top of the stocking. Use simple perspective lines to give it a 3D look. Teacher's Tip: Ensure the box overlaps the top edge of the stocking slightly.
Step 7: Adding a Bow to the Gift

Draw a small circle on the gift, then add two loops on either side to create a bow. Add ribbon lines extending from the bow. Teacher's Tip: Keep the bow loops rounded to make them look soft and tied.
Step 8: Adding a Second Gift

Sketch another small gift box next to the first one. Add a similar bow and ribbon detail. Teacher's Tip: Slightly overlapping the two boxes creates a more realistic, cluttered look.
Step 9: Adding Candy Canes

Draw two 'J' shapes behind the gifts to represent candy canes. Add horizontal bands across them. Teacher's Tip: Make the 'J' shapes slightly different sizes for visual interest.
Step 10: Coloring Your Creation

Bring your drawing to life with color! Use traditional red and green, or choose your own bright holiday palette. Teacher's Tip: Use light pressure with your colored pencils to blend colors smoothly.
More Tutorials


