How to Draw a Chocolate Bar: Easy 10-Step Guide
This step-by-step guide is perfect for young artists ages 5 and up who want to master drawing food items. All you need is a pencil, an eraser, and a piece of paper to get started. By the end of this lesson, you will have a delicious-looking chocolate bar drawing that you can customize with your favorite wrapper designs.
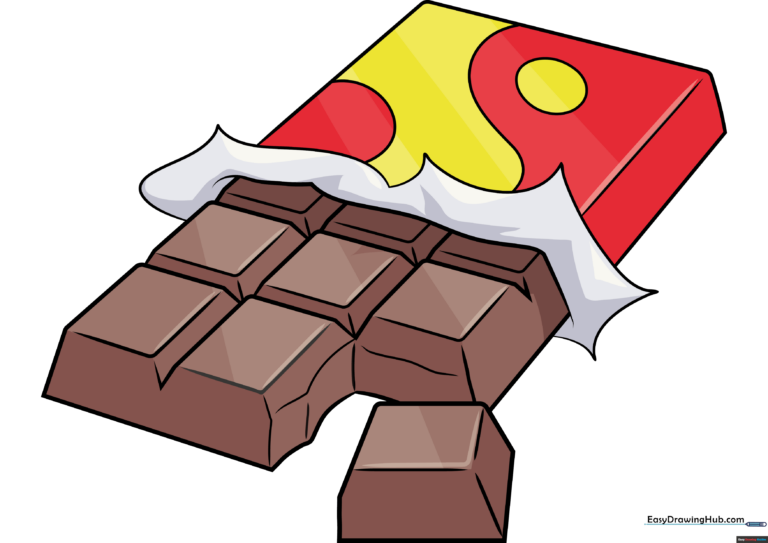
🎯 Final Result
Step-by-Step Instructions
Step 1: Sketching the Main Edges

Start by outlining the rectangular shape of the candy bar. Use straight lines for the sides, but add a slight slant at the corner to give it perspective. Tip: Keep your pencil pressure light so you can easily adjust the shape if needed.
Step 2: Defining the Chocolate Squares
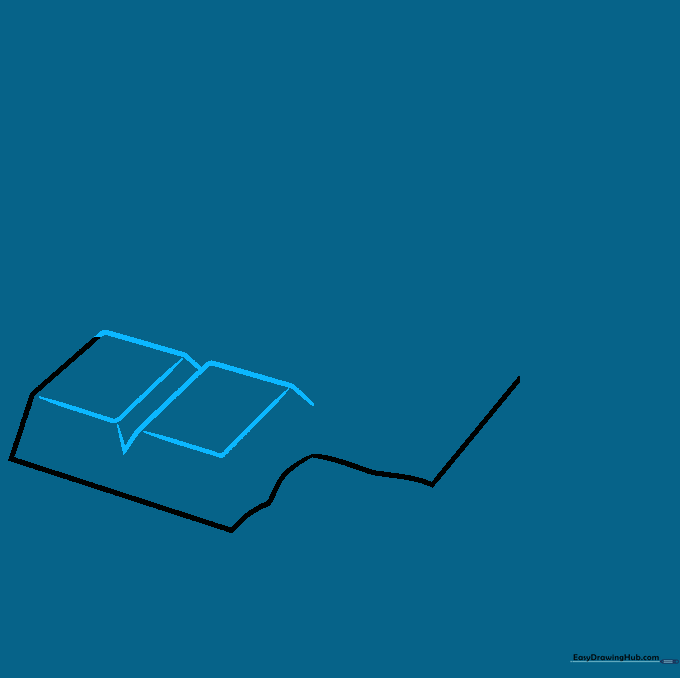
Now, draw the individual chocolate segments using small squares or rectangles inside your main shape. Tip: Use a ruler if you want perfectly straight lines, or practice freehand for a more organic, 'hand-drawn' look.
Step 3: Adding 3D Depth
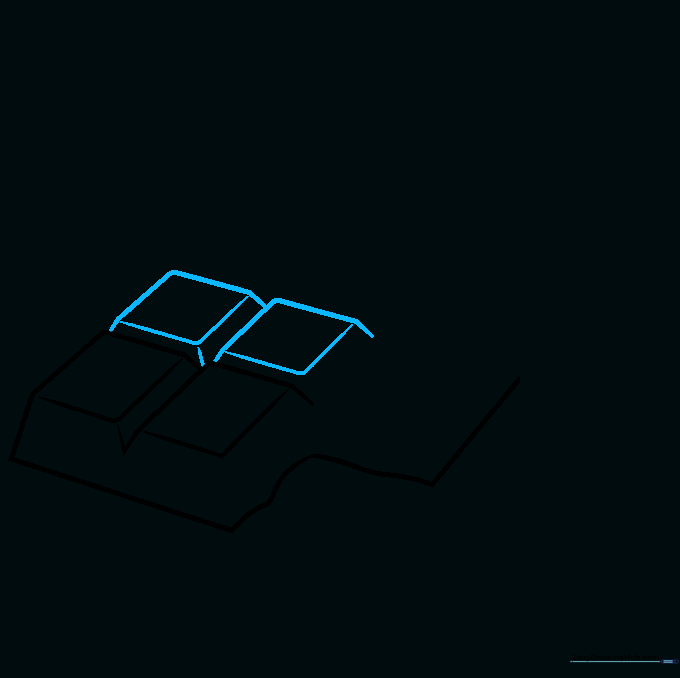
Add depth by drawing short diagonal lines from the corners of your squares. This makes the chocolate look thick and chunky. Tip: Imagine the light is coming from one side, and keep your diagonal lines consistent in length.
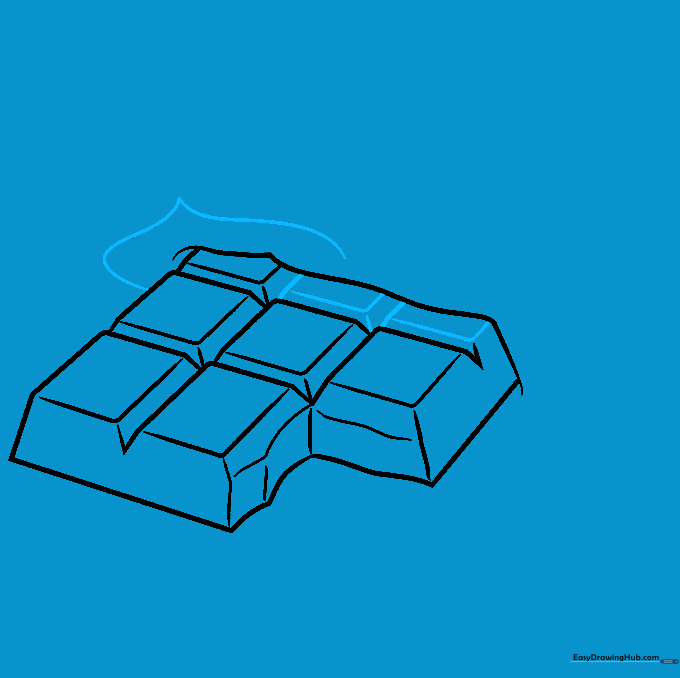
Step 4: Creating Broken Edges
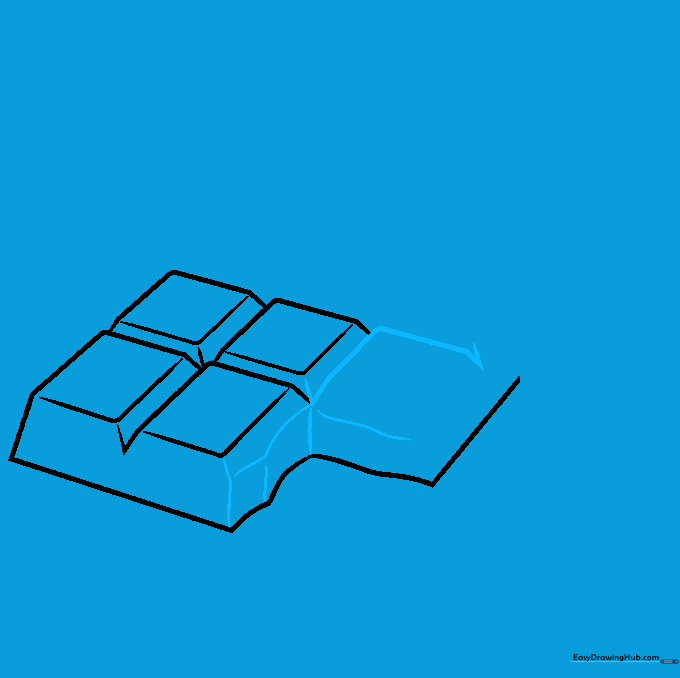
Draw a jagged, uneven line at the end of the bar to show where it has been broken. Tip: Use short, irregular strokes to make the chocolate look like it has a crumbly, realistic texture.
Step 5: Sketching the Wrapper
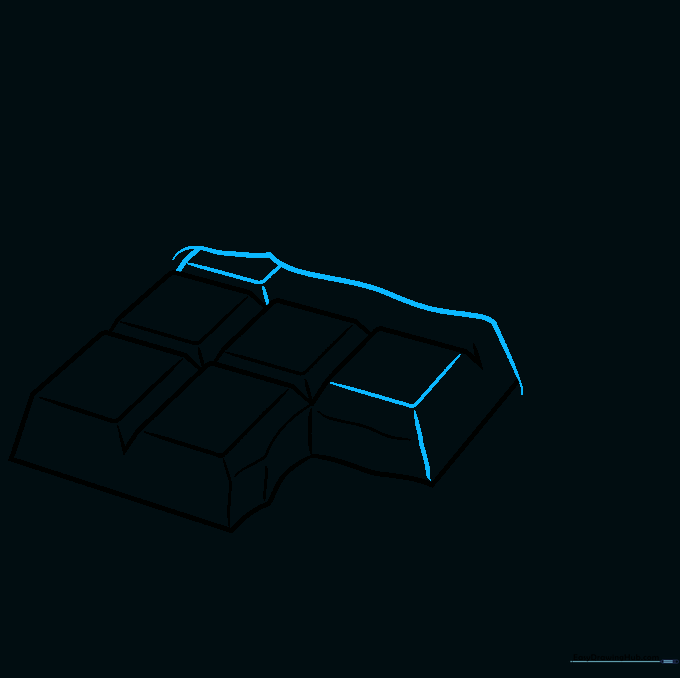
Draw a wavy line across the bar to represent the torn wrapper. Tip: Wavy lines are great for showing fabric or paper movement—don't worry about making them perfect!
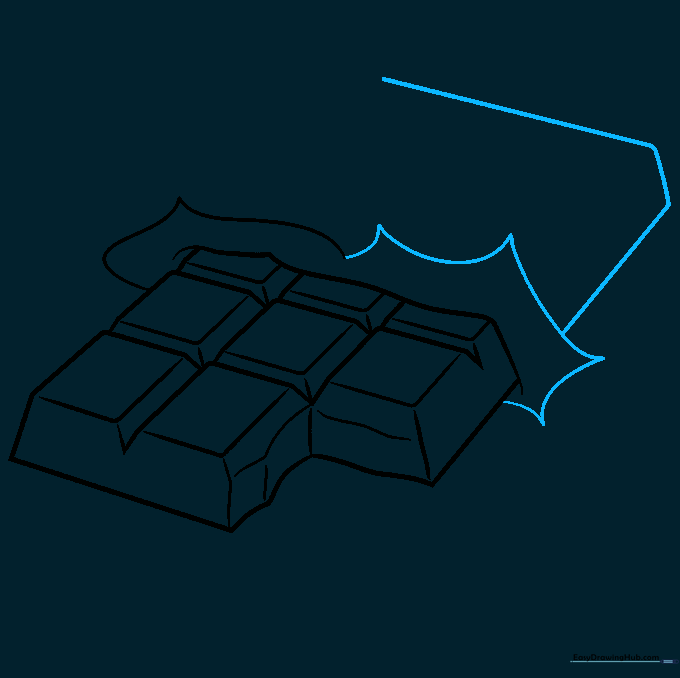
Step 6: Detailing the Wrapper
Continue the wrapper lines, letting them meet at sharp points. This creates the 'torn' look of the foil. Tip: Use quick, confident strokes to make the paper look crisp.
Step 7: Finalizing the Wrapper Shape
Connect the wrapper lines to the side of the bar and sketch the rectangular base of the still-wrapped portion. Tip: Ensure your lines are parallel to the bar's body to keep the perspective correct.
Step 8: Adding Decorative Details
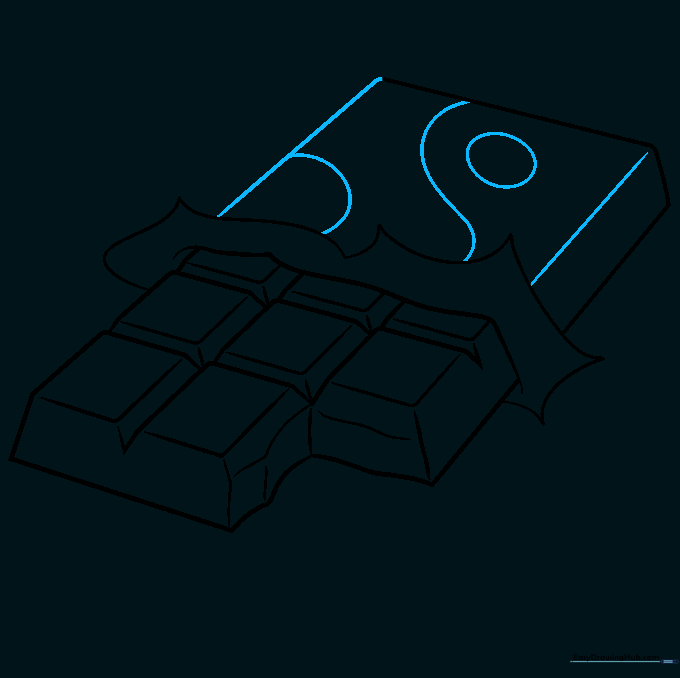
Add small ovals or patterns on the wrapper to make it look like a real candy brand. Tip: Keep these details simple so they don't distract from the main chocolate bar shape.
Step 9: Adding a Loose Piece
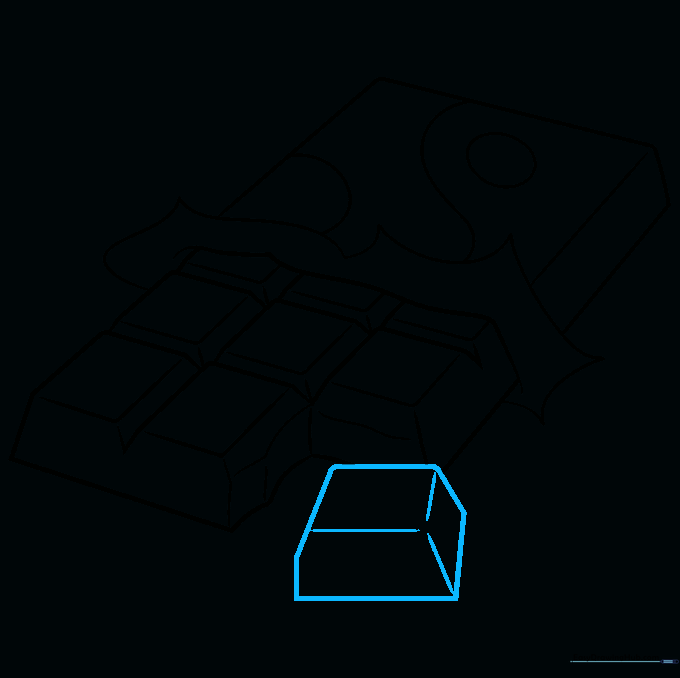
Draw one extra square of chocolate next to the bar to make your drawing look more dynamic. Tip: Make sure the perspective of this piece matches the rest of the bar.
Step 10: Coloring Your Masterpiece
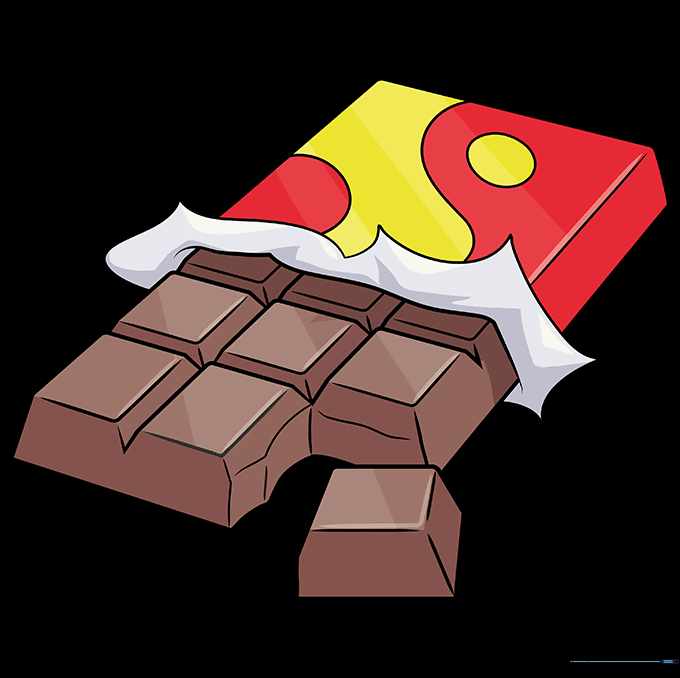
Time to color! Use deep browns for milk chocolate or lighter shades for white chocolate. You can even use bright colors for the wrapper. Tip: Use a darker brown on the sides of the squares to create a shadow effect, making your chocolate look extra delicious.
More Tutorials


