How to Draw a Chinese Dragon: Easy 10-Step Guide
Bring the legendary Chinese dragon to life with this fun, screen-free drawing activity. Designed for ages 6 and up, this tutorial uses simple shapes to build confidence in young artists. Grab your pencil, eraser, and paper, and let's create a masterpiece together.
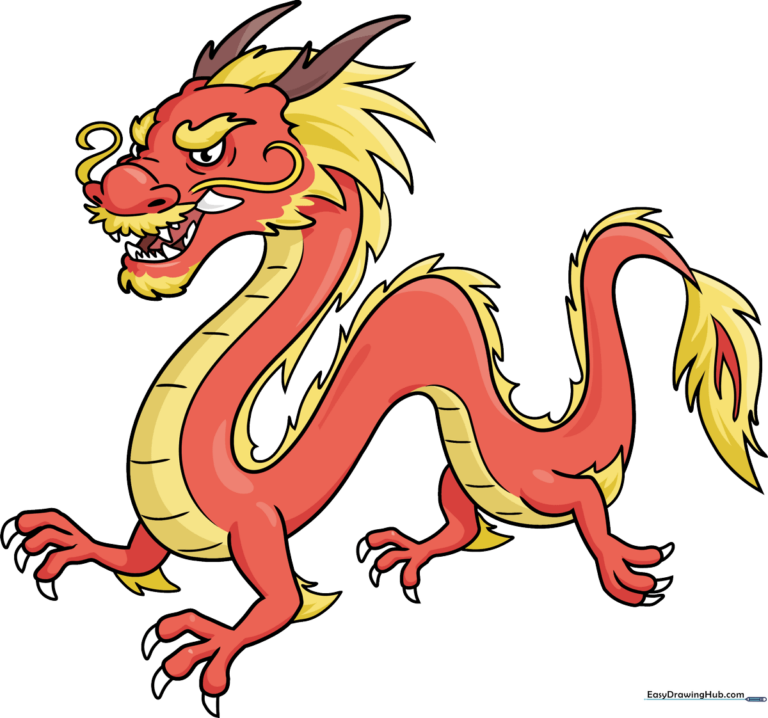
🎯 Final Result
Step-by-Step Instructions
Step 1: Sketching the Dragon's Face

Start by drawing the eyebrows as two curved lines meeting at a point, then add the semicircular eyes underneath. Add a small circle for the pupil. Teacher's Tip: Keep the eyes symmetrical to give your dragon a friendly, focused expression.
Step 2: Defining the Jaw and Teeth
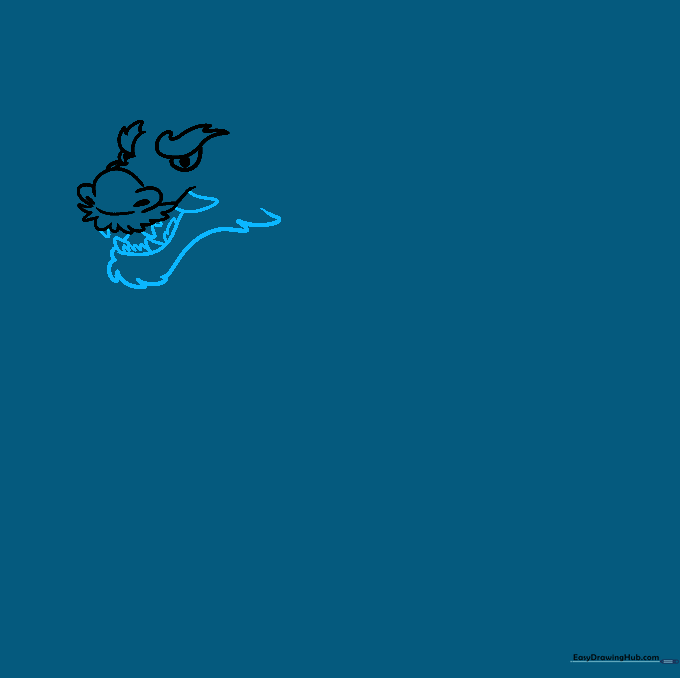
Draw the lower jaw using gentle, curved lines. Add small, sharp triangles for the teeth. Teacher's Tip: Vary the size of the teeth—some big, some small—to give your dragon a bit of personality.
Step 3: Adding Tongue and Horns
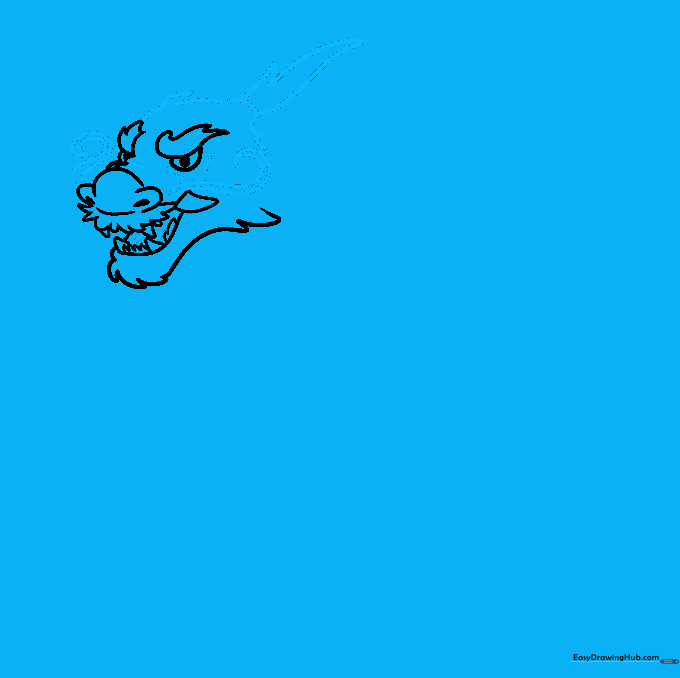
Add a curved tongue inside the mouth and sketch the horn on top of the head. Teacher's Tip: Use a 'double-back' motion with your pencil to create the horn shape, which helps it look thicker at the base.
Step 4: Mane and Neck

Draw the second horn and add spiky tufts of hair at the back of the head. Connect these to a long, curved line for the neck. Teacher's Tip: Use quick, flicking motions with your pencil to make the mane look soft and flowing.
Step 5: Front Arm and Belly
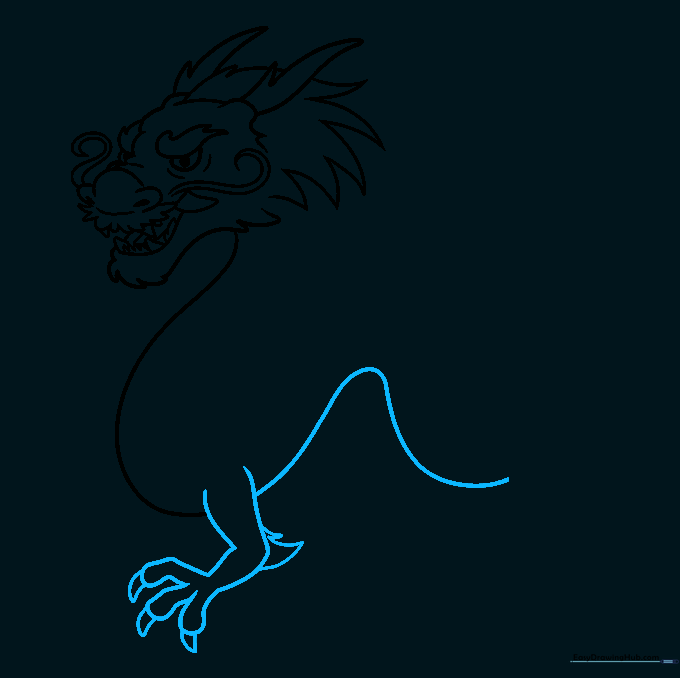
Sketch the front arm with curved lines and add triangular claws. Draw a long, sweeping line for the belly. Teacher's Tip: Imagine the belly is like a soft ribbon—keep the line smooth and continuous.
Step 6: Adding More Limbs
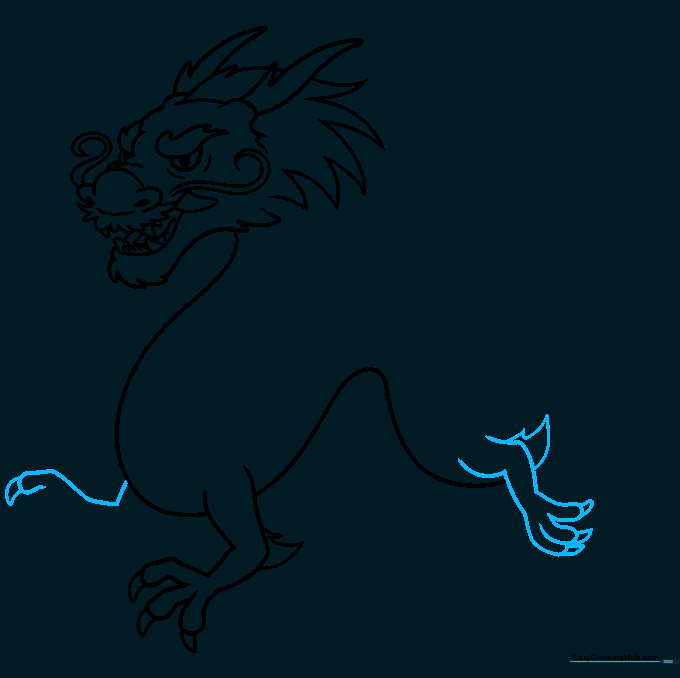
Draw the front and rear legs using the same curved technique as the first arm. Teacher's Tip: Ensure the legs look like they are 'reaching' to give the dragon a sense of movement.
Step 7: Finalizing the Legs
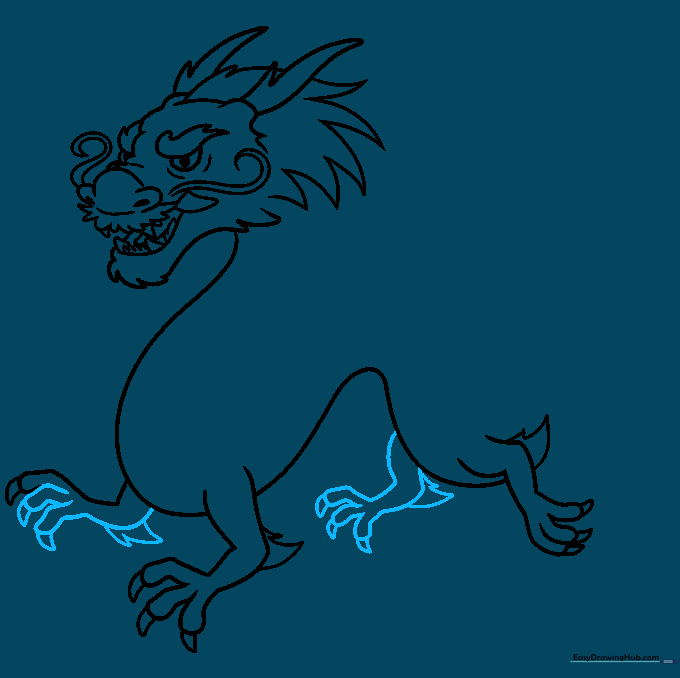
Complete the remaining legs with claws and tufts of fur at the joints. Teacher's Tip: Adding those small tufts at the elbows makes the dragon look more mythical and furry.
Step 8: The Tail and Spines
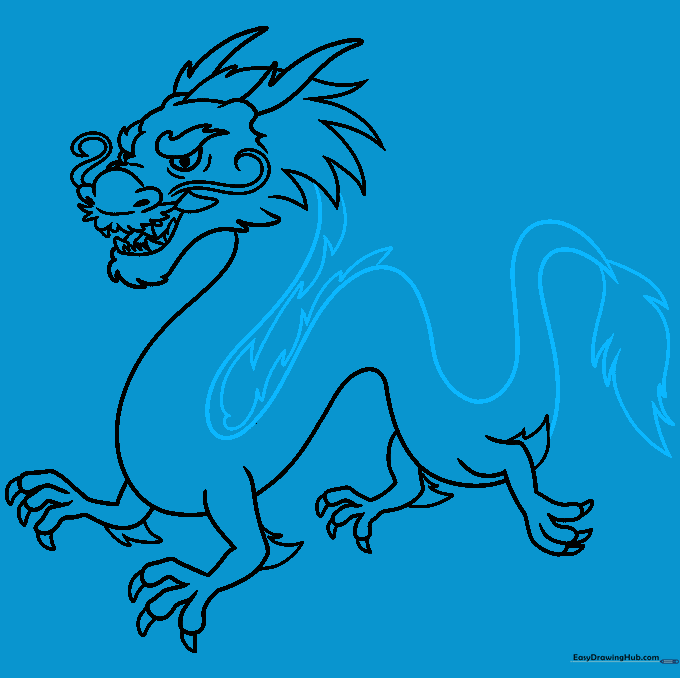
Extend the body into a long tail and add jagged spines along the back. Teacher's Tip: The spines should get smaller as they get closer to the tip of the tail for a natural look.
Step 9: Adding Texture and Detail
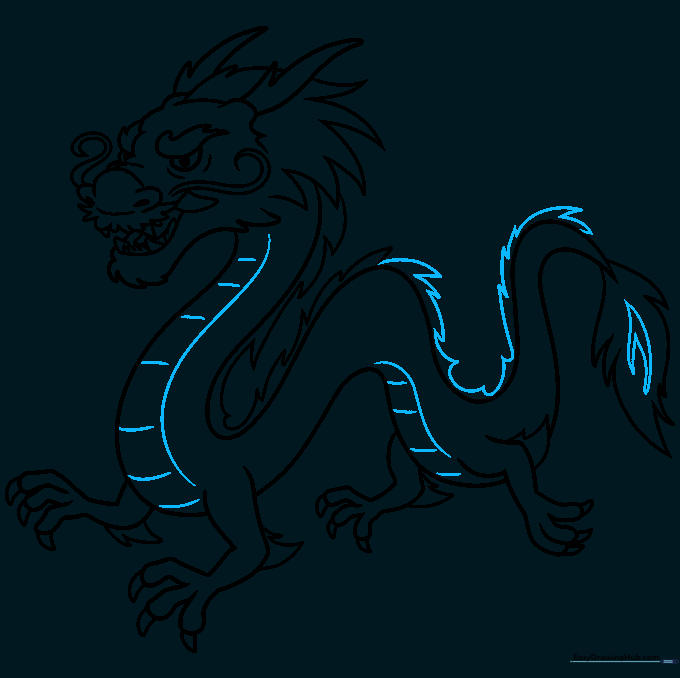
Add final details to the tail tuft and draw bands across the belly. Teacher's Tip: The belly bands give the dragon a segmented, snake-like appearance which is classic for Chinese dragons.
Step 10: Bringing it to Life with Color
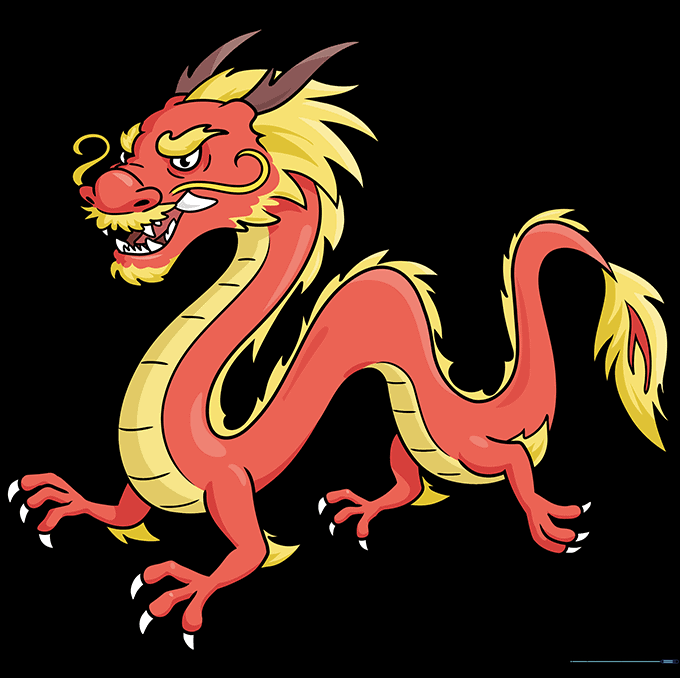
Time to color! We used vibrant red and gold. Teacher's Tip: Use light pressure with your colored pencils to create gradients, making your dragon look shiny and magical.
More Tutorials


