How to Draw a Chibi Supergirl: Easy 10-Step Guide
Bring the Girl of Steel to life in a fun, pint-sized style! This tutorial is perfect for young artists ages 7+ who want to master chibi proportions. Grab your favorite pencil, an eraser, and some markers to create your own heroic masterpiece.
🎯 Final Result

Step-by-Step Instructions
Step 1: Sketching the Expressive Face
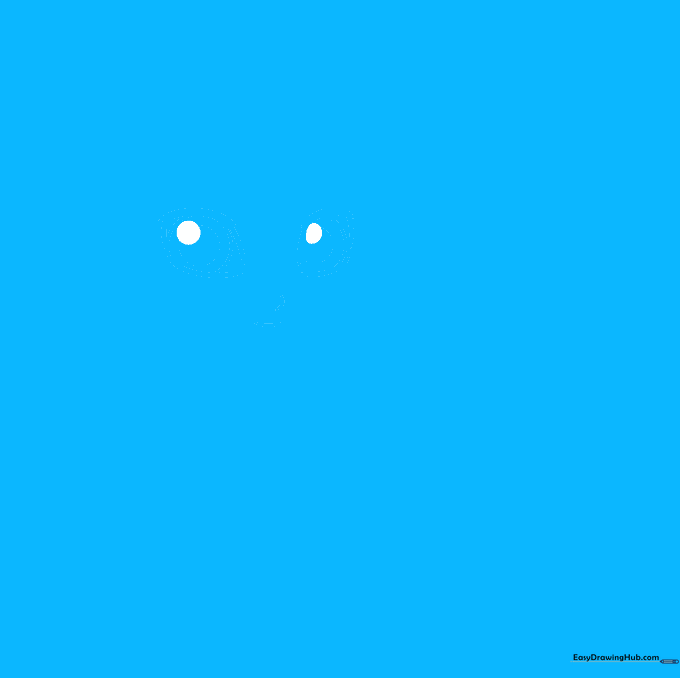
Outline the large chibi eyes using thick, curved lines that taper to a point. Add smaller circles inside for the pupils and shade them in. Add a tiny nose and a cheerful smile. Teacher's Tip: Chibi characters are defined by their large eyes, so make them nice and big to capture that classic 'cute' look!
Step 2: Defining the Head and Brows

Draw the rounded face shape, including the brow line and chin. Add the eyebrows above the eyes to give her a determined expression. Teacher's Tip: Keep the chin rounded rather than sharp to maintain the soft, chibi aesthetic.
Step 3: Framing the Hair
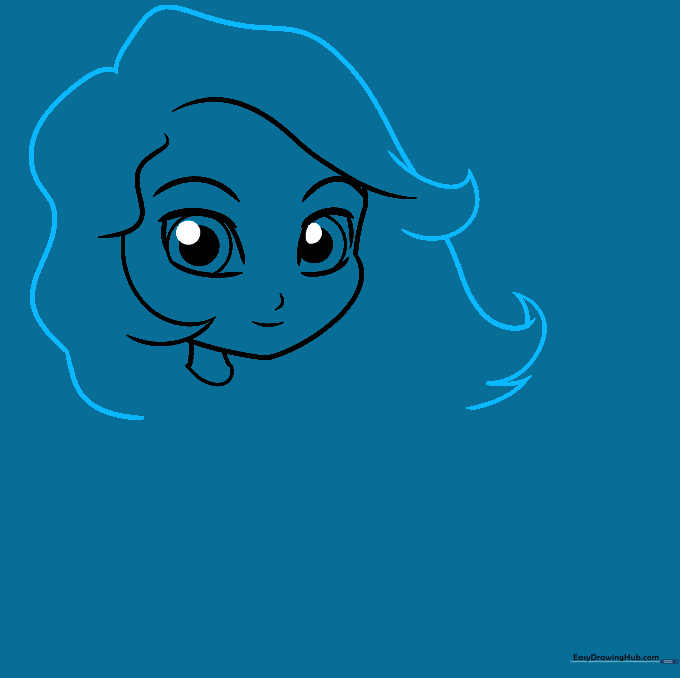
Outline the hair using wavy lines. Create individual locks on the sides by drawing pairs of lines that meet at sharp points. Teacher's Tip: Vary the length of the hair strands to make the hair look more natural and flowing.
Step 4: Adding Hair Texture
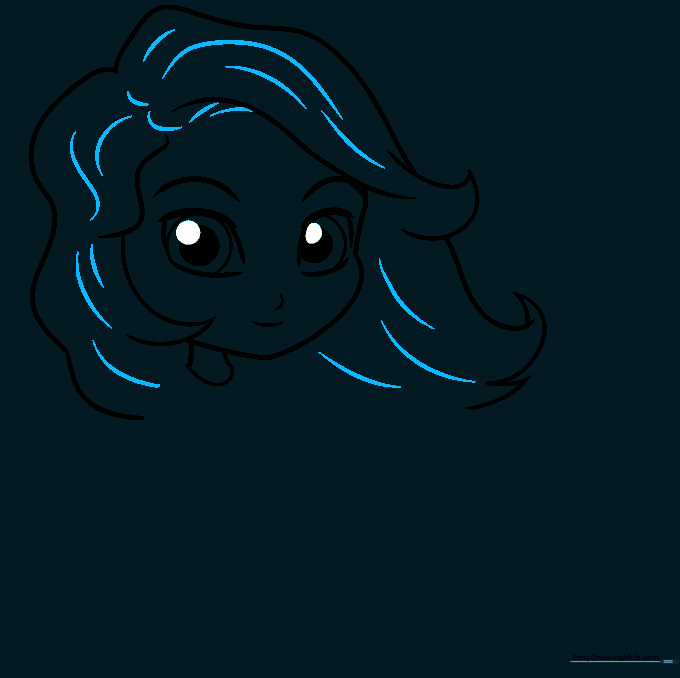
Add depth to the hair by drawing curved lines that follow the shape of the head. Teacher's Tip: Don't overdo it—just a few well-placed lines will suggest volume and movement.
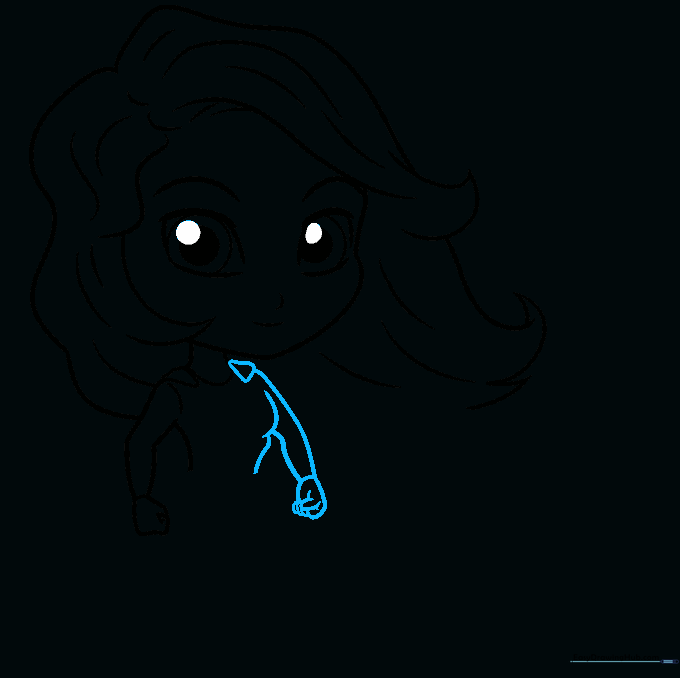
Step 5: Starting the Torso and Cape
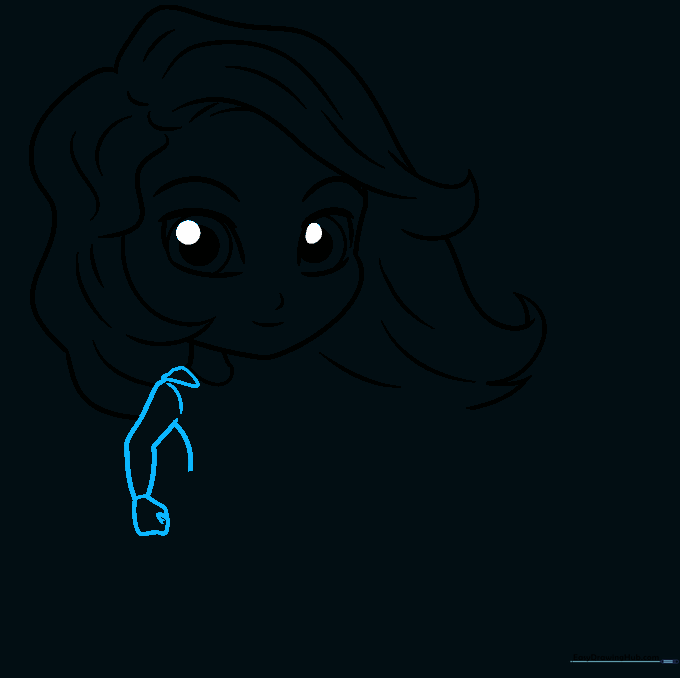
Sketch a triangle shape at the shoulder for the cape, then draw the arm and hand. Add a band at the wrist. Teacher's Tip: Since this is a chibi character, keep the arms slightly shorter than you would for a realistic person.
Step 6: Completing the Upper Body
Draw the other side of the torso, matching the cape triangle and adding the second arm and fist. Teacher's Tip: Use overlapping lines to show where the arm connects to the chest.
Step 7: Drawing the Skirt
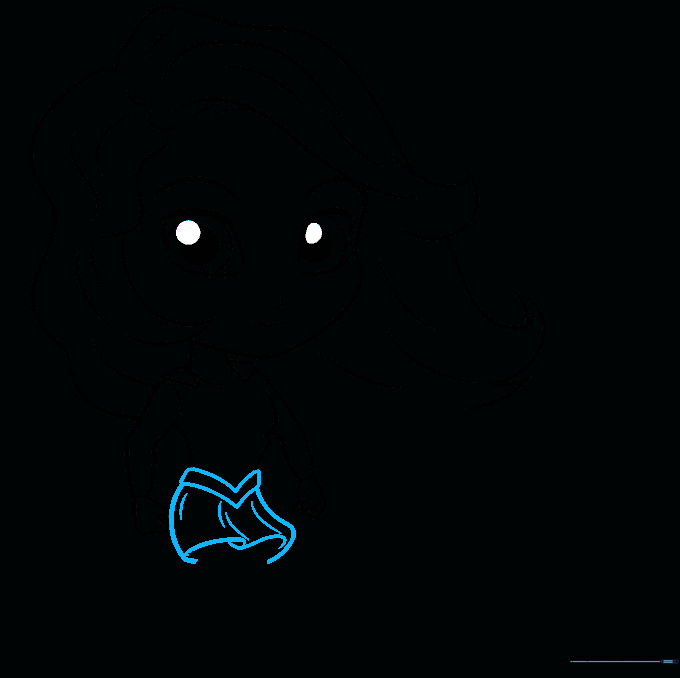
Add a 'V' shape at the waist for the skirt, then connect it with curved lines. Add vertical lines to show the fabric folds. Teacher's Tip: Think of the skirt as a pleated fan to get those folds looking realistic.
Step 8: Adding Legs and Boots

Draw the legs and feet, adding a horizontal line across each leg to define the top of the boots. Teacher's Tip: Keep the boots simple and rounded to match the chibi style.
Step 9: Final Touches and Logo

Draw the flowing cape behind her and add the iconic Superman logo to her chest. Teacher's Tip: Use a steady hand for the logo—it's the centerpiece of her outfit!
Step 10: Bringing Her to Life with Color
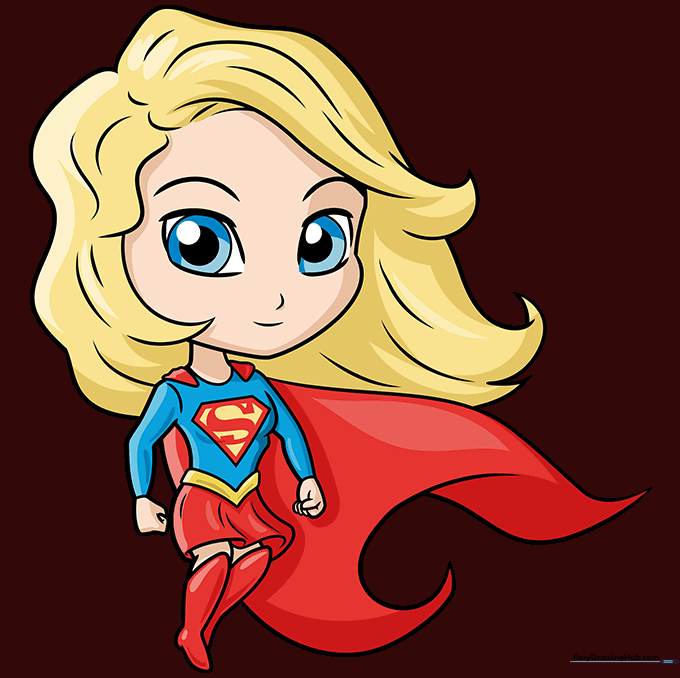
Time to color! Use bright yellow for the hair, and the classic red, blue, and yellow for her suit. Teacher's Tip: Use a light blue for the suit and a darker blue for shadows to give your drawing a 3D effect.
More Tutorials


