How to Draw a Chibi Spider-Man: Easy 10-Step Guide
Bring your favorite web-slinger to life with this fun, chibi-style drawing tutorial. Designed for young artists ages 6+, this project requires only a pencil, eraser, and paper to master. Follow along to develop your character design skills and create a stylized, adorable version of Spider-Man.
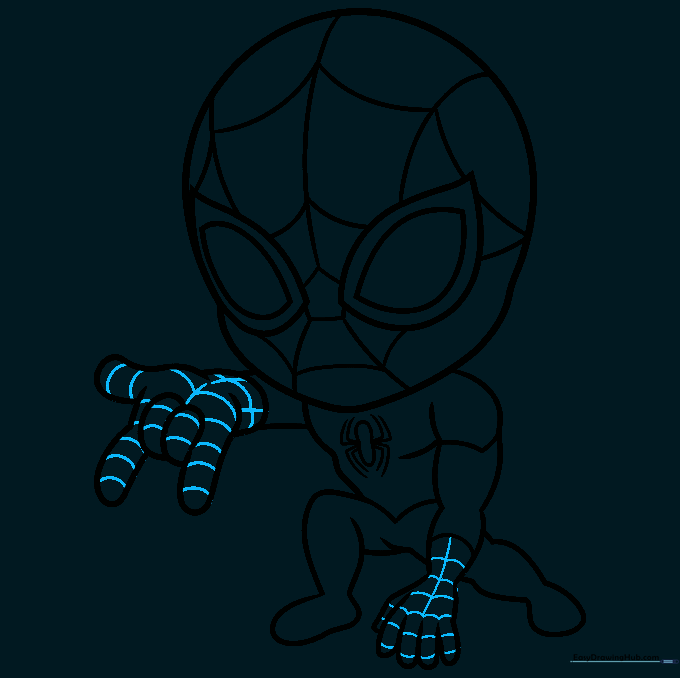
🎯 Final Result

Step-by-Step Instructions
Step 1: Sketching the Head and Mask

Draw a rounded, slightly squashed shape for the head. Add two large, angular eye patches. Teacher's Tip: Keep your pencil lines light so you can easily erase any mistakes before finalizing the mask shape.
Step 2: Establishing the Torso
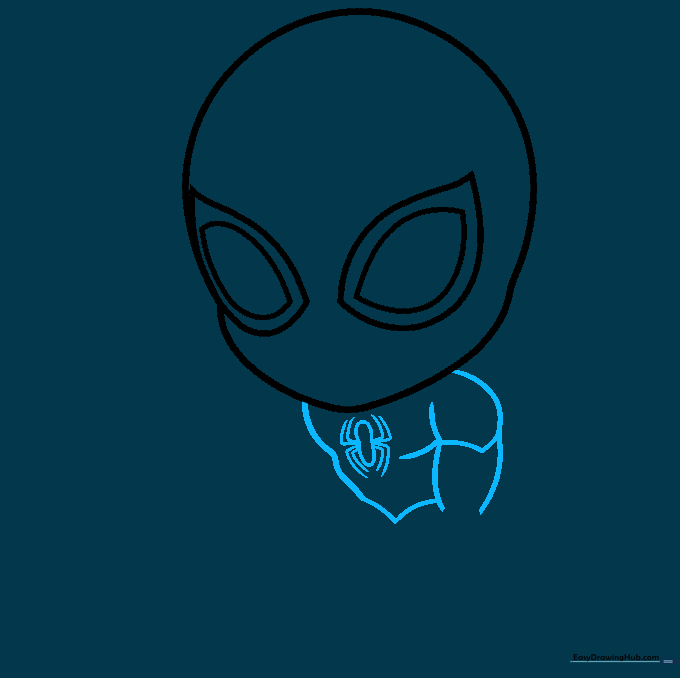
Sketch the chest and abdomen using soft, curved lines to give him that classic chibi 'squat' look. Add a small 'V' at the neck and a simple spider emblem in the center. Tip: Focus on keeping the body small compared to the head to maintain the cute chibi proportions.
Step 3: Drawing the Web-Slinging Hand
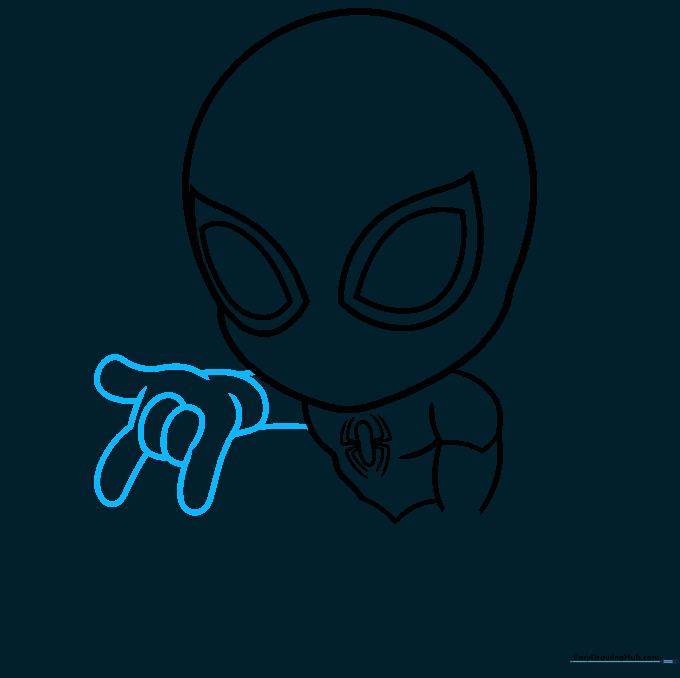
Draw the arm reaching out. For the hand, sketch the thumb and fingers in a web-shooting gesture. Tip: Use small, overlapping ovals to map out the fingers first—it makes drawing complex hands much easier!
Step 4: Adding the Second Arm
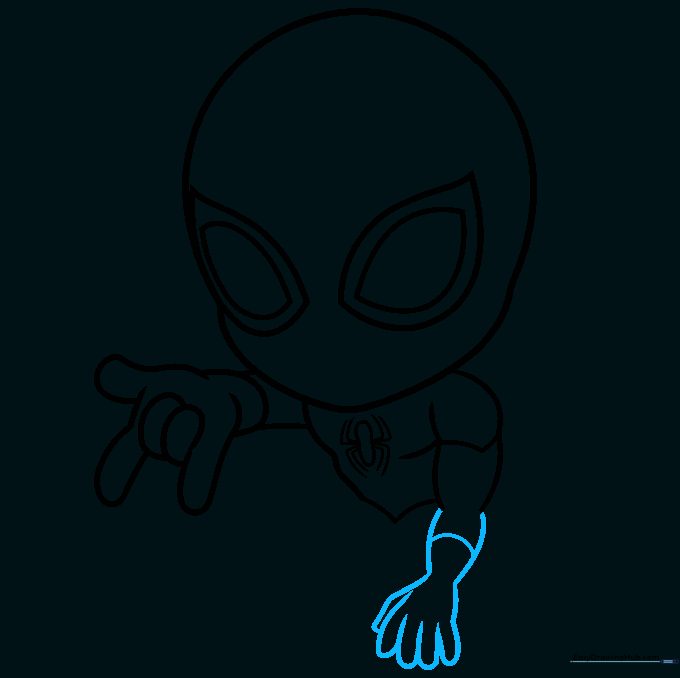
Complete the other arm by drawing a curved line that connects to the body. Add a band at the wrist to represent the glove. Tip: Ensure the arm looks relaxed to balance out the action of the other hand.
Step 5: Sketching the Legs
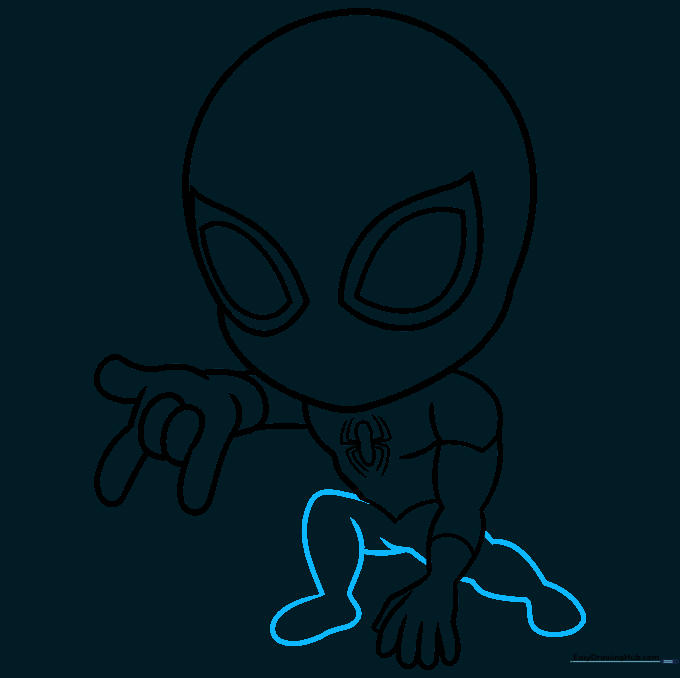
Draw the legs using long, curved lines that overlap slightly. This creates a sense of movement. Tip: If the legs look too long, remember that chibi characters have shorter, stubbier limbs—don't be afraid to keep them compact!
Step 6: Adding the Mask Webbing

Start the web pattern by drawing a small pentagon between the eyes. Extend curved lines outward to the edge of the face. Tip: Take your time with these curves; they define the texture of the mask.
Step 7: Detailing the Gloves
Add the web pattern to the gloves by drawing a center line and smaller, curved lines radiating outward. Tip: Use a thinner pencil lead here for more precision on the smaller hand details.
Step 8: Adding Chest Webbing
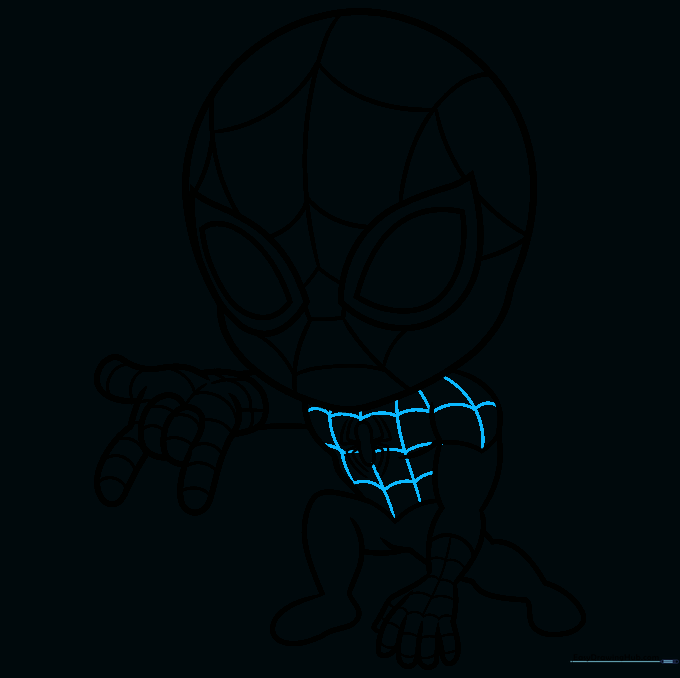
Continue the web pattern across the chest and shoulders. Draw vertical curved lines and connect them with shorter horizontal curves. Tip: Keep the lines consistent to make the suit look uniform.
Step 9: Finishing the Boots
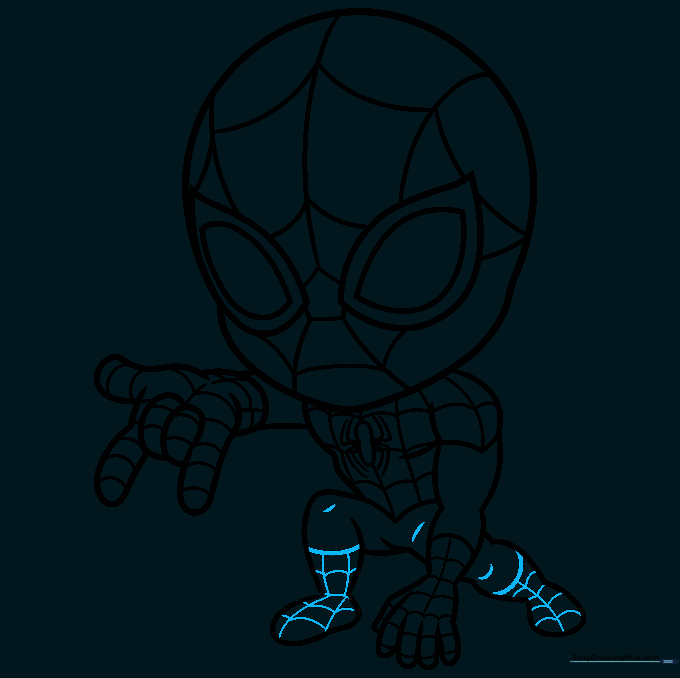
Define the boots with a thick line and add the final web pattern. Add small curves at the knees for extra detail. Tip: This is the final step before coloring, so double-check your lines!
Step 10: Bringing Him to Life with Color

Use bright red and deep blue to fill in the suit. Tip: Use a black fine-liner to trace over your pencil lines first for a clean, professional comic-book look before you start coloring.
More Tutorials


