How to Draw a Chibi SD Gundam: Easy 10-Step Guide
Bring your favorite mecha to life with this fun, simplified Chibi SD Gundam tutorial. Designed for young artists and anime fans, this guide uses basic geometric shapes to build a complex character. Grab your pencil, eraser, and paper to start sketching your own robotic hero today.
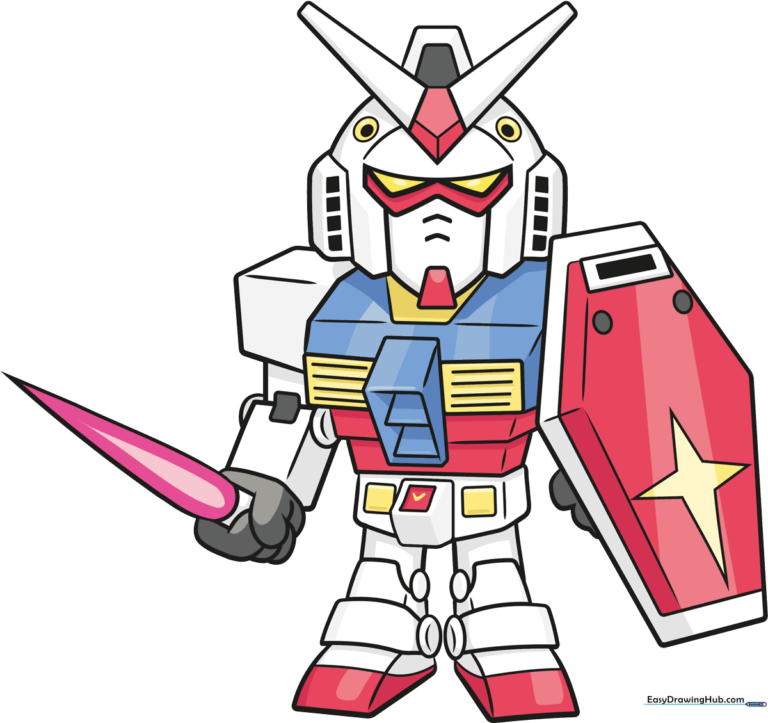
🎯 Final Result
Step-by-Step Instructions
Step 1: Sketching the Face and Chin

Start by drawing the Gundam's face. Use straight lines to outline the triangle-shaped eyes and the 'W' shape beneath them, followed by the cheeks and a trapezoid-shaped chin. Teacher's Tip: Keep your lines light and sketchy so you can easily adjust the symmetry of the eyes later.
Step 2: Constructing the Head Armor

Finish the head by drawing a large 'V' shape above the face. Add an inverted pentagon at the center and detail the side rectangular panels with four small squares each. Teacher's Tip: Use a ruler if you struggle with straight lines, but try freehand first to develop your steady hand.
Step 3: Adding Neck and Shoulders
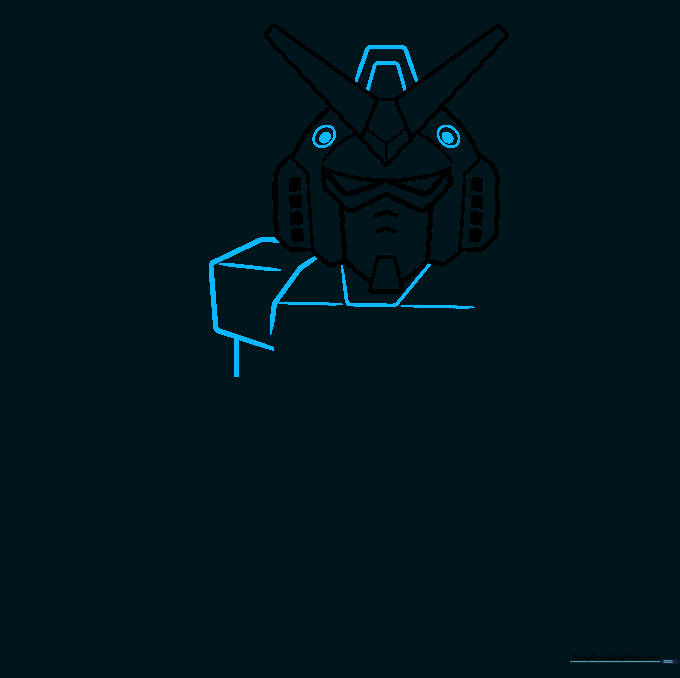
Draw two partial trapezoids at the center of the 'V' crest. Add circular ear details, then sketch the trapezoidal neck and boxy shoulder armor. Teacher's Tip: Focus on the 'boxiness' of the shoulders—this gives the character that classic, sturdy mecha look.
Step 4: Drawing the Shield
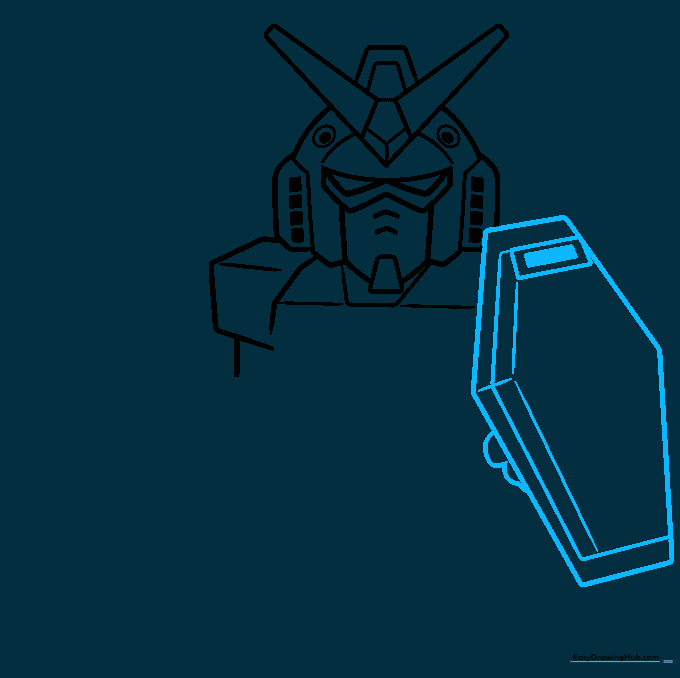
Sketch an elongated hexagon for the shield. Add a smaller hexagon inside, a small rectangle at the top, and a simple hand shape. Teacher's Tip: When drawing the hand, keep the lines soft and curved to contrast with the sharp, mechanical edges of the shield.
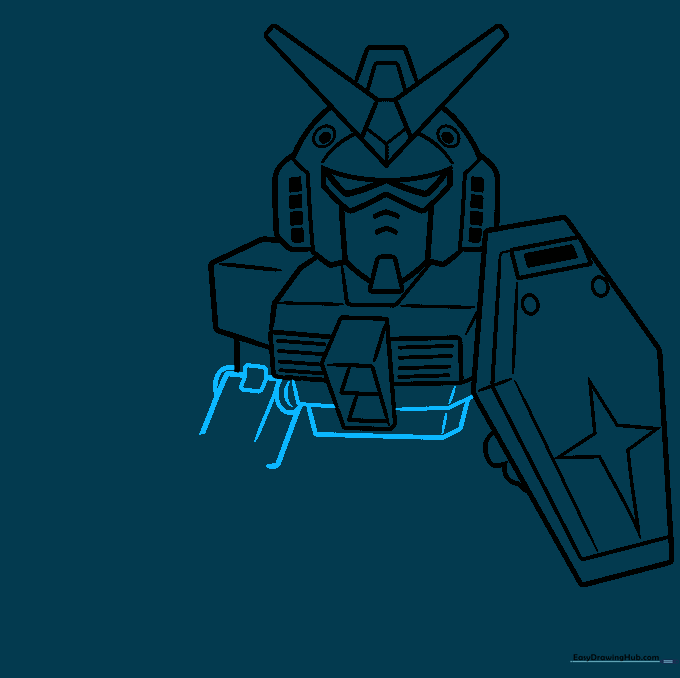
Step 5: Detailing the Chest and Shield
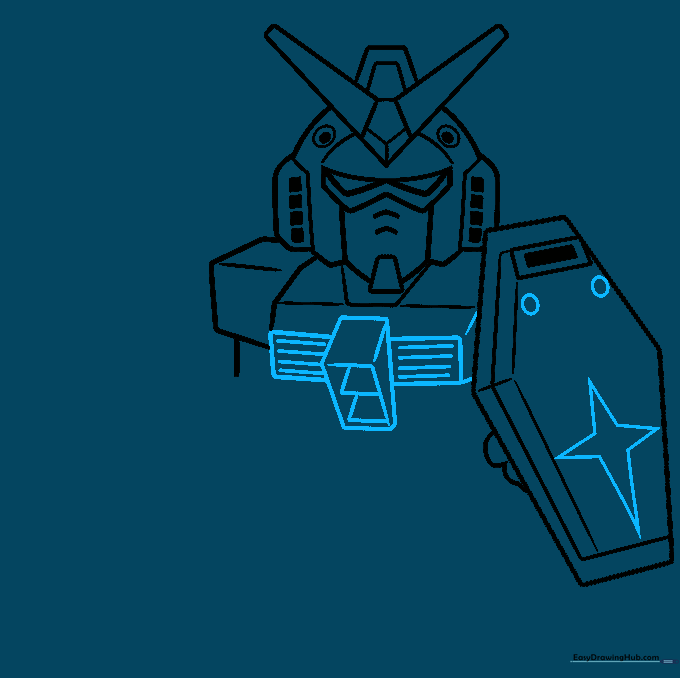
Add a four-pointed star to the shield and refine the chest armor with rectangles and trapezoids. Teacher's Tip: Use your pencil to lightly mark the center of the chest first; this helps keep your rectangles aligned.
Step 6: Constructing the Torso and Arm
Draw narrow trapezoids for the torso and a rectangular arm with elbow joints. Teacher's Tip: Add a tiny diagonal line at the corner of the torso to create a 3D depth effect.
Step 7: Adding the Sword
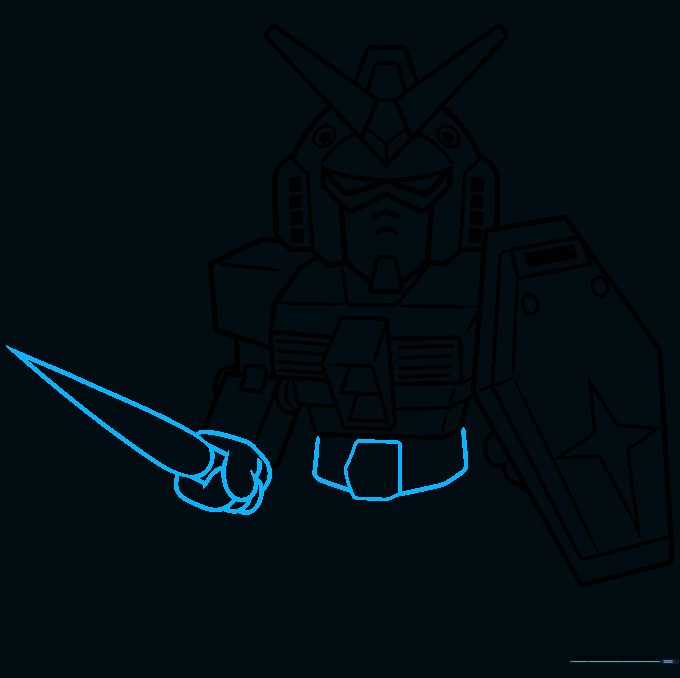
Complete the torso and draw the hand holding a sword. Use a sharp point for the blade and a curved line to show the hilt. Teacher's Tip: Make sure the sword handle aligns with the hand to make it look like he is actually gripping it.
Step 8: Detailing the Legs
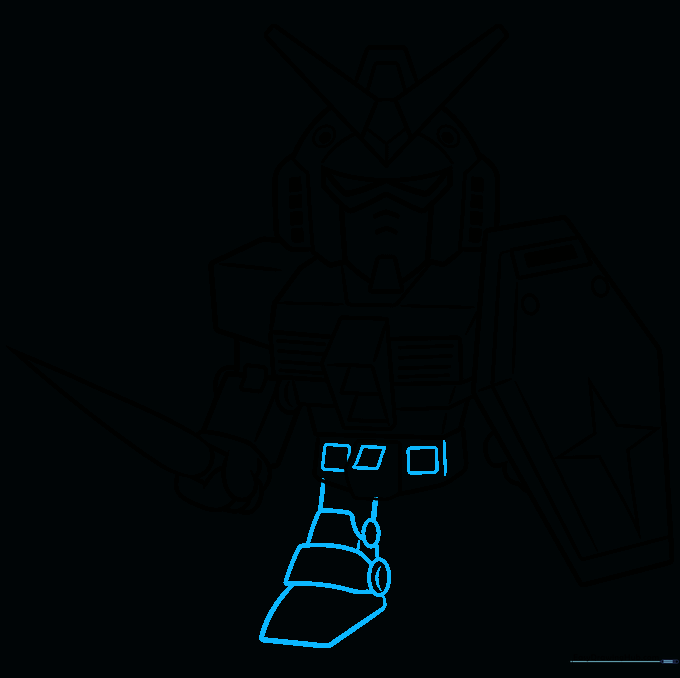
Add small squares to the torso and sketch the four segments of the leg and foot. Use ovals for the joints. Teacher's Tip: Think of the leg as a series of stacked blocks—this makes drawing the segments much easier.
Step 9: Finalizing the Foot
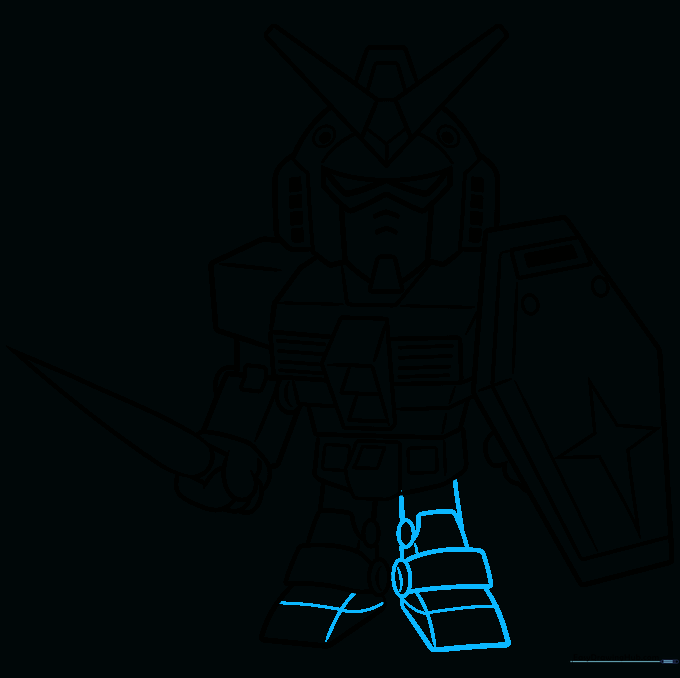
Detail the foot with perpendicular curved lines to show the armor plating. Teacher's Tip: Darken your final outline with a pen or a darker pencil to make the character pop off the page.
Step 10: Color Your Gundam
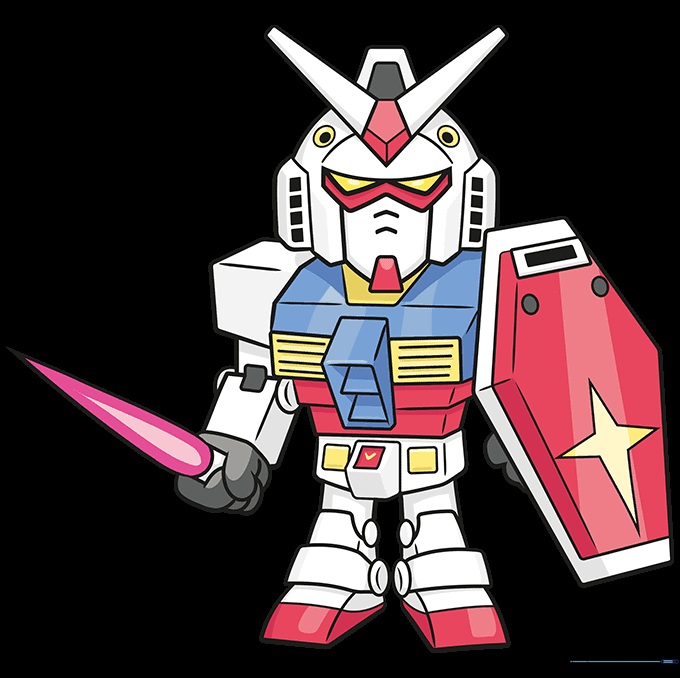
Bring your drawing to life with color! Use bold reds, blues, and whites for a classic Gundam look. Teacher's Tip: Use markers for a clean, flat anime style, or colored pencils if you want to add soft shading to the armor plates.
More Tutorials


