How to Draw a Chibi Loki: Easy 10-Step Guide
Bring the God of Mischief to life in a cute, compact style! This tutorial is perfect for young artists ages 8+ who want to practice character proportions. Grab your pencil, eraser, and paper, and let’s master those iconic helmet horns and mischievous expressions.
🎯 Final Result

Step-by-Step Instructions
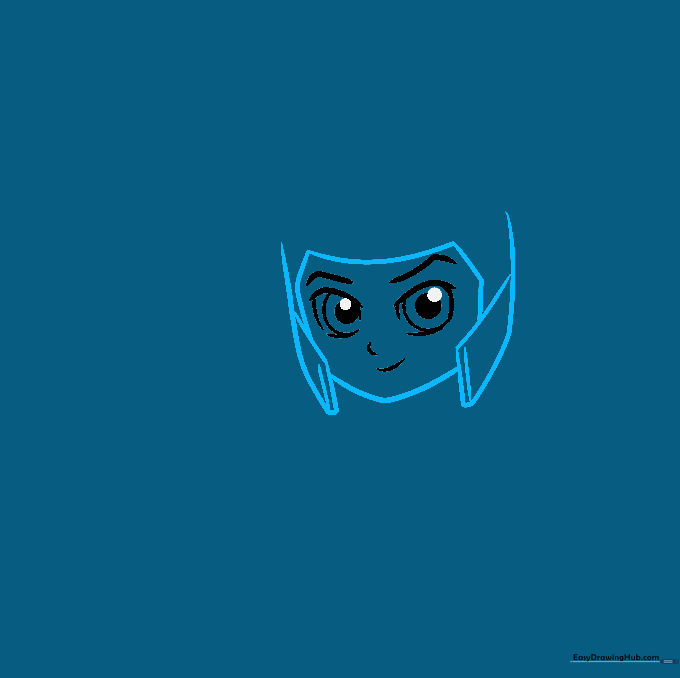
Step 1: Sketching the Face

Start by sketching the face. Outline the eyes with curved lines, then add smaller circles inside for the pupils. Teacher's Tip: Keep the eyes low on the head to give him that classic 'chibi' look, which makes characters appear extra cute and youthful.
Step 2: Defining the Helmet Base
Use curved lines to draw the pointed mask around the face. Add rectangular side pieces to cover the cheeks. Tip: Draw a small vertical line on each cheek piece to create a sense of depth and 3D structure.
Step 3: Adding the Iconic Horns
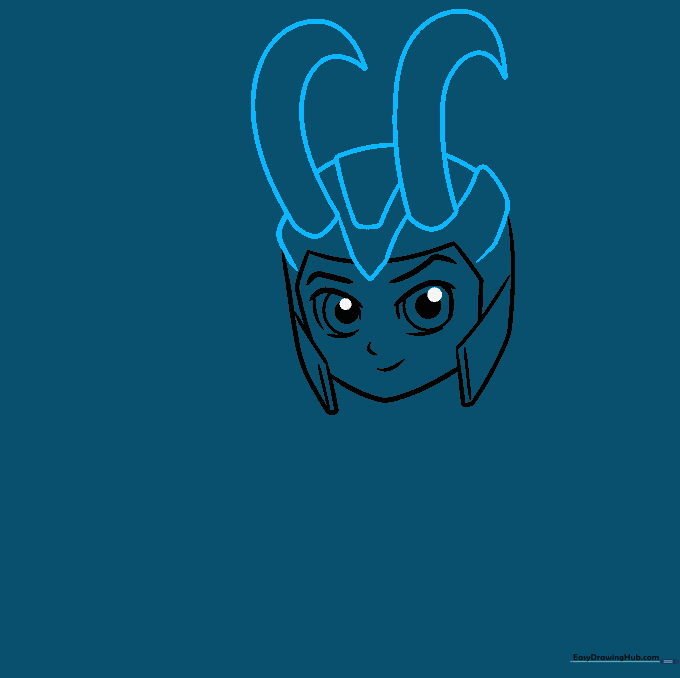
Extend two sets of curved lines upward to meet at a point for the horns. Connect them at the base. Tip: Ensure the horns are symmetrical; if one looks a bit wonky, use your eraser to gently adjust the curve before moving on.
Step 4: Outlining the Coat
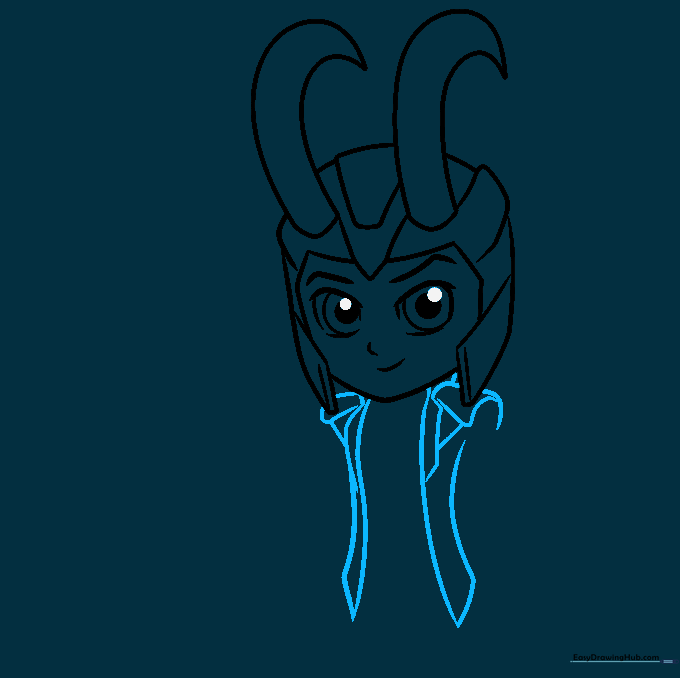
Sketch the basic shape of his coat using long, flowing curved lines. Add detail to the shoulders and collar. Tip: Think of the coat as a simple cape-like shape that drapes over his small chibi body.
Step 5: Detailing the Tunic
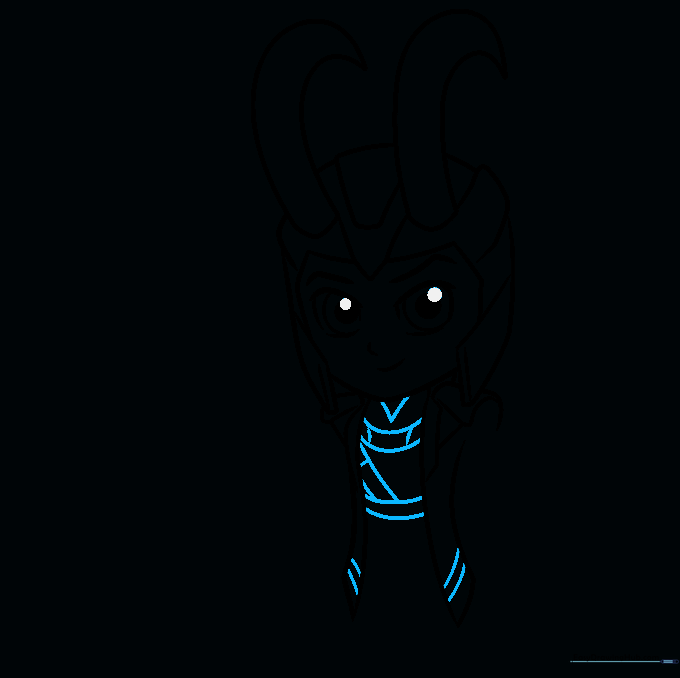
Draw a 'V' shape for the neck and add diagonal lines across the torso to represent the armor plating. Tip: Keep your lines clean and parallel to make the armor look structured and professional.
Step 6: Drawing the First Arm
Outline the sleeve, upper arm, and fist using curved lines. Tip: Since this is a chibi character, keep the arm short and slightly rounded to maintain the cute aesthetic.
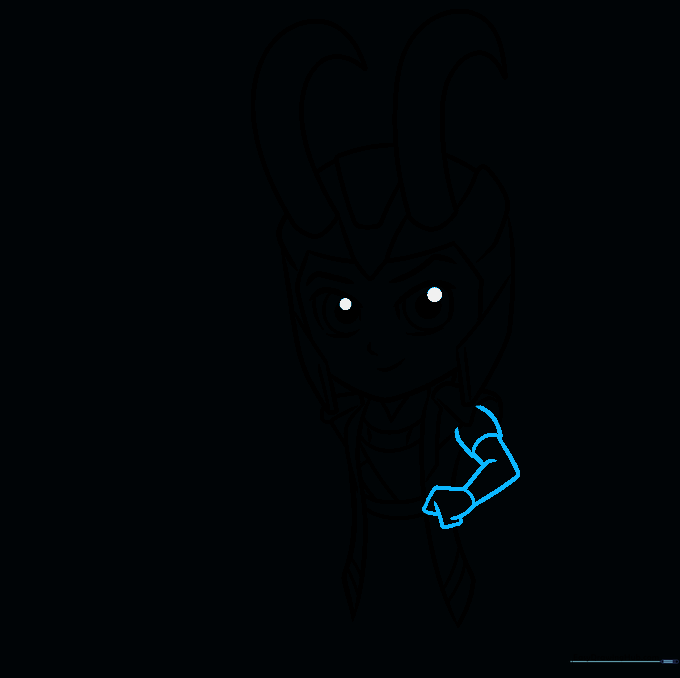
Step 7: Drawing the Second Arm

Repeat the process for the second arm. Add a small line at the elbow to show the joint. Use overlapping ovals to sketch the fingers. Tip: If drawing hands feels tricky, remember that in chibi style, fingers are often simplified into rounded shapes.
Step 8: Adding Legs and Feet
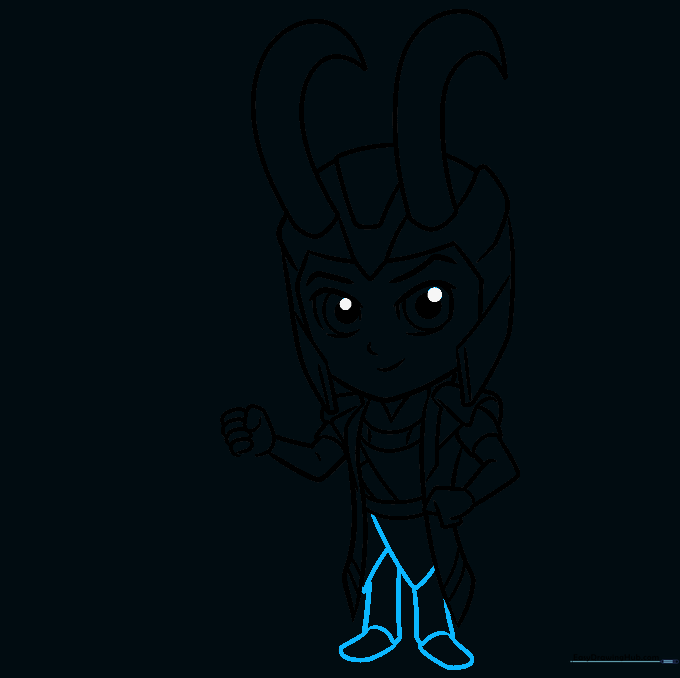
Draw the tunic bottom with 'V' shapes, then add the legs and U-shaped feet. Tip: Keep the legs short to ensure the character remains in the chibi proportion style.
Step 9: Adding the Cape and Staff
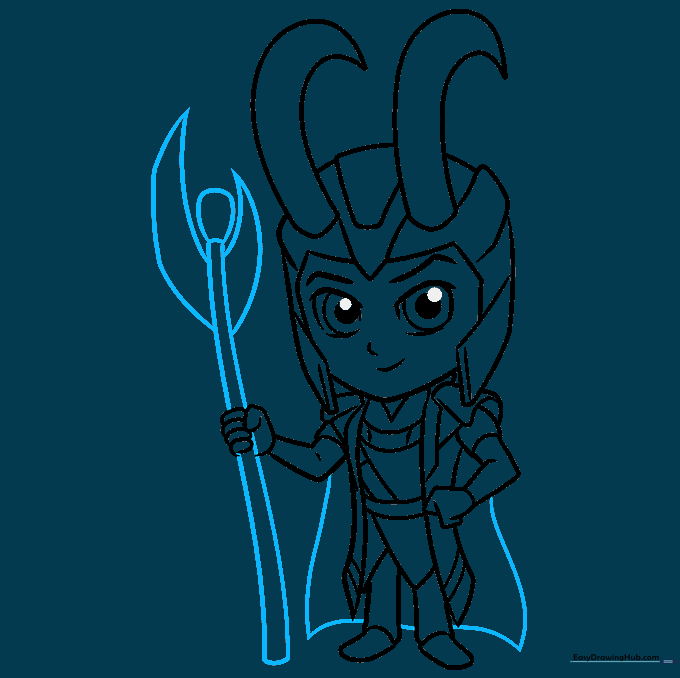
Sketch the rectangular cape and the staff. Decorate the staff with a rounded top and small triangles. Tip: Use a ruler if you want the staff to look perfectly straight, or keep it hand-drawn for a more organic look.
Step 10: Final Coloring
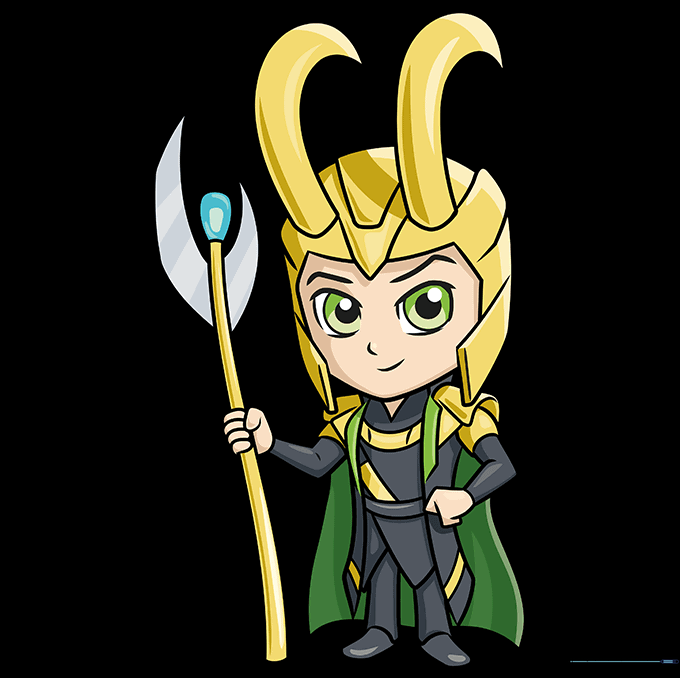
Bring your drawing to life with color! Use green for the cape and tunic, and gold for the helmet and staff accents. Tip: Use a darker shade of green for shadows to give your character a professional, finished look.
More Tutorials


