How to Draw a Chibi Deadpool: Easy 10-Step Guide
Ready to draw your favorite Merc with a Mouth in a cute, bite-sized style? This tutorial is perfect for artists ages 6 and up who want to practice character proportions. Grab a pencil, an eraser, and a black marker to follow along with these simple, confidence-building steps.
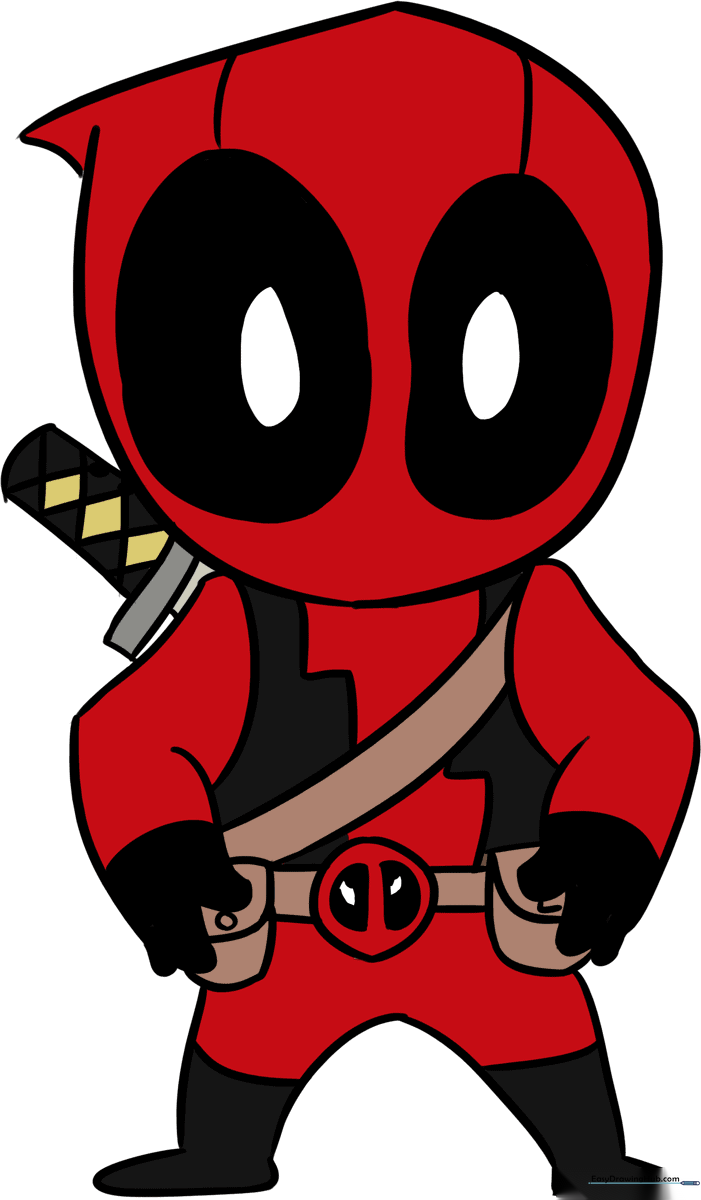
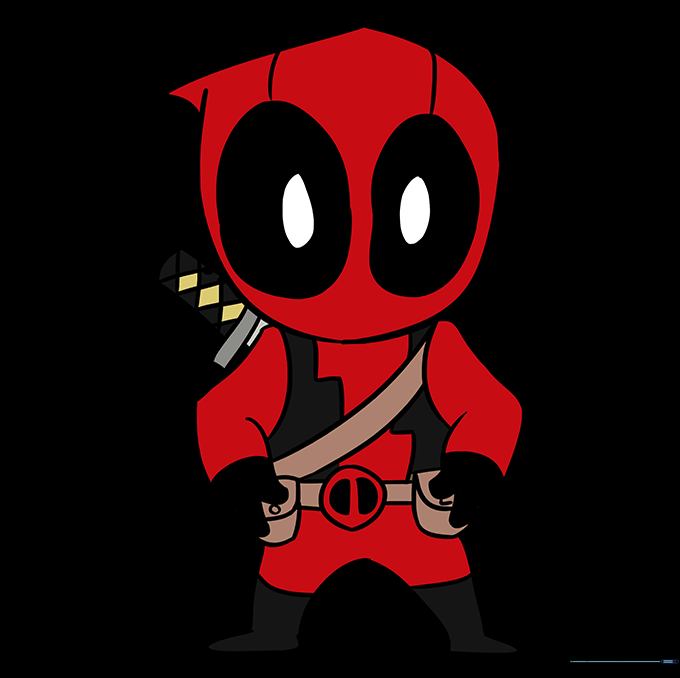
🎯 Final Result
Step-by-Step Instructions
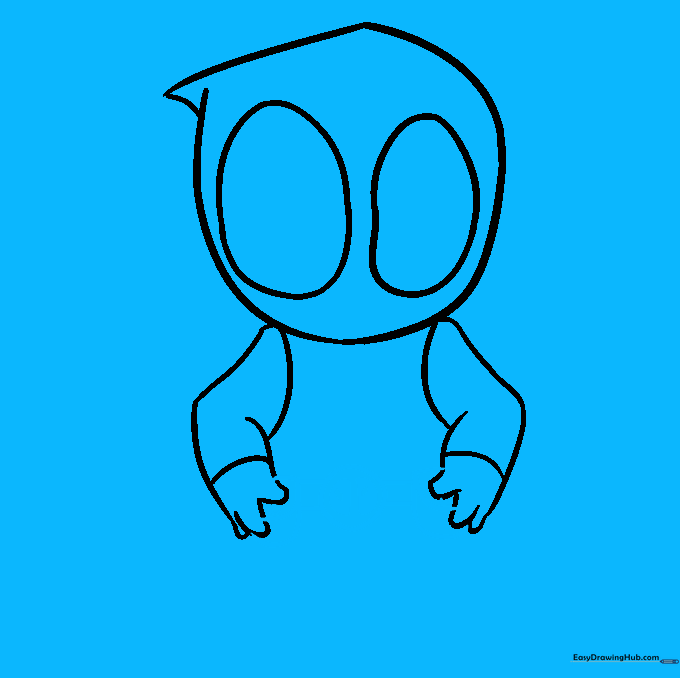
Step 1: Sketching the Face Shape

Start by drawing a soft, curved line to outline the side of Deadpool’s mask. Teacher's Tip: Keep your pencil grip loose; drawing a light, fluid curve now makes it much easier to refine the shape later.
Step 2: Completing the Mask Outline
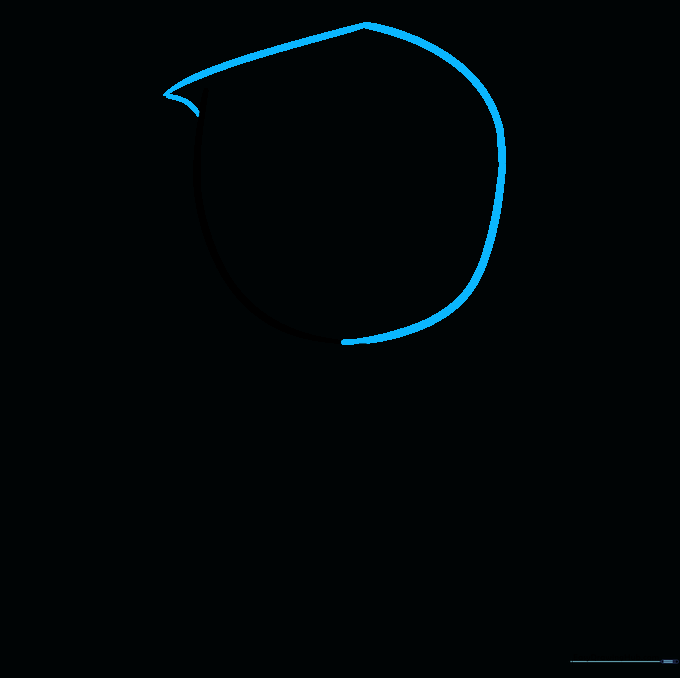
Complete the face shape by drawing a second curved line that meets the first. Notice how the line doubles back to create a small triangular point near the cheek. Tip: This little detail gives the mask its iconic look, so take your time matching the angle.
Step 3: Drawing the Expressive Eyes
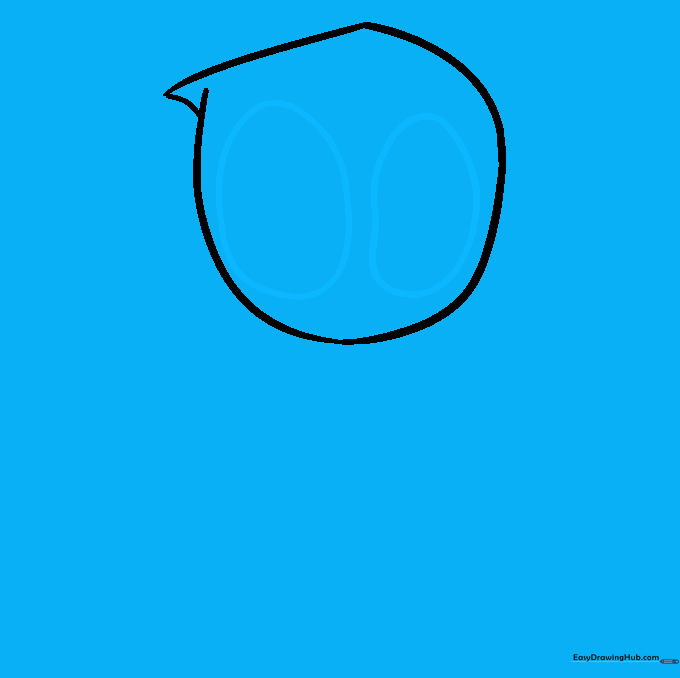
Draw two large, rounded ovals in the center of the face. These are the classic Deadpool eyes. Tip: Try to keep them symmetrical; if one looks a bit wonky, just use your eraser and try again—that's how we learn!
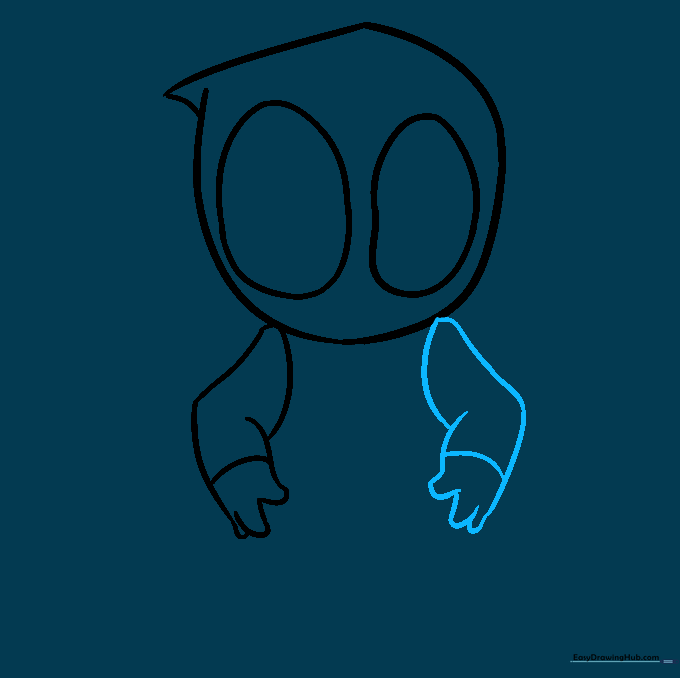
Step 4: Sketching the First Arm

Use two pairs of lines to create the upper and lower arm, adding a bend at the elbow. Finish the hand with small 'U' shapes for fingers. Tip: Draw the wrist line slightly curved to show the sleeve of the costume.
Step 5: Adding the Second Arm
Repeat the process for the second arm, mirroring the first. Tip: If you find it tricky to get the arms to look the same size, use your pencil to lightly measure the length of the first arm before drawing the second.
Step 6: Designing the Utility Belt
Draw the belt pouches using 'U' shapes and add the central Deadpool emblem. Tip: For the emblem, draw the circle first, then add the inner details. Shading the small ovals inside the emblem adds a nice 3D effect.
Step 7: Adding the Bandolier
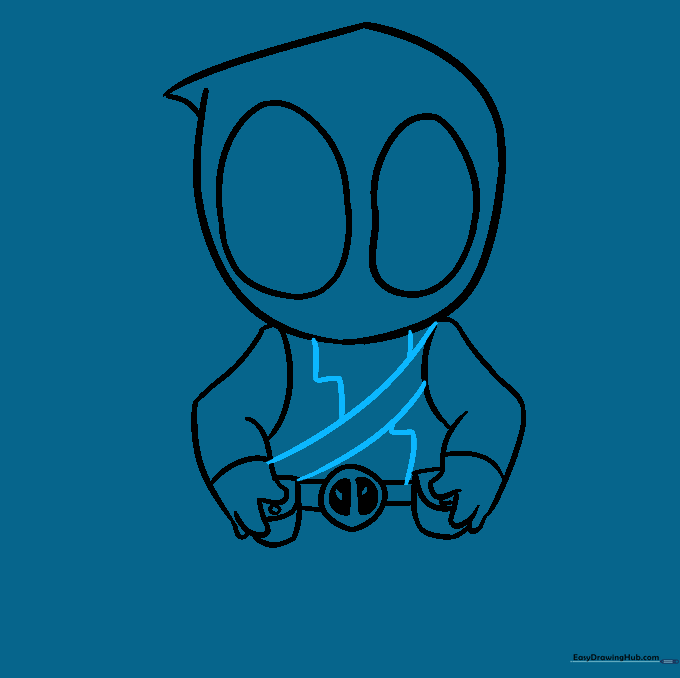
Draw a diagonal bandolier across the chest using two curved lines, then add a zigzag line for the strap details. Tip: Keep your lines clean and steady; this adds a sense of action to your character.
Step 8: Drawing the Legs and Boots
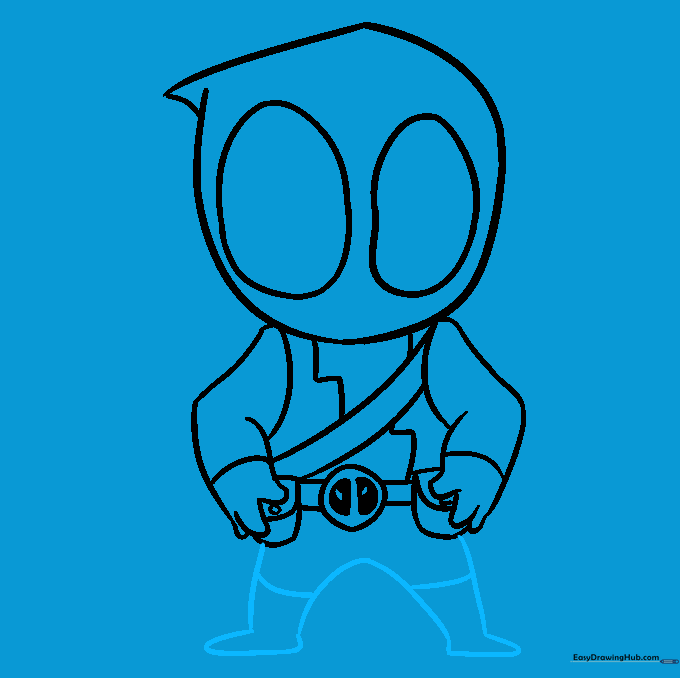
Outline the legs and feet with curved lines, adding a horizontal line to define the top of the boots. Tip: Since this is a chibi character, keep the legs short and stubby to maintain that cute, compact look.
Step 9: Adding the Sword
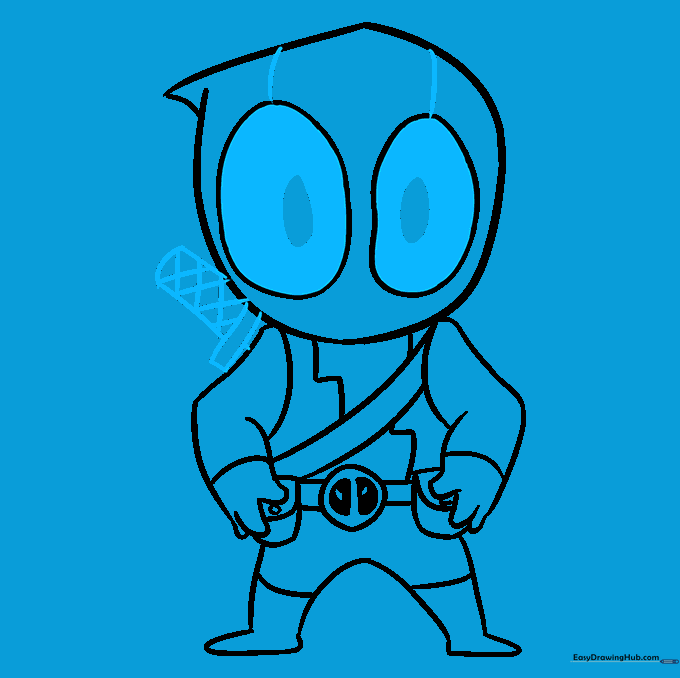
Draw the sword strapped to his back using straight lines for the blade and a checkerboard pattern for the grip. Tip: Use a ruler if you want the blade to look extra sharp, or keep it freehand for a more stylized look.
Step 10: Coloring Your Masterpiece
Time to bring your hero to life! Use vibrant red for the main costume and black for the accents. Tip: Use a black fine-liner to outline your pencil work first—it makes the colors pop and gives your drawing a professional finish.
More Tutorials


