How to Draw a Chibi Cat: Easy 10-Step Guide for Kids
Bring a tiny, adorable chibi cat to life with this beginner-friendly drawing tutorial. Designed for ages 5 and up, this activity requires only a pencil, paper, and an eraser. Follow along to master basic shapes and character proportions while building your confidence as an artist.
🎯 Final Result

Step-by-Step Instructions
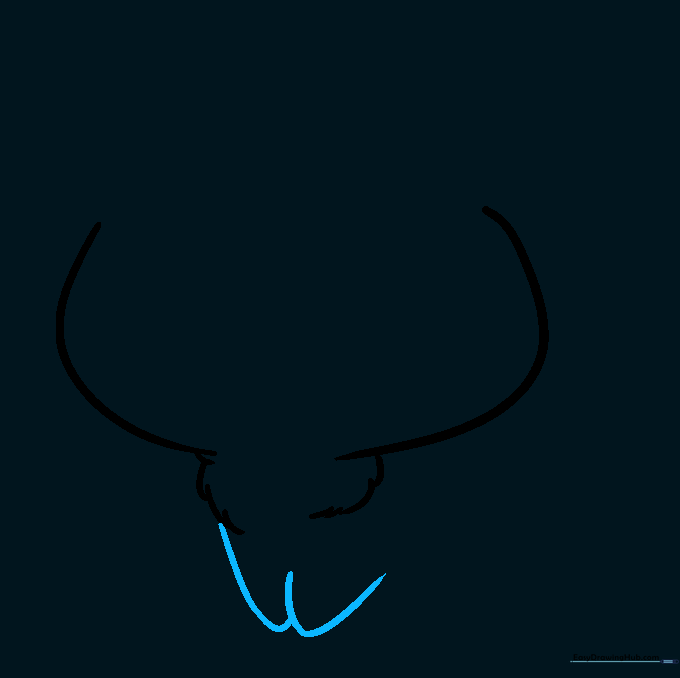
Step 1: Sketching the Face Shape

Draw two curved lines to form the sides of the face. Tip: Keep these lines soft and rounded to give your cat that signature 'chibi' look. Add a tiny curved line at the base to start the chin.
Step 2: Adding the Neck

Extend a furry, textured line from each side of the face. Tip: Use short, overlapping strokes to create the illusion of soft fur rather than a single straight line.
Step 3: Drawing the Forelegs
Draw two overlapping 'U' shaped lines to create the front paws. Tip: Keep these shapes small and close together to maintain the cute, compact chibi proportions.
Step 4: Outlining the Back and Hips
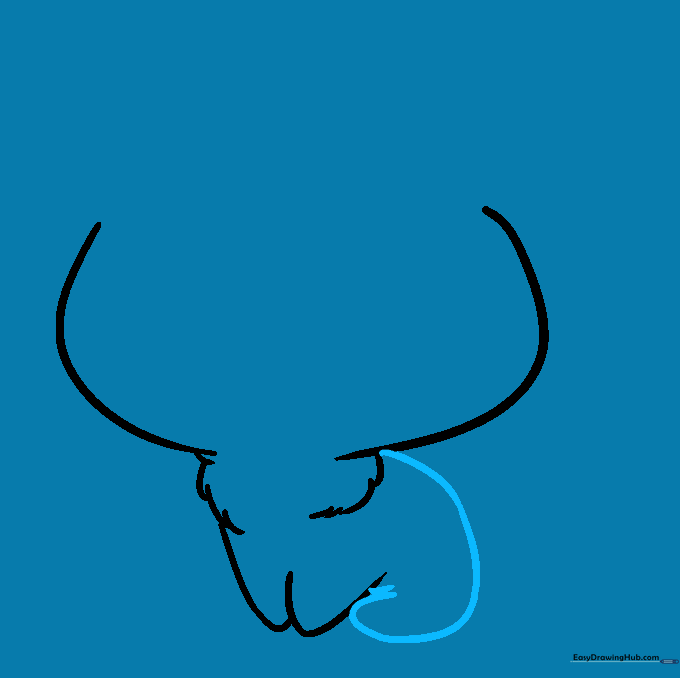
Extend a long, smooth, spiraling line from the neck down to the foreleg. This forms the back, hip, and rear leg. Tip: Try to draw this in one fluid motion for a cleaner look.
Step 5: Adding the Rear Foot

Draw a small 'U' shape on the opposite side to complete the rear foot. Tip: Make sure it aligns with the front leg to keep the cat looking balanced.
Step 6: Drawing the Fluffy Tail

Extend a long, curved line from the hip and loop it back to create a thick, fluffy tail. Tip: Use jagged, connected lines at the tip to give it a soft, bushy appearance.
Step 7: Adding Ears and Head Detail
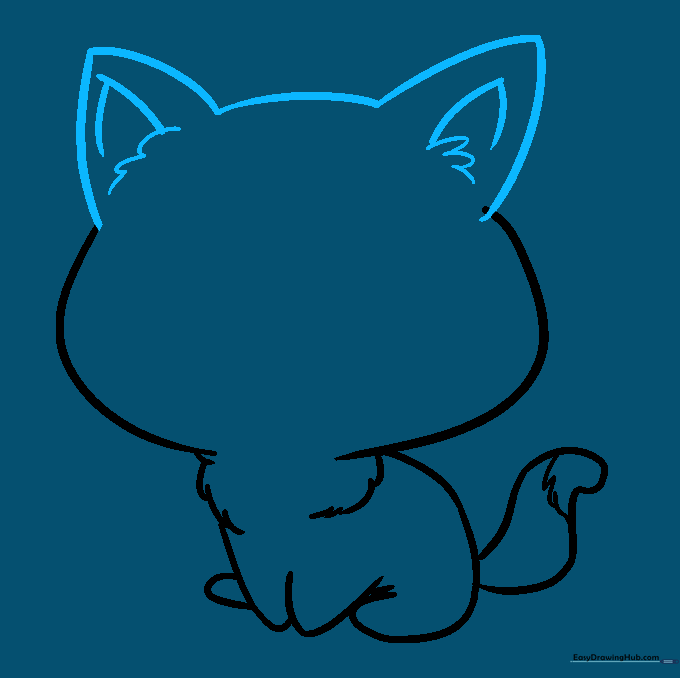
Draw two triangular ears on top of the head and connect them with a curved line. Tip: Add smaller triangles inside for the ear detail, using short, overlapping lines to suggest inner fur.
Step 8: Expressive Eyes

Draw large, circular eyes with smaller circles inside for pupils. Shade the pupils darkly. Tip: Leave a tiny white circle unshaded inside the pupil to create a 'sparkle' effect, which makes the cat look extra cute.
Step 9: Final Facial Features
Add a small inverted triangle for the nose, a 'W' shape for the mouth, and whiskers. Tip: Keep the nose and mouth very small and centered to maintain the chibi aesthetic.
Step 10: Coloring Your Creation
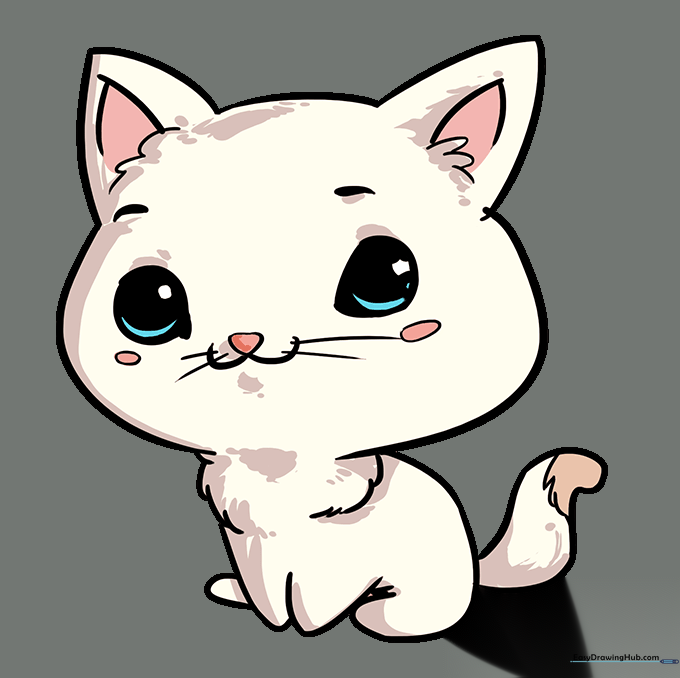
Bring your cat to life with color! Tip: While natural colors like orange or grey are great, don't be afraid to use bright, bold anime-inspired colors to make your character unique.
More Tutorials


