How to Draw a Cheese: Easy 10-Step Guide for Kids
Ready to draw a delicious-looking wedge of Swiss cheese? This tutorial is perfect for young artists ages 5 and up. All you need is a pencil, an eraser, and a piece of paper to bring this tasty snack to life.
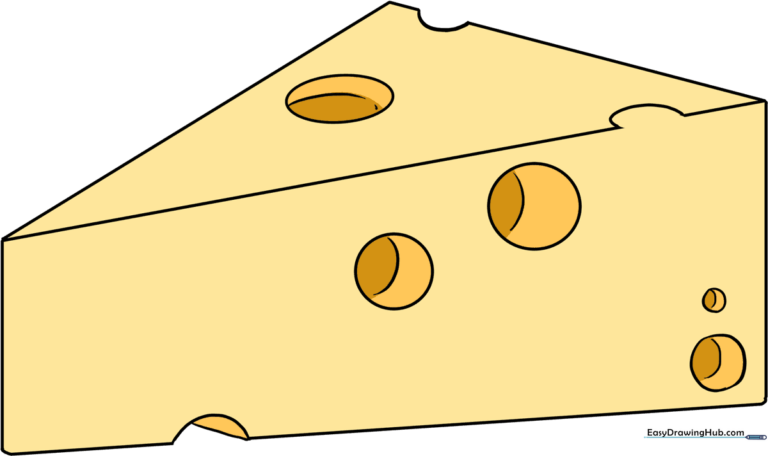
🎯 Final Result
Step-by-Step Instructions
Step 1: Sketching the Triangle Base

Draw a triangle to form the top of your cheese wedge. Tip: Make the bottom side the longest to give it a realistic perspective.
Step 2: Defining the Sides

Draw a straight vertical line down from each of the two bottom corners. Tip: Keep these lines parallel to make the cheese look solid and sturdy.
Step 3: Closing the Shape
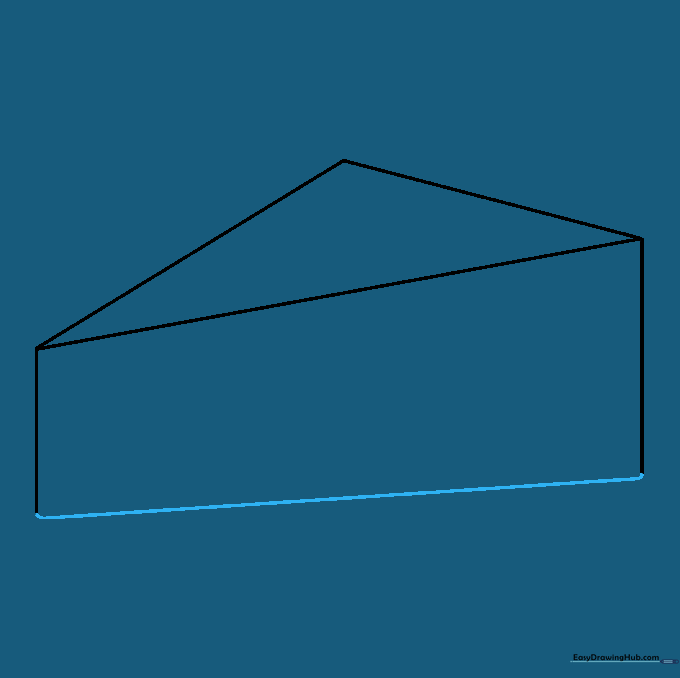
Connect the two vertical lines with a straight line at the bottom. Tip: Ensure this line matches the angle of the top triangle side for perfect symmetry.
Step 4: Adding the First Air Bubble

Draw a small half-circle along the bottom edge, then erase the straight line inside it. Tip: This creates the iconic 'hole' found in Swiss cheese.
Step 5: Adding a Side Hole

Draw another half-circle on the side of the wedge and erase the line inside. Tip: Varying the size of these holes makes your cheese look more natural.
Step 6: Drawing a Circular Hole

Add a small, complete circle on the side of the cheese. Tip: Don't worry if it's not a perfect circle; cheese holes are naturally irregular!
Step 7: Creating Depth

Add another circle and draw a small curved line inside each circle. Tip: This shading technique gives the holes a 3D, 'poked-in' appearance.
Step 8: Detailing the Top

Add a circle on the top surface with a curved line inside. Tip: Placing holes on different sides makes the drawing look more realistic.
Step 9: Final Touches
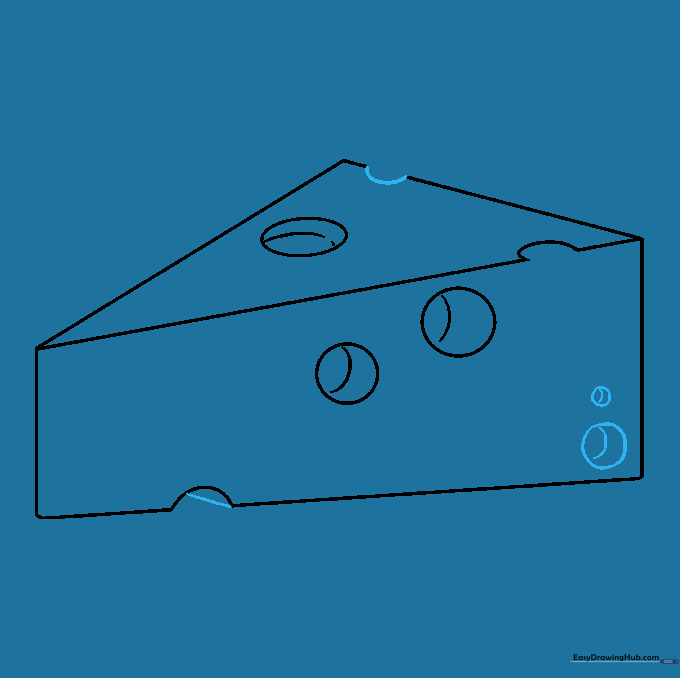
Add a few more small circles and half-circles around the block. Tip: Use your eraser to clean up any overlapping lines for a crisp finish.
Step 10: Bring It to Life with Color
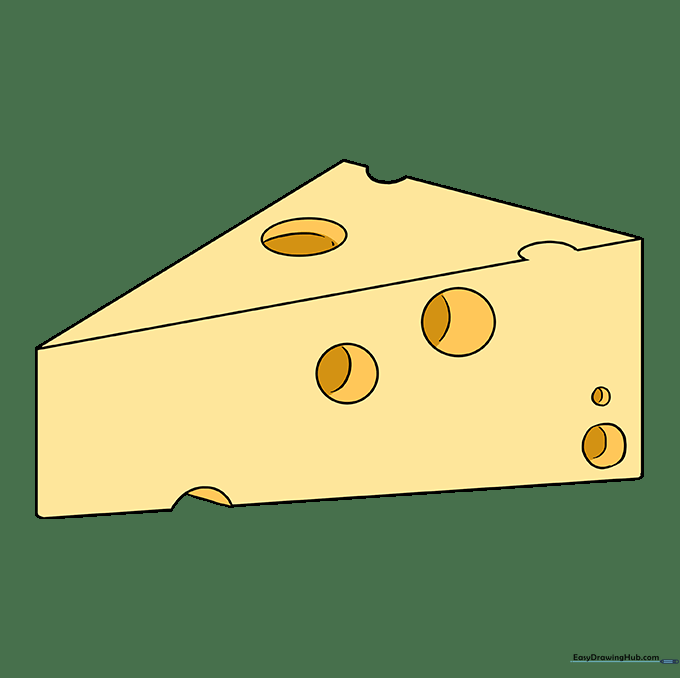
Color your cheese! Use a bright yellow or orange for a classic look. Tip: Use a slightly darker shade of yellow inside the holes to create a shadow effect.
More Tutorials


