How to Draw a Chameleon: Easy 10-Step Guide for Kids
Ready to bring a colorful reptile to life? This tutorial is perfect for young artists ages 5 and up. All you need is a pencil, an eraser, and your favorite coloring markers to master this fun, spiraled-tail chameleon design.
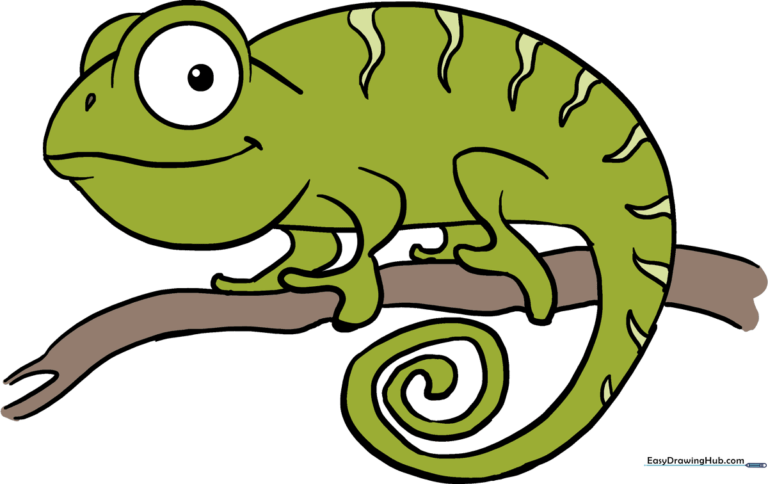
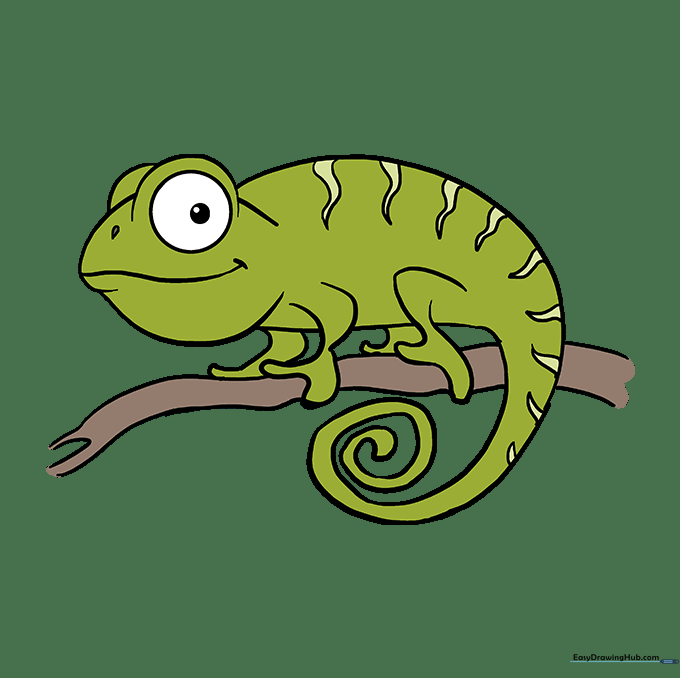
🎯 Final Result
Step-by-Step Instructions
Step 1: Sketching the Head

Use two long, curved lines to form the rounded head shape. Leave one side open for the neck. Tip: Draw a small 'v' shape at the mouth to give your chameleon a friendly expression!
Step 2: Outlining the Body
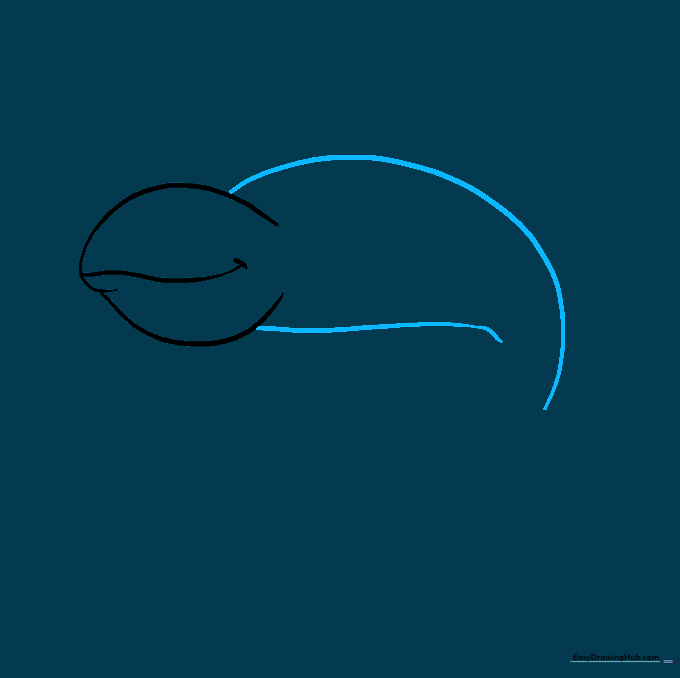
Extend two long, curved lines from the head to create the back and belly. Tip: Keep the back line slightly arched to give the chameleon its signature hunched posture.
Step 3: Drawing the Spiral Tail

Continue the body lines into a tight spiral. Tip: Imagine you are drawing a snail shell—keep the curve smooth and consistent until it reaches a point.
Step 4: Adding the Rear Leg
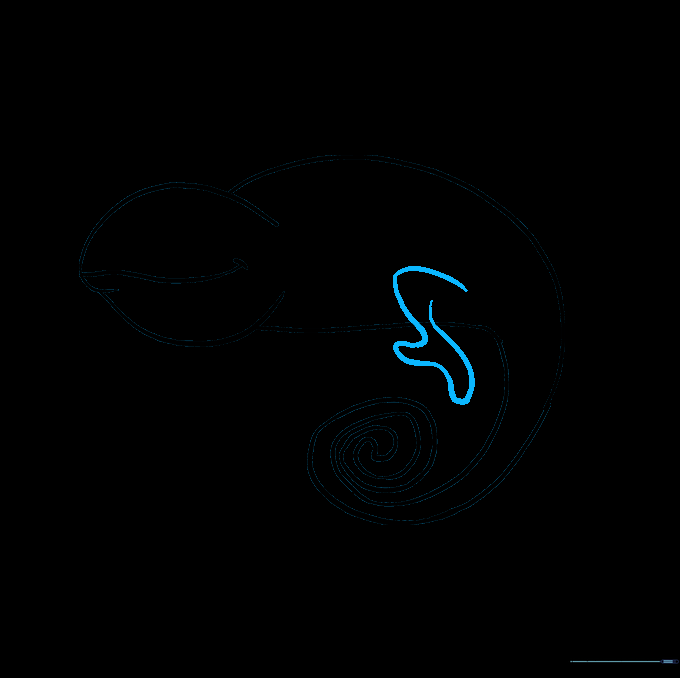
Sketch the rear leg using a curved line that doubles back to form two 'U' shaped toes. Tip: Chameleons have 'zygodactyl' feet—this means their toes are grouped together to help them grip branches tightly!
Step 5: Adding the Front Leg
Repeat the process for the front leg, ensuring the foot looks like it is ready to grasp a branch. Tip: Make the front leg slightly smaller than the back one to show perspective.
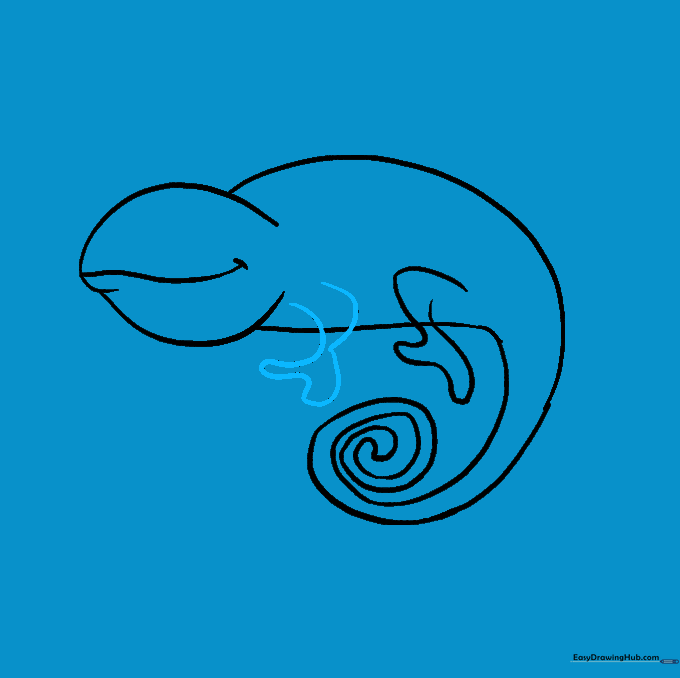
Step 6: Drawing the Eye
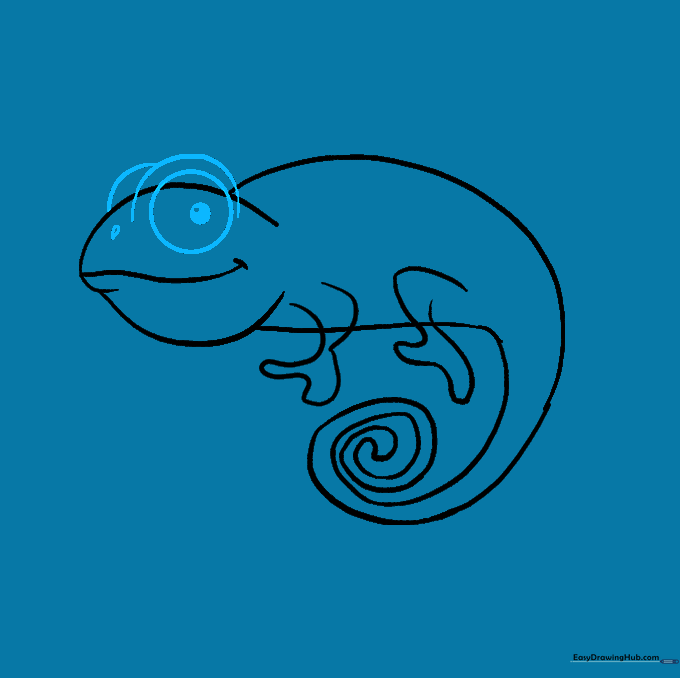
Draw a large circle for the eye socket, then add a smaller pupil inside. Add a brow ridge above it. Tip: Chameleons have independent eyes, so you can place the pupil looking in any direction you like!
Step 7: Cleaning Up
Gently erase any overlapping guide lines where the legs meet the body. Tip: Use a soft eraser and brush away the crumbs with your hand to keep your paper clean.
Step 8: Adding Texture
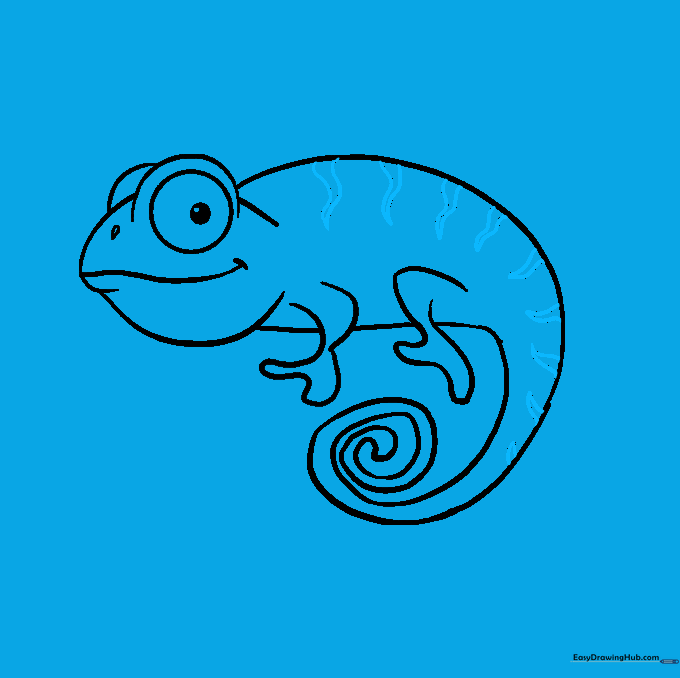
Draw wavy stripes along the back and tail. Tip: Vary the thickness of your stripes to make the chameleon look more realistic.
Step 9: Adding the Branch
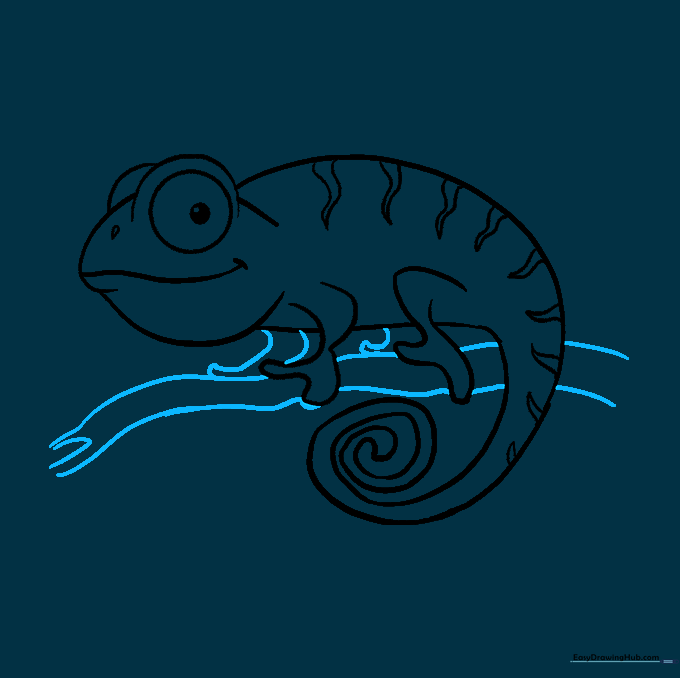
Draw a sturdy tree branch beneath the feet using parallel lines. Tip: Add a few small bumps on the branch to make it look like real tree bark.
Step 10: Bringing it to Life with Color
Color your chameleon! Use bright greens, yellows, or even oranges. Tip: Use a darker shade of your main color to add shadows under the belly for a 3D effect.
More Tutorials


