How to Draw a Celtic Warrior: Easy 10-Step Guide
Bring history to life with this fun, character-focused drawing lesson perfect for ages 8+. You will need a pencil, eraser, and paper to build this brave warrior from the ground up. By focusing on simple geometric shapes, you'll master character proportions and expressive detailing in no time.
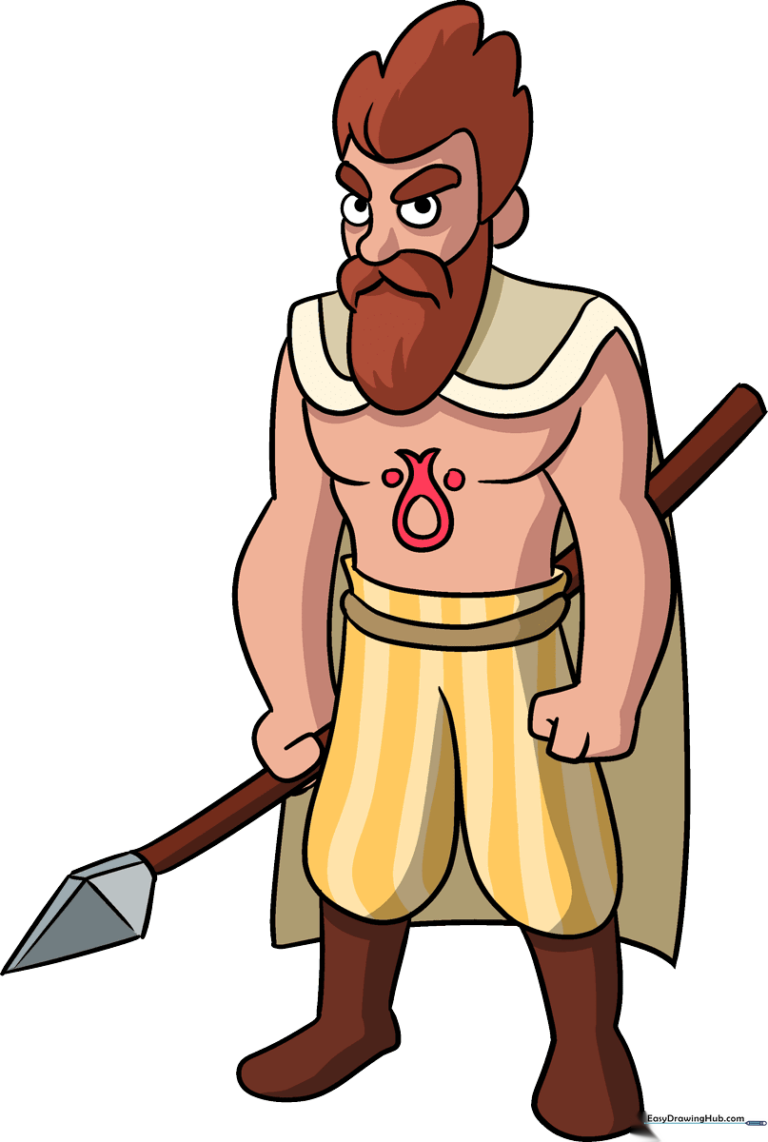
🎯 Final Result
Step-by-Step Instructions
Step 1: Sketching the Eyes

Start by drawing two curved arches for the eyebrows. Beneath these, draw two circles for the eyes and shade in the pupils. Teacher's Tip: Keep the eyes symmetrical to give your warrior a focused, determined expression.
Step 2: Defining the Hairline

Use curved lines to frame the face and 'U' shapes for the top of the hair. Add a small part line above the forehead. Teacher's Tip: Use short, quick strokes to make the hair look textured rather than like a solid block.
Step 3: Adding Facial Features
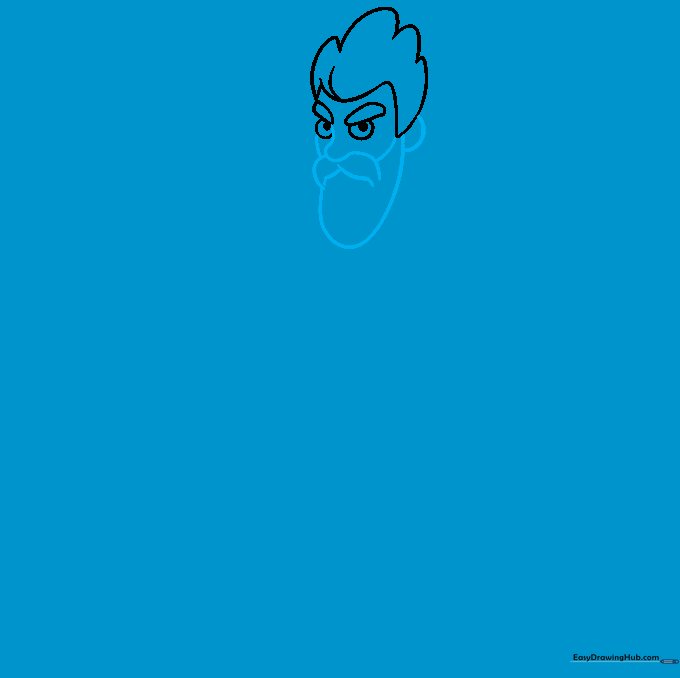
Sketch the nose, cheeks, and a full beard using soft, curved lines. Don't forget the ear on the side of the head. Teacher's Tip: A beard is just a series of overlapping curves; don't worry about making it perfect, as hair is naturally messy!
Step 4: Building the Torso
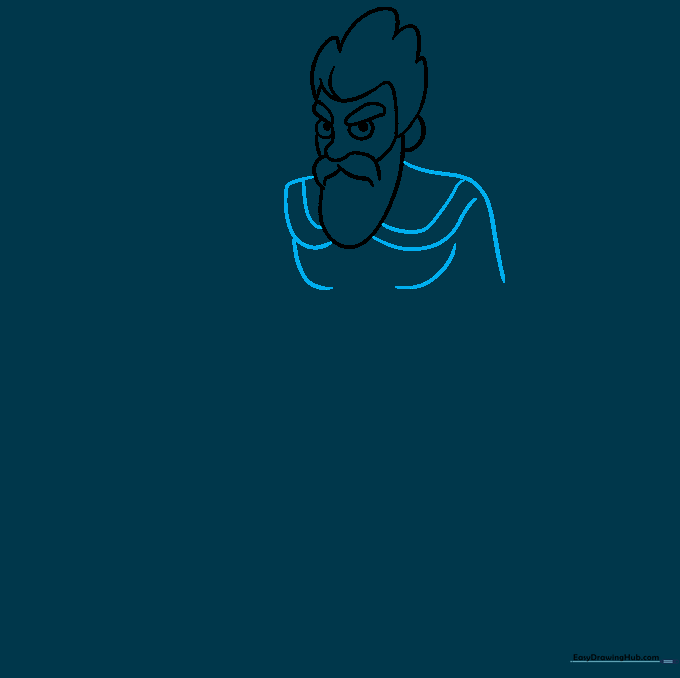
Outline the shoulders and upper arms with long, sweeping curves. Add the pectoral muscles to give the warrior a strong build. Teacher's Tip: Keep your pencil pressure light here so you can easily adjust the shoulder width later.
Step 5: Drawing Arms and Hands
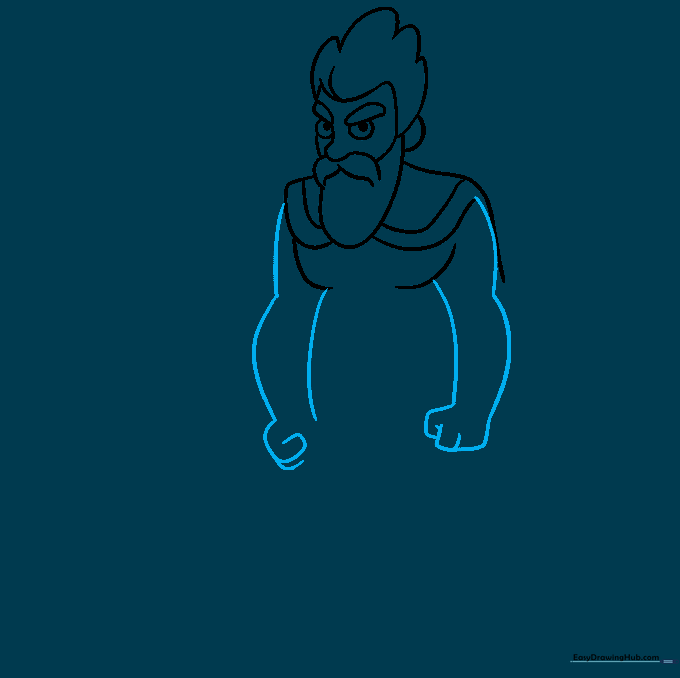
Draw the arms, noting the slight bend at the elbow. Sketch the hands as simple rectangular blocks for now. Teacher's Tip: Hands are tricky! Focus on the overall shape rather than individual fingers at this stage.
Step 6: Adding the Belt and Legs
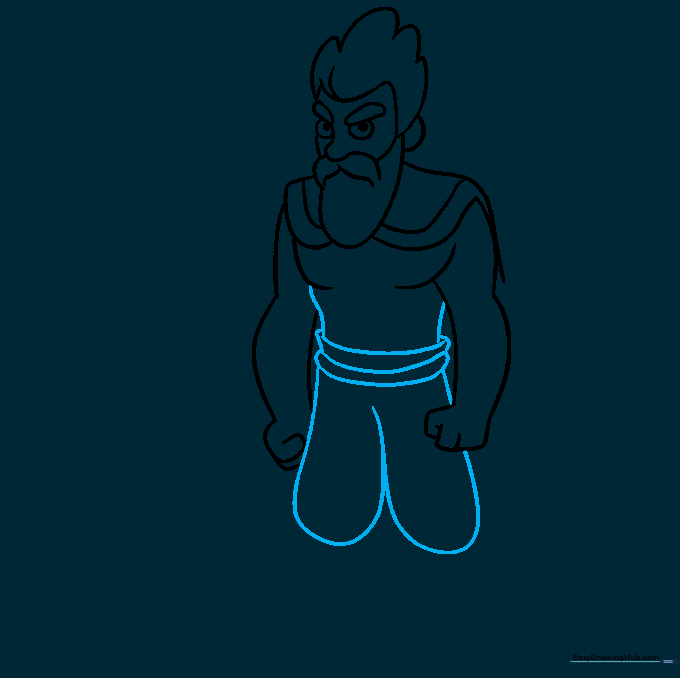
Draw the sides of the torso and three parallel lines for the belt. Use long 'U' shapes to define the legs. Teacher's Tip: The belt lines should curve slightly to show they are wrapping around the waist.
Step 7: Sketching the Boots
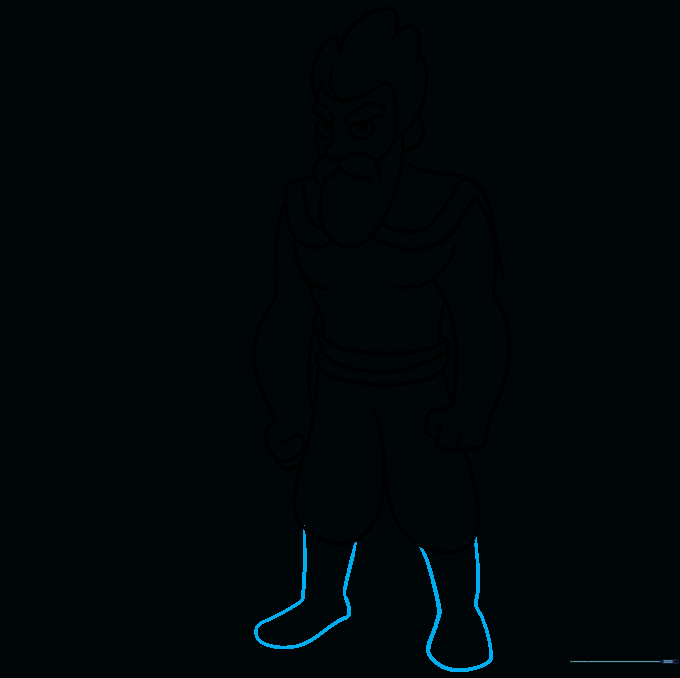
Draw the boots by doubling a curved line back on itself to show the foot shape. Teacher's Tip: Make the boots look sturdy by adding a flat line at the bottom for the sole.
Step 8: Adding the Spear
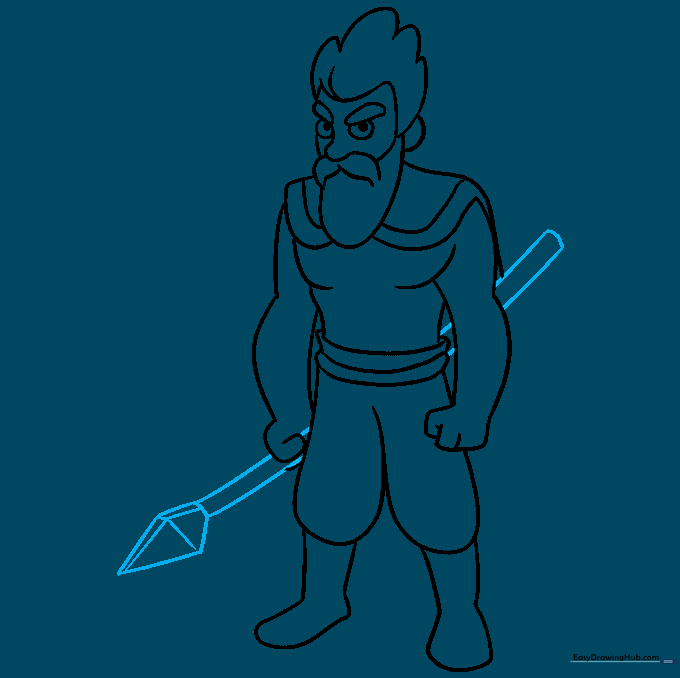
Draw two parallel lines for the spear shaft and a pentagon shape at the end for the spearhead. Add an 'X' inside the pentagon for detail. Teacher's Tip: Use a ruler if you want the spear shaft to look perfectly straight!
Step 9: Adding Tribal Details
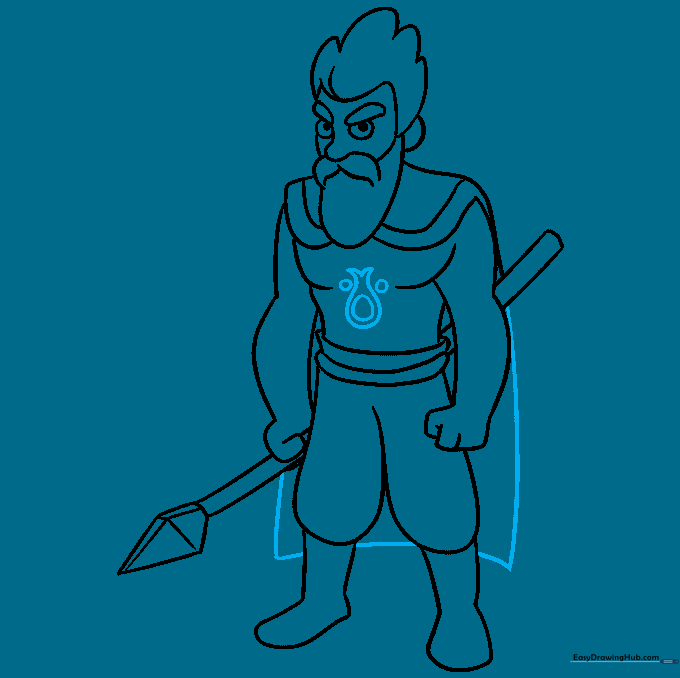
Draw the cape behind the warrior and add circular, teardrop-shaped tribal tattoos on his chest. Teacher's Tip: Tattoos are a great way to personalize your character—feel free to invent your own symbols!
Step 10: Final Touches and Color
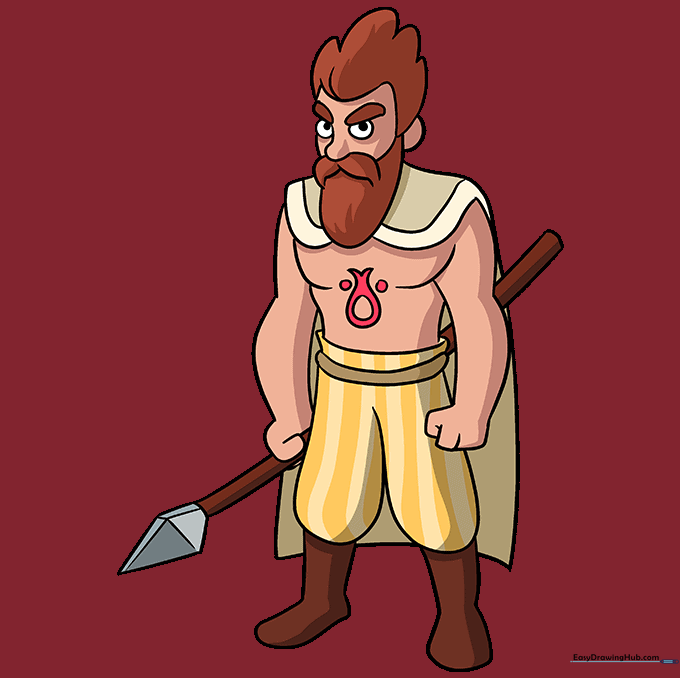
Erase your guide lines and add color to your warrior. Use earthy tones like browns, greens, and greys. Teacher's Tip: Use a darker shade to outline your drawing to make the character pop off the page.
More Tutorials


