How to Draw a Celtic Cross: Easy Step-by-Step Guide
Bring history to life with this step-by-step guide to drawing a classic Celtic cross. Designed for artists ages 8 and up, this project helps you practice symmetry and intricate knotwork patterns. All you need is a pencil, an eraser, and a steady hand to create your own symbolic artwork.
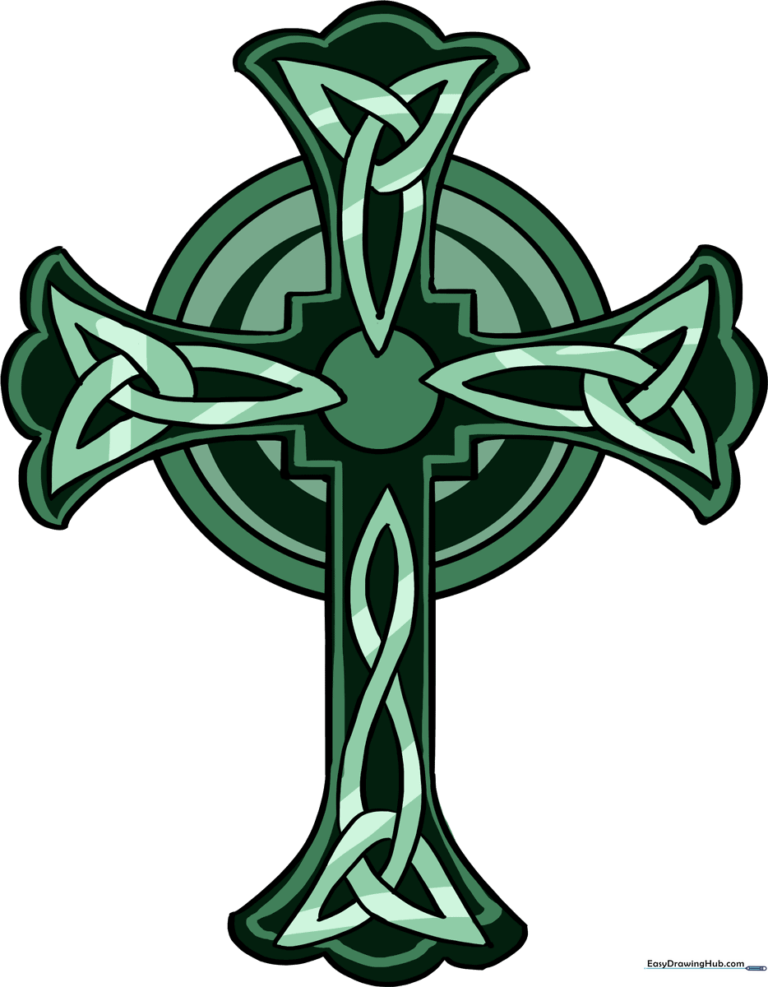
🎯 Final Result
Step-by-Step Instructions
Step 1: Establishing the Center

Draw a light circle to serve as the center of your cross. Teacher's Tip: Use a circular object like a coin as a stencil if you struggle with freehand circles, but keep the pressure light so you can erase it later.
Step 2: Creating the Ring

Draw a second, slightly larger circle around the first one. Teacher's Tip: Focus on keeping the space between the two circles consistent all the way around to ensure your cross looks balanced.
Step 3: Defining the Core

Draw a small circle in the very center. This acts as the anchor point for your cross arms. Teacher's Tip: Make this circle small and dark to help you center the cross arms accurately in the next steps.
Step 4: Sketching the Arms

Draw the horizontal arms using curved lines that flare outward. Connect the ends with a scalloped line. Teacher's Tip: Think of these as 'flared' rectangles; keeping the lines curved gives the cross a more organic, stone-carved appearance.
Step 5: Extending the Base

Add the vertical base arm, making it slightly longer than the horizontal arms. Use the same scalloped pattern at the bottom. Teacher's Tip: Use your pencil to lightly measure the length of the horizontal arms so the bottom arm looks proportional.
Step 6: Cleaning the Lines

Carefully erase the overlapping guidelines inside the cross. Teacher's Tip: Use a kneaded eraser if you have one—it's gentler on the paper and won't leave messy crumbs behind.
Step 7: Adding Knotwork Details
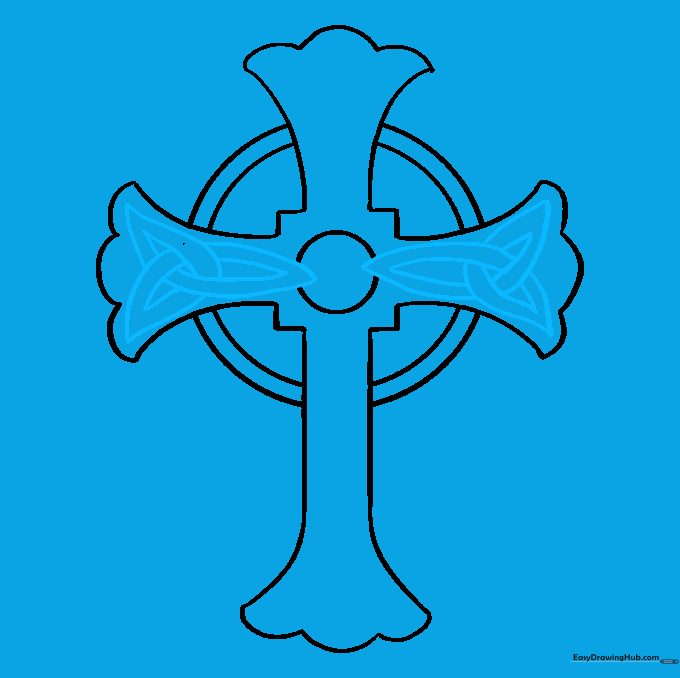
Draw teardrop shapes inside the horizontal arms to create the knotwork effect. Teacher's Tip: Keep the teardrops uniform in size. If they look uneven, lightly erase and adjust before committing with a pen.
Step 8: Completing the Upper Knotwork
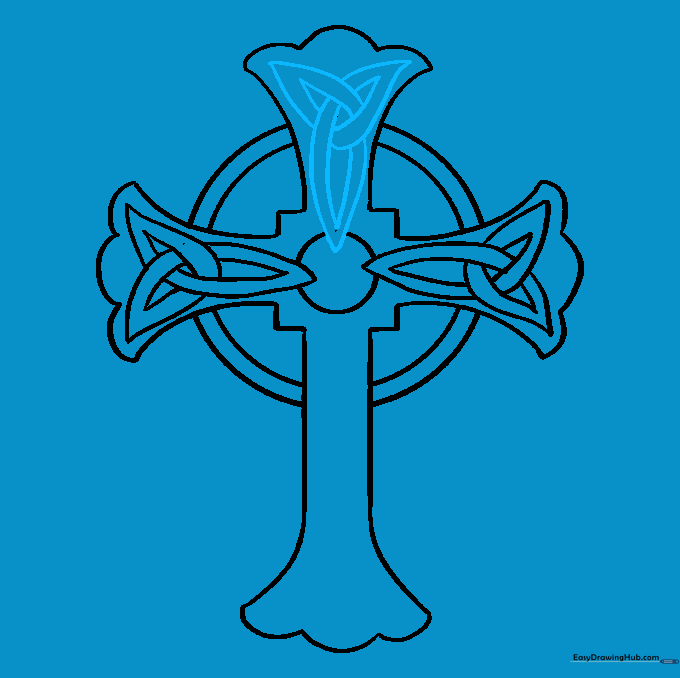
Repeat the teardrop pattern in the upper arm. Teacher's Tip: Ensure the points of the teardrops face outward to maintain the flow of the knot design.
Step 9: Finalizing the Base

Fill the bottom arm with four teardrop shapes. Teacher's Tip: Erase any lines where the shapes overlap to make it look like one continuous, woven piece of rope.
Step 10: Adding Color
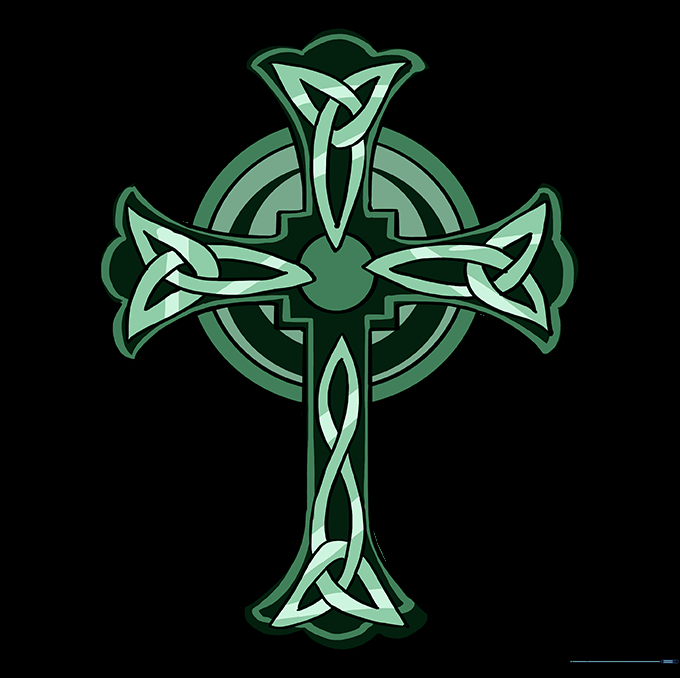
Bring your cross to life with color! Teacher's Tip: Use shading on one side of each 'rope' segment to give your drawing a 3D, carved-stone effect.
More Tutorials


