How to Draw a Cat Skull: Easy 10-Step Guide
Looking for a fun, slightly spooky drawing project? This tutorial is perfect for artists ages 7+ who want to practice symmetry and character design. You only need a pencil, an eraser, and a piece of paper to bring this cartoon cat skull to life.
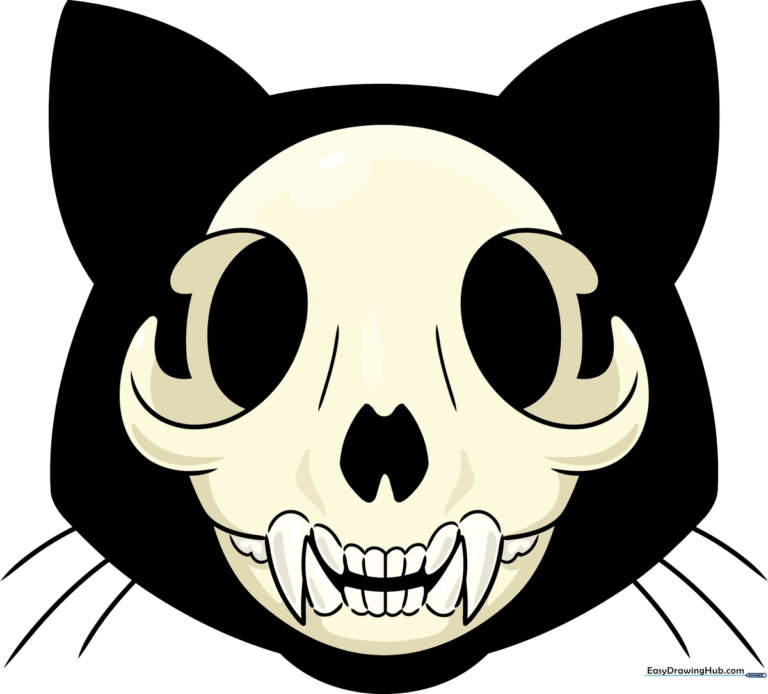
🎯 Final Result
Step-by-Step Instructions
Step 1: Sketching the Eye Sockets

Draw two ovals that end in soft curls, then sketch smaller ovals inside them. Teacher's Tip: Keep these symmetrical to ensure the skull looks balanced from the start.
Step 2: Defining the Nasal Cavity

In the center, sketch a small downward-pointing loop and a larger one below it. Connect them with curved lines to form a diamond shape. Tip: Add two small lines inside to suggest the depth of the nose.
Step 3: Shaping the Cranium

Draw a smooth curve for the top of the skull. On the sides, add loops that connect back to the main head shape. Tip: Use a light touch; if the curve looks lopsided, just erase and try again!
Step 4: Adding Jaw Structure
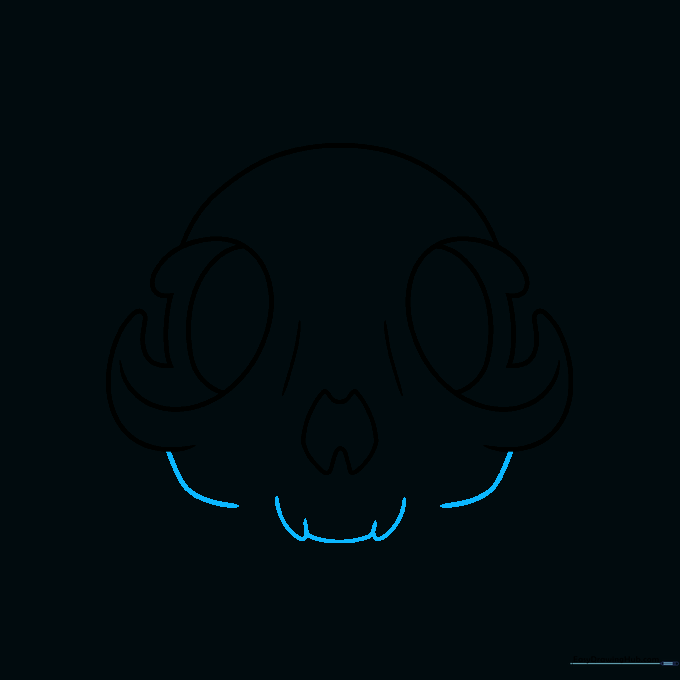
Sketch two loose 'L' shapes on the sides of the head. Connect them with a curved line to establish the jawline. Tip: This creates the foundation for where the teeth will sit.
Step 5: Starting the Teeth
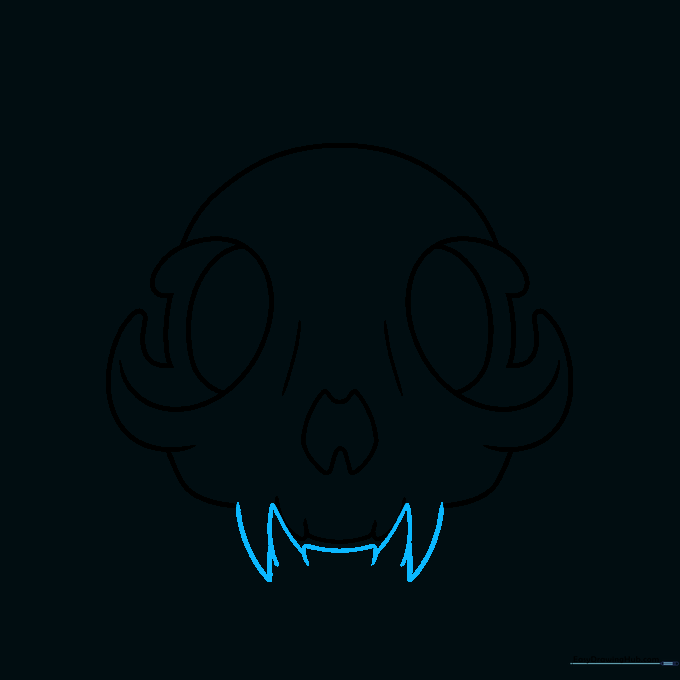
Draw two downward-pointing triangles. These will be the cat's fangs. Tip: Make them sharp and pointed to give your skull a more realistic cartoon look.
Step 6: Outlining the Teeth
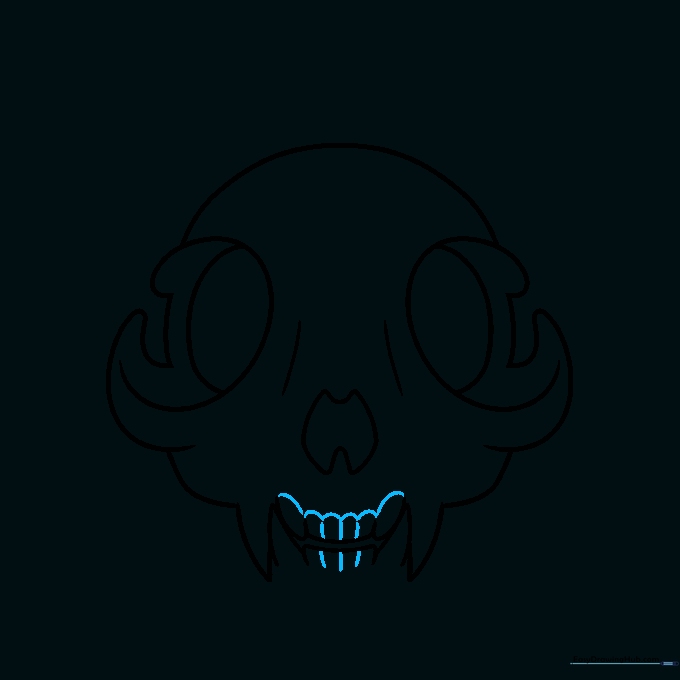
Add a row of small hill shapes along the jawline. Tip: Don't worry about making them perfect; irregular shapes look more natural for teeth.
Step 7: Completing the Teeth

Continue adding cloud-like curves to fill in the rest of the teeth. Tip: Ensure the teeth are smaller as they move toward the back of the jaw.
Step 8: Adding Ears and Chin

Draw two curved triangles for the ears and connect them with a line. Add a semicircle under the teeth for the chin. Tip: Keep the ears slightly pointed to maintain the cat silhouette.
Step 9: Final Details
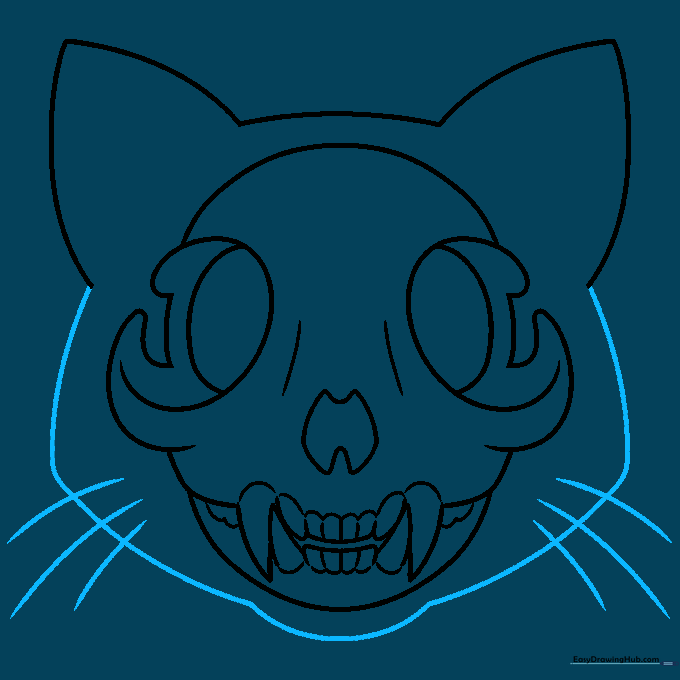
Sketch diagonal lines on the sides of the face and add whiskers. Tip: Whiskers should be long and sweeping to give the skull a bit of personality.
Step 10: Outlining and Coloring
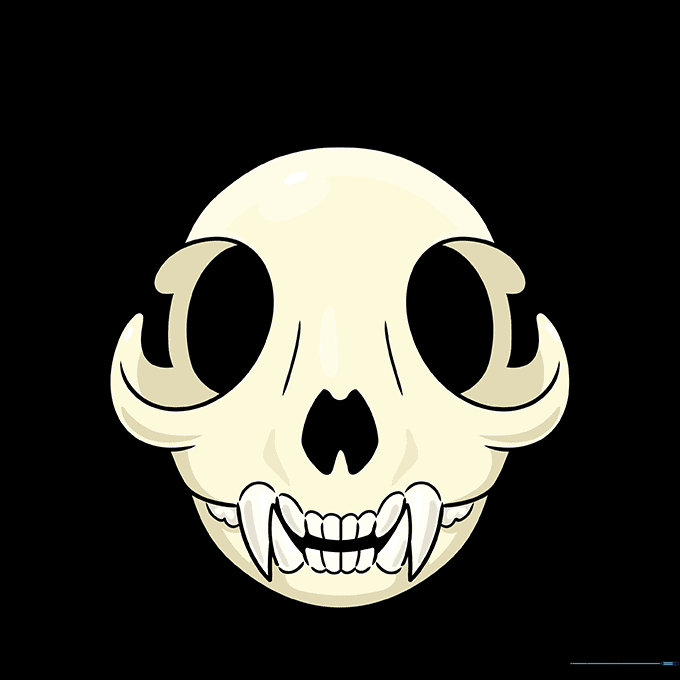
Trace your lines with a black pen. Color the skull in a yellowish-white, using a lighter shade for the teeth. Tip: Use a soft yellow pencil for the bone to make it look aged.
More Tutorials


