How to Draw a Cat Skeleton: Easy 10-Step Guide
Looking for a fun, slightly spooky art project? This guide is perfect for kids and beginners to explore anatomy through drawing. You'll only need a pencil, an eraser, and a piece of paper to bring this feline skeleton to life.
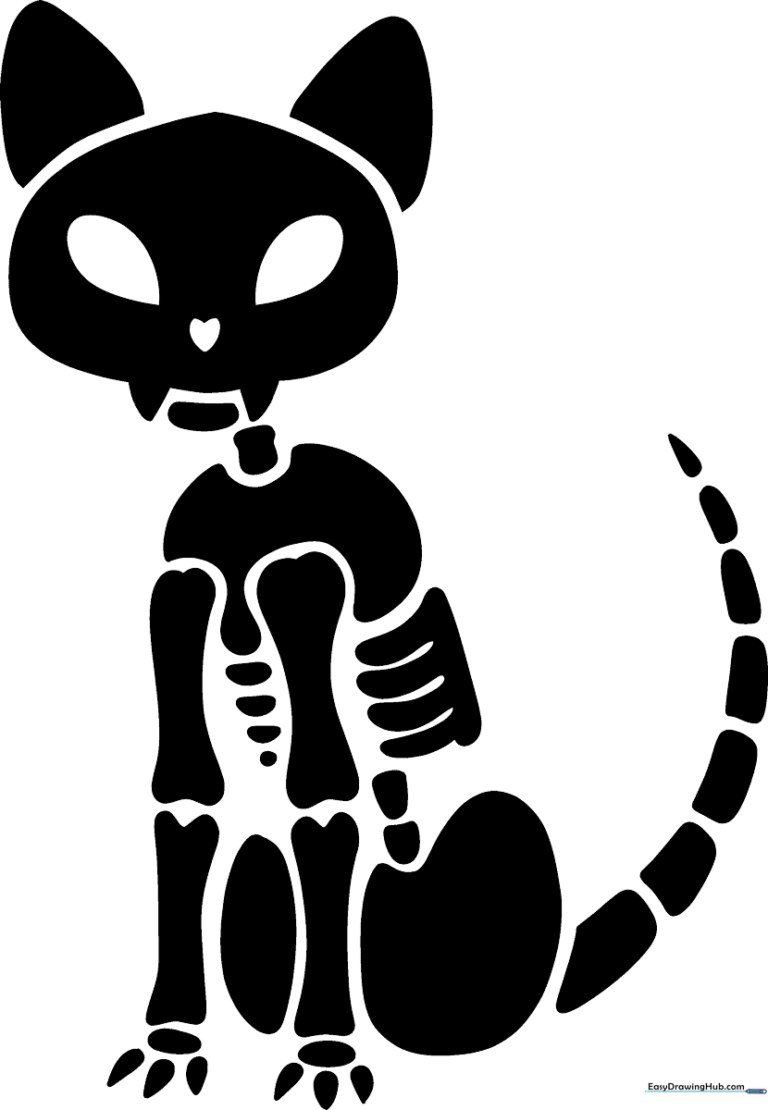
🎯 Final Result
Step-by-Step Instructions
Sketching the Skull

Draw a long, curved line to form an incomplete oval for the skull. Add 'V' shapes for fangs and connect them with a curve. Tip: Draw the eye sockets as two inverted teardrops; keeping them symmetrical makes the cat look more realistic.
Adding Ears and Jaw

Place two rounded triangles on top of the skull for the ears and a flattened oval below the fangs for the lower jaw. Tip: Don't press too hard; these are just structural guides for the head shape.
Defining the Neck and Shoulders
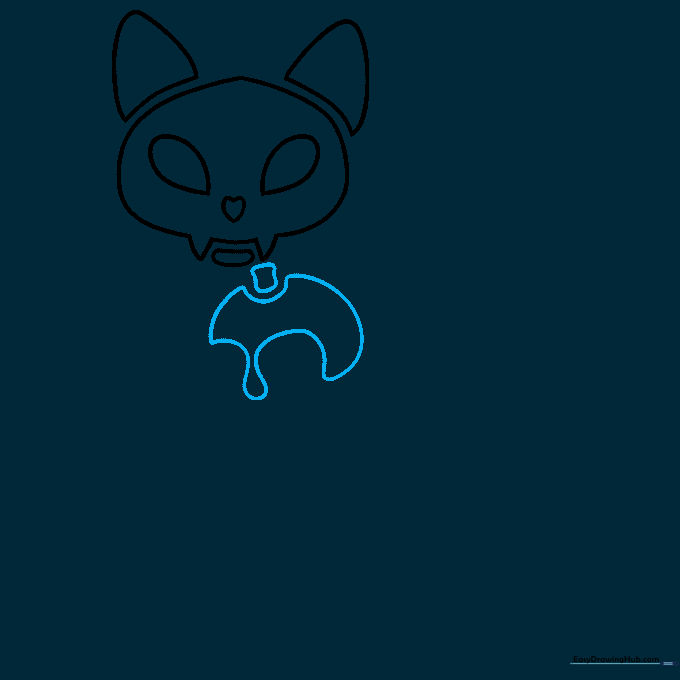
Draw a wavy, rectangular shape for the neck vertebrae, followed by an irregular shape for the shoulder blades. Tip: Think of the shoulder blade as a flat, wide 'wing' shape.
Sketching the First Foreleg
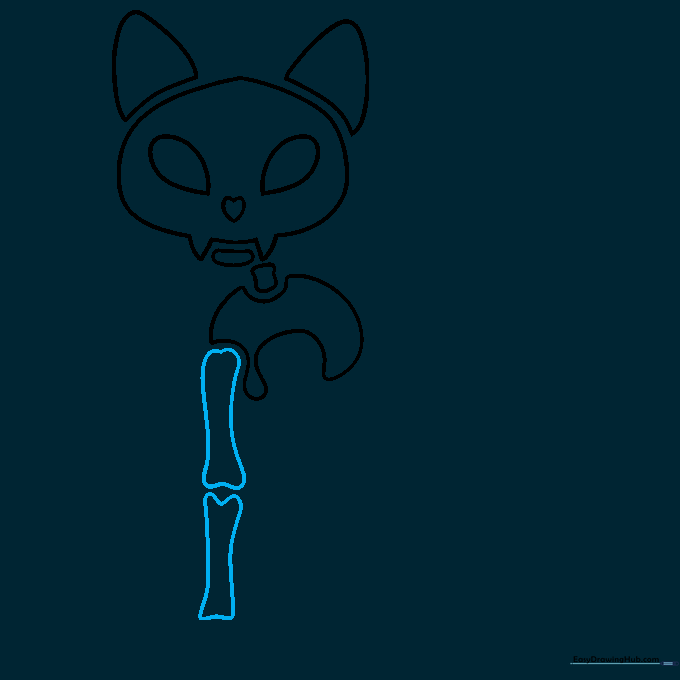
Draw two elongated bone shapes extending from the shoulder indentation. Tip: Make the top bone slightly thicker than the bottom one to show perspective.
Adding the Second Foreleg
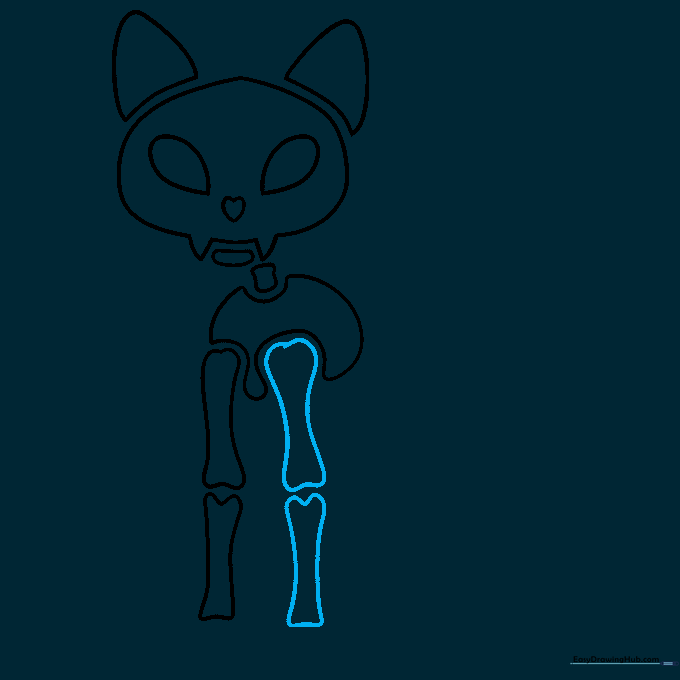
Repeat the process for the second foreleg in the remaining shoulder space. Tip: Ensure the joints align so the cat looks like it's standing evenly.
Drawing Paws and Claws
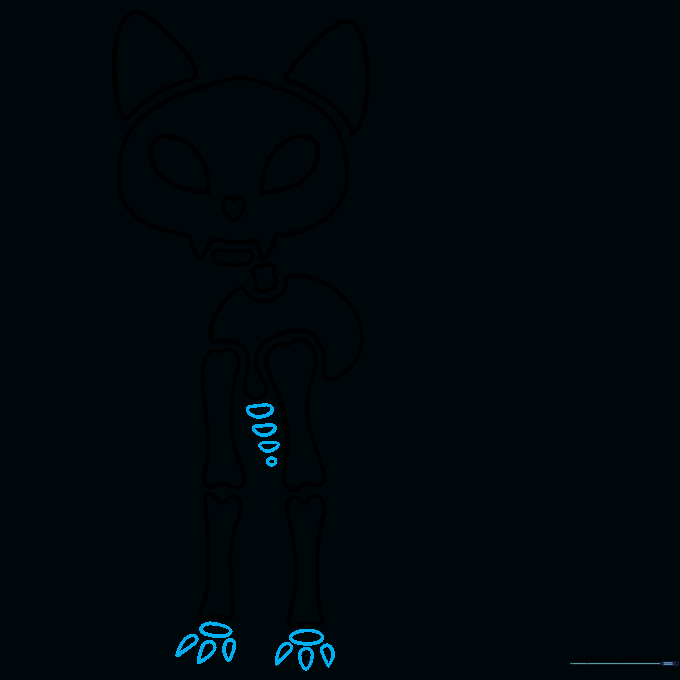
Add an oval at the base of each leg, then draw small teardrop shapes for the claws. Tip: Keep the claws sharp and pointed to give the skeleton that classic 'cartoon' look.
Forming the Rib Cage and Spine

Use 'U' shaped lines to create the rib cage, then add irregular shapes for the spine. Tip: Vary the size of the 'U' shapes to make the rib cage look more natural.
Adding the Pelvis
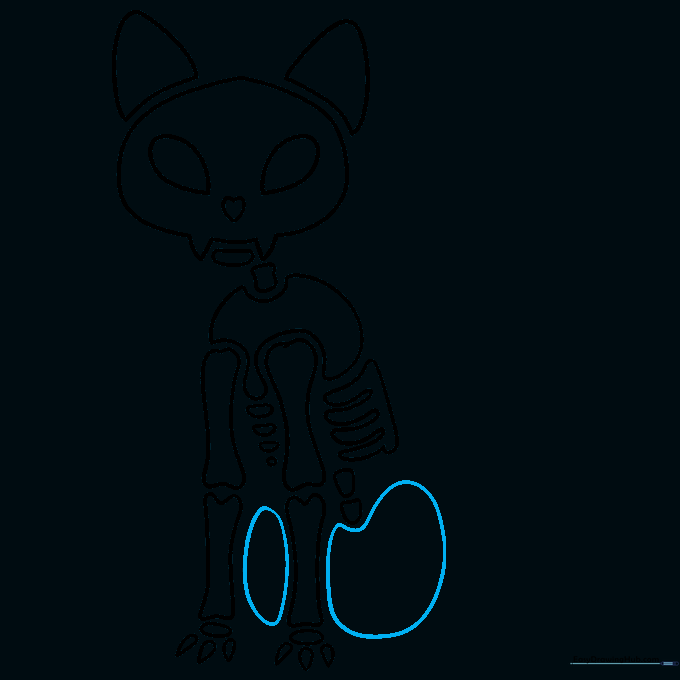
Draw an irregular oval between the legs and a larger round shape below the spine for the pelvis. Tip: This area connects the back legs, so keep it sturdy and centered.
Drawing the Tail
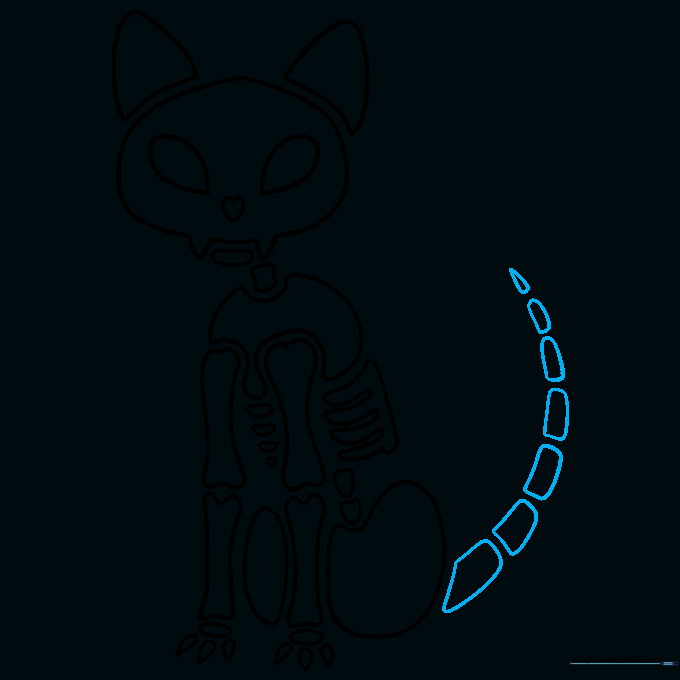
Draw a series of small, rounded rectangles extending from the hip, ending in a tiny teardrop. Tip: Make the segments smaller as you reach the tip of the tail for a realistic taper.
Final Touches and Coloring

Outline your drawing with a dark pen and erase your guide lines. Color the bones white or a light cream, and use a dark background to make them pop! Tip: Use a light grey for shading to give the bones depth.
More Tutorials


