How to Draw a Cat in a Box: Easy 9-Step Guide
This drawing lesson is perfect for young artists ages 5 and up. You only need a pencil, an eraser, and a piece of paper to bring this cozy kitten to life. Follow along to practice basic shapes and build confidence in your character design skills.
🎯 Final Result

Step-by-Step Instructions
Step 1: Sketching the Box Base
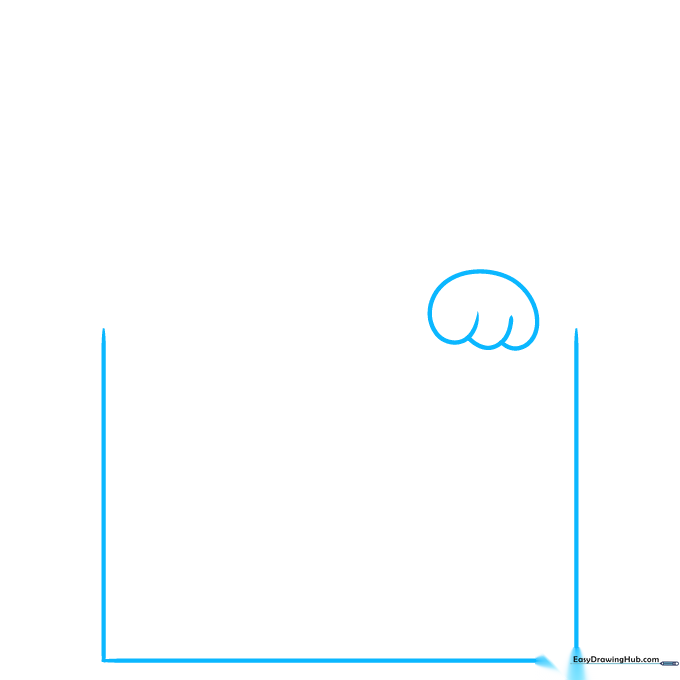
Draw three sides of a square to form the front of the box, leaving the top open. Add two curved, rounded shapes at the bottom for the cat's resting paws. Teacher's Tip: Keep your pencil lines light so you can easily adjust the size if the paws look too big or small.
Step 2: Defining the Box
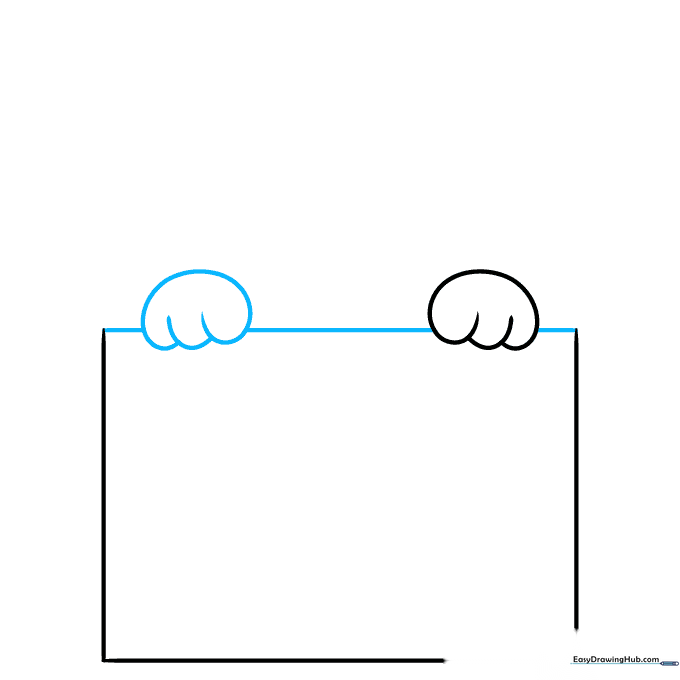
Complete the square by drawing the top edge of the box front. Make sure these lines look like they are tucked behind the cat's paws. Teacher's Tip: Use a ruler if you want perfectly straight lines, or keep them freehand for a more charming, cartoonish look.
Step 3: Drawing the First Eye
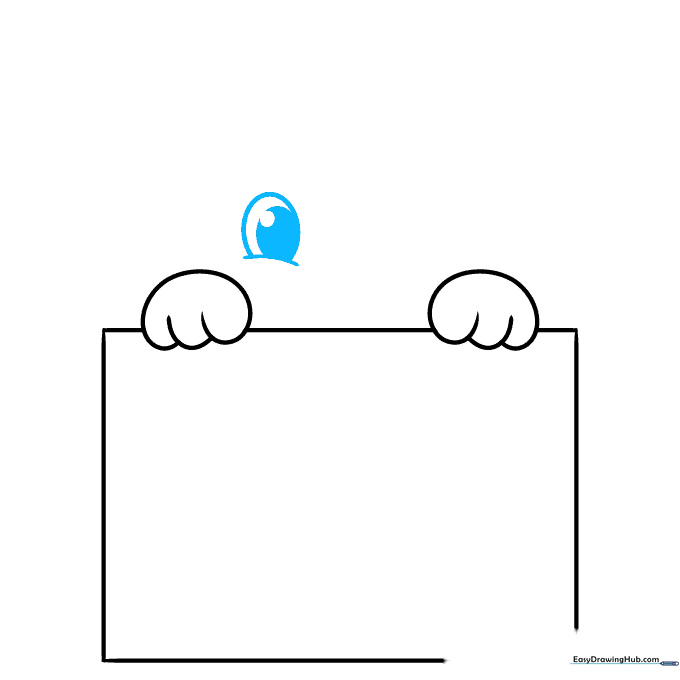
Draw a curved line for the eyelid, then add a partial oval above it. Add two smaller circles inside for the pupil and highlight. Shade the middle circle dark. Teacher's Tip: Leave a tiny white dot uncolored in the pupil to give the cat a 'sparkle' in its eye.
Step 4: Adding the Second Eye and Nose
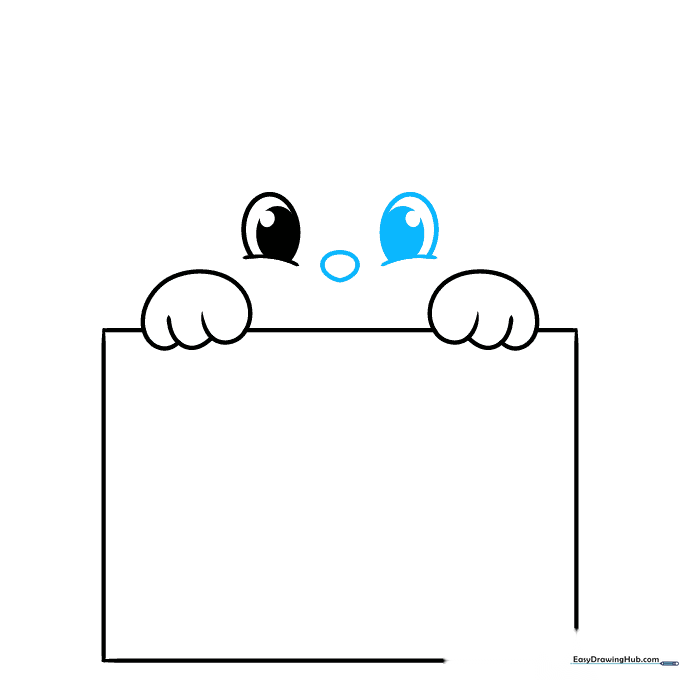
Repeat the eye process on the other side. Between the eyes, draw a small, rounded triangular nose. Teacher's Tip: Keep the nose small and centered to maintain the cat's cute, youthful proportions.
Step 5: Sketching the Face
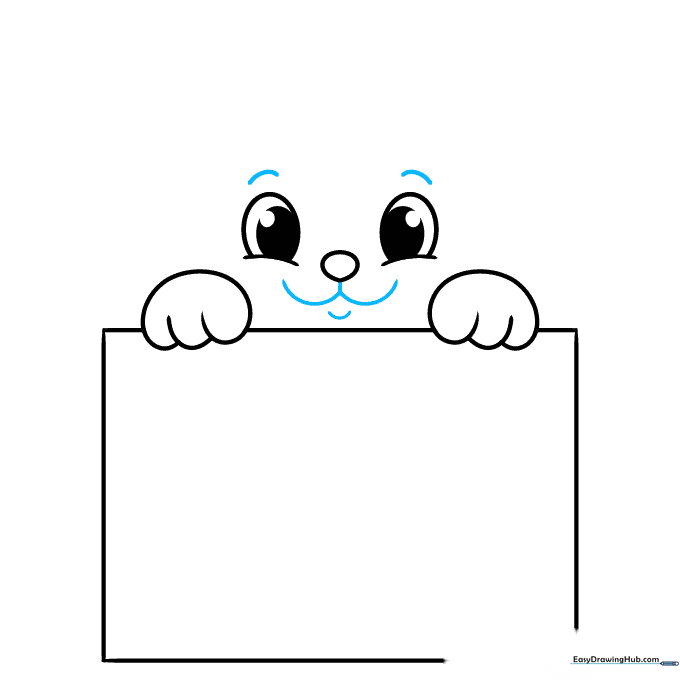
Add simple curved lines for the eyebrows, a 'W' shape for the mouth, and a soft curve for the chin. Teacher's Tip: A gentle 'W' mouth makes the cat look happy and friendly.
Step 6: Outlining the Head and Ears
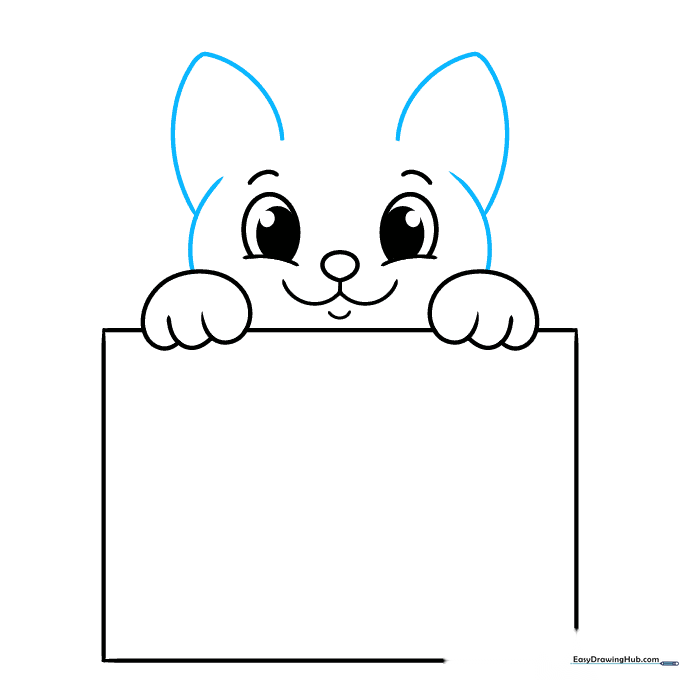
Draw the sides of the face extending up from the paws. Add two rounded triangular ears on top. Teacher's Tip: Make sure the ears overlap the head slightly to show they are attached to the skull.
Step 7: Connecting and Detailing Ears
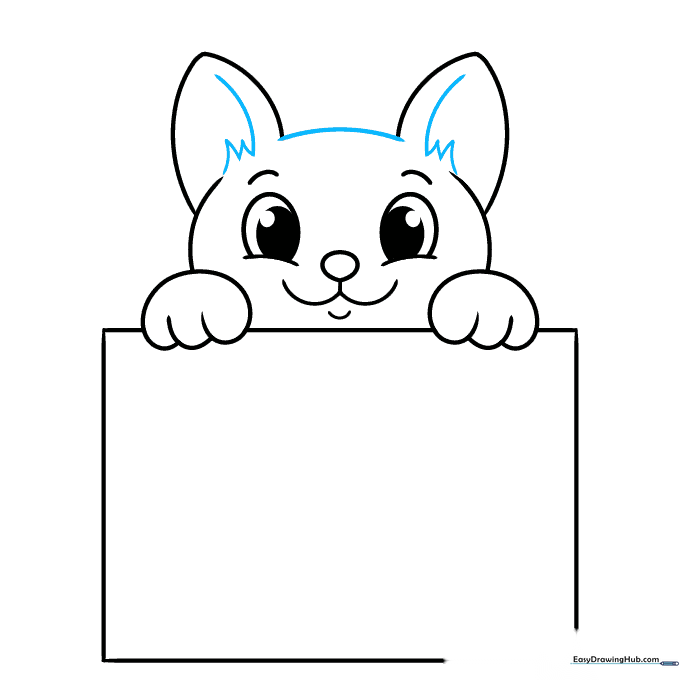
Connect the ears with a smooth curve for the top of the head. Add jagged, furry details inside the ears. Teacher's Tip: Use short, quick strokes to create the 'furry' look inside the ear.
Step 8: Adding Stripes and Whiskers
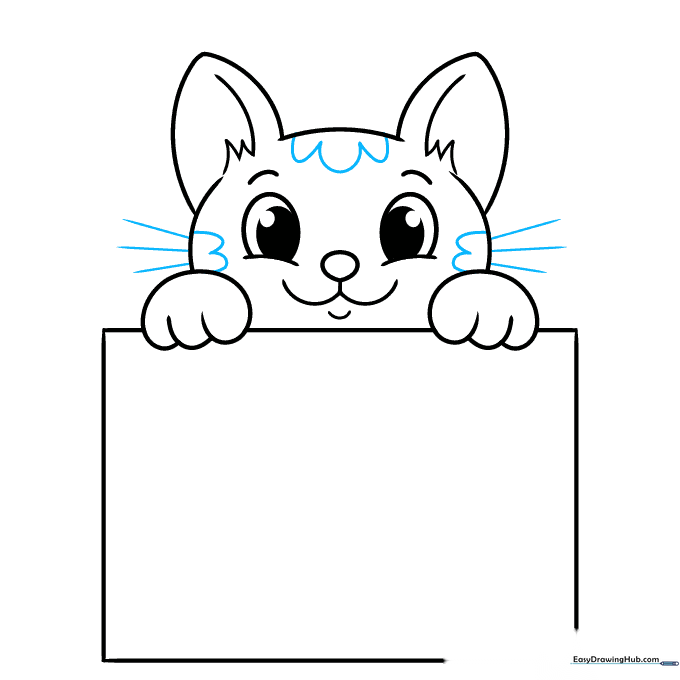
Add 'U' shaped stripes on the head and cheeks. Draw long, straight lines extending from the cheeks for whiskers. Teacher's Tip: Whiskers look best when they are drawn with one confident, quick motion.
Step 9: Finishing the Box
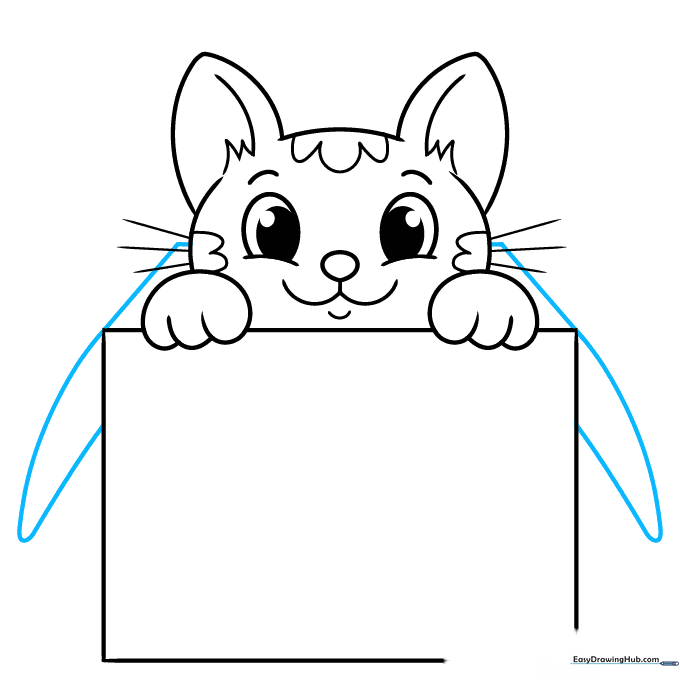
Draw the box flaps on the sides using curved lines. Connect them at the top behind the cat's head to complete the scene. Teacher's Tip: Imagine the flaps are made of cardboard—they don't have to be perfectly straight!
Step 10: Coloring Your Masterpiece

Bring your drawing to life with color! We used orange, cream, and brown for a marmalade look, but you can try gray for a tabby or black and white for a tuxedo cat. Teacher's Tip: Use light pressure with your colored pencils to create soft shading on the cat's fur.
More Tutorials


