How to Draw a Castle Tower: Easy 10-Step Guide
Bring your medieval kingdom to life with this step-by-step castle tower tutorial, perfect for artists ages 5 and up. All you need is a pencil, an eraser, and a piece of paper to get started. By focusing on simple geometric shapes, you will master the art of drawing 3D structures while building confidence in your line work.
🎯 Final Result

Step-by-Step Instructions
Step 1: Sketching the Base Wall
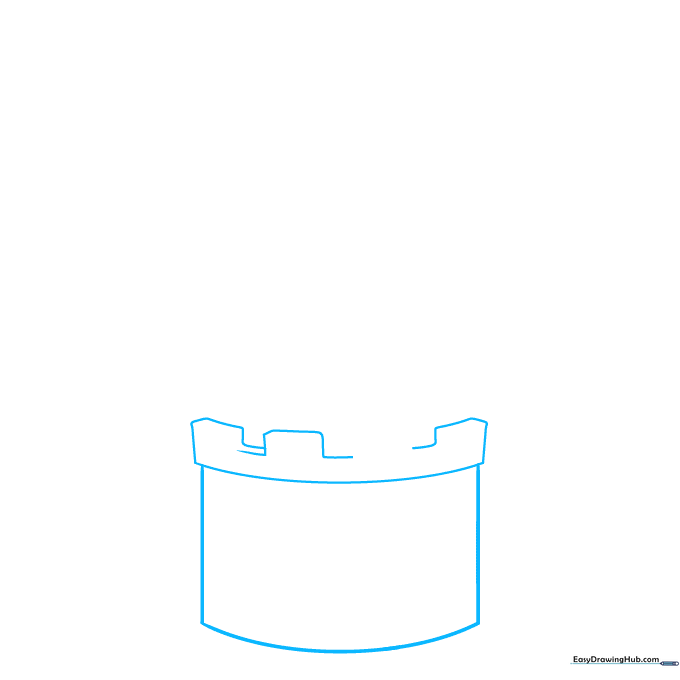
Start by drawing a curved rectangle to form the base of your tower. Teacher's Tip: Use light, loose strokes here; if the wall looks a bit wobbly, that's okay—old stone castles were rarely perfectly straight!
Step 2: Adding Depth to the Base
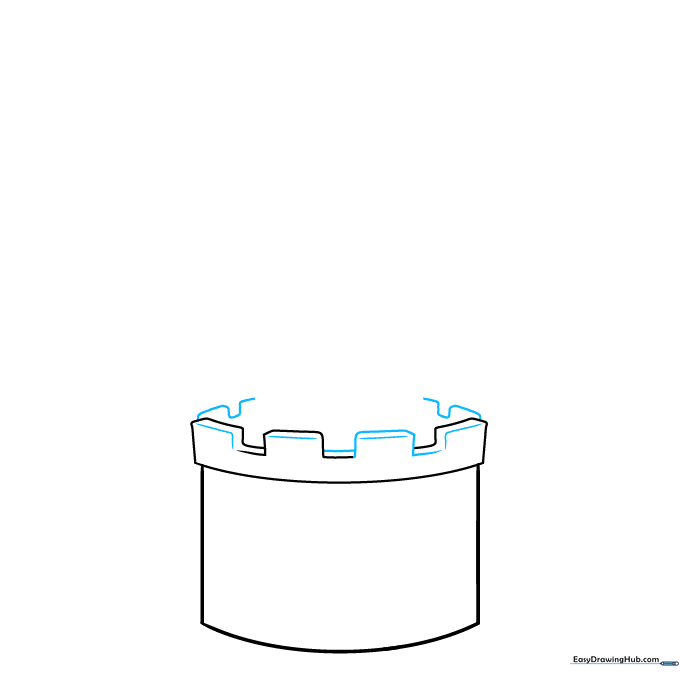
Add a series of small, overlapping curved lines along the top of your rectangle to create the look of stone battlements. Tip: Imagine you are drawing little 'U' shapes that connect to give the wall a 3D feel.
Step 3: Building the Second Level
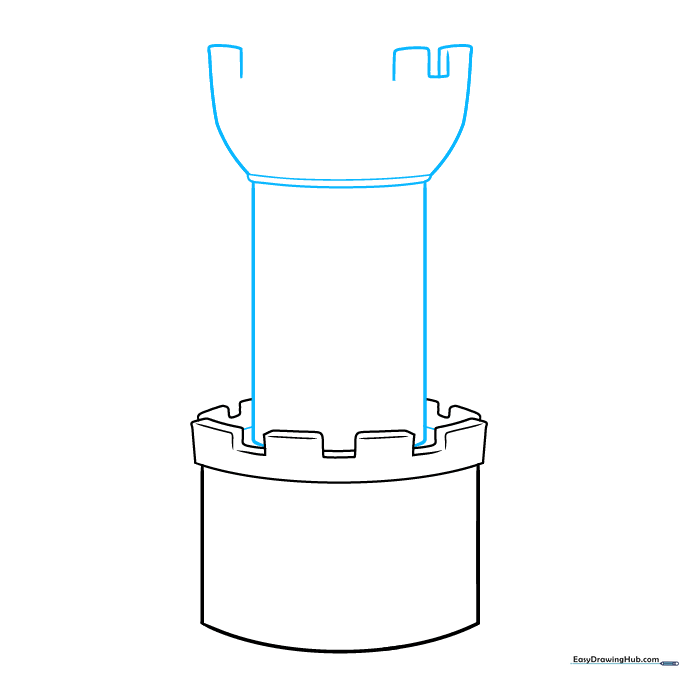
Draw two vertical lines extending upward from your base to start the second level. Connect them with a curved line. Tip: Keep your pencil pressure consistent so the tower looks solid and stable.
Step 4: Refining the Structure
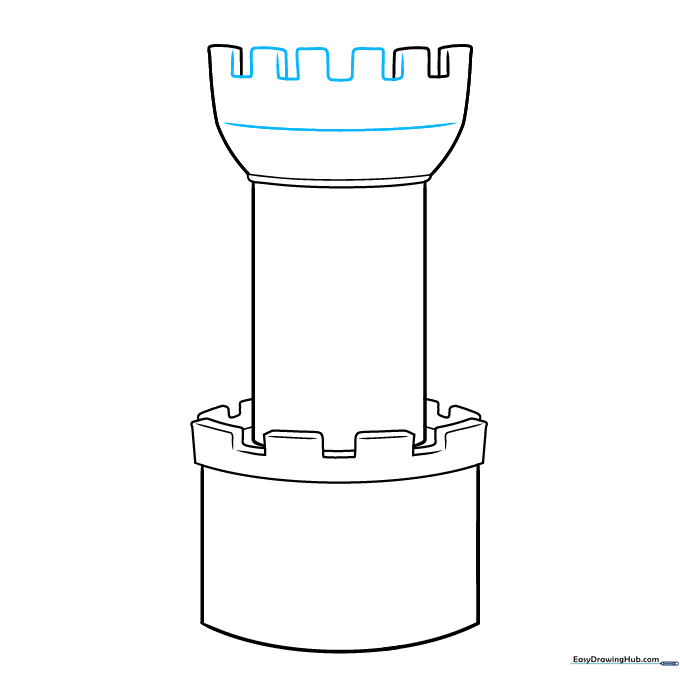
Add more rectangular blocks to the upper section using overlapping lines. This creates the illusion of depth. Tip: If you make a mistake, use your eraser to gently lift the graphite before moving on.
Step 5: Adding Doors and Windows

Draw a large pentagon shape at the base for the door, and two smaller arches near the top for windows. Tip: Keep the windows symmetrical to make the tower look balanced and professional.
Step 6: Adding Architectural Details
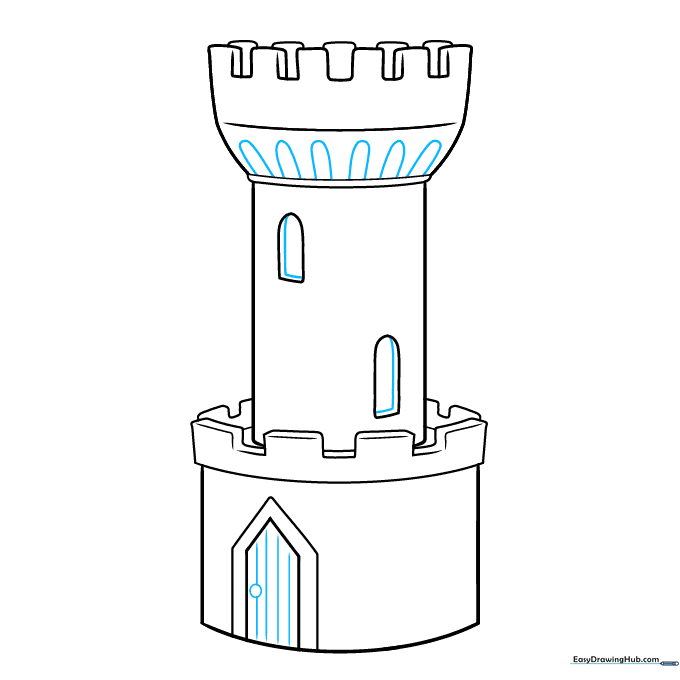
Add a small circle for the doorknob and vertical lines on the door to simulate wood planks. Use 'L' shaped lines inside the window arches to show thickness. Tip: Small details like these make your drawing look much more complex than it actually is!
Step 7: Creating Stone Texture
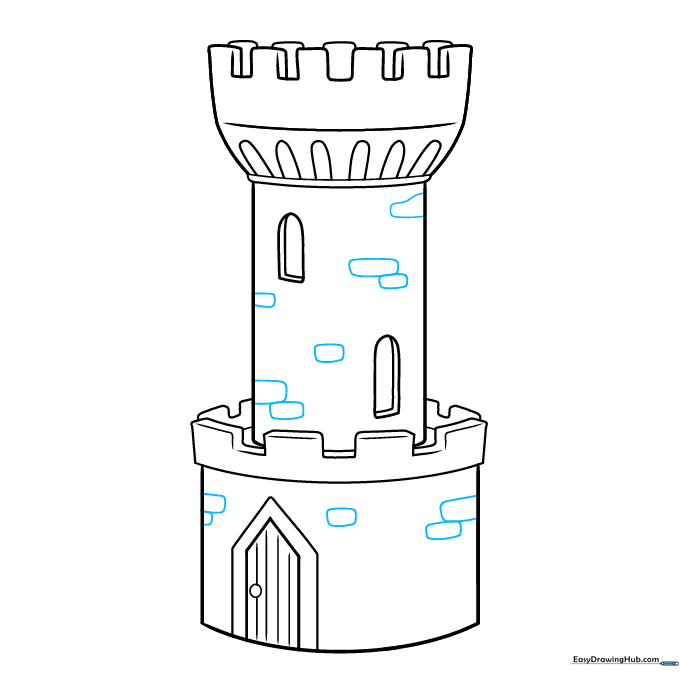
Scatter rounded rectangles across the tower walls to represent individual stones. Tip: Don't make them all the same size; variety makes the stone wall look authentic.
Step 8: Grounding Your Tower
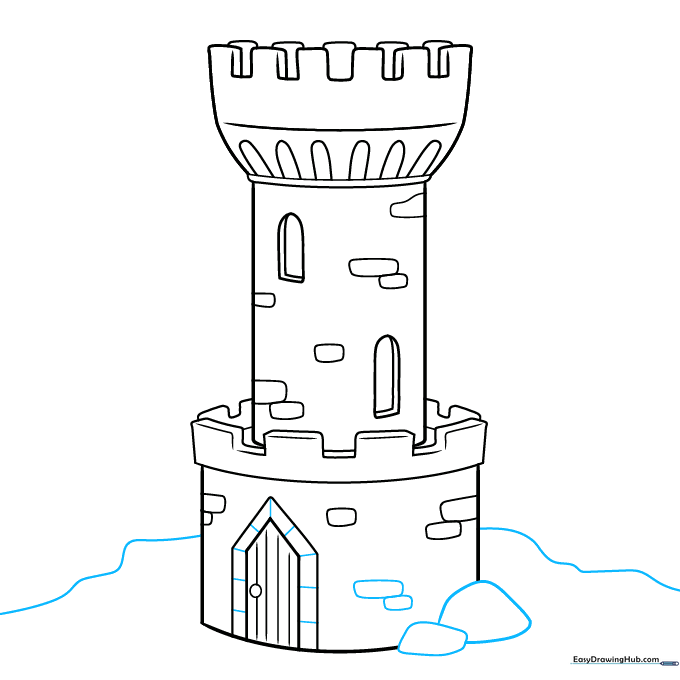
Draw large, irregular stones at the base of the tower and wavy lines behind it to represent the landscape. Tip: This 'grounds' your tower so it doesn't look like it's floating in space.
Step 9: Final Touches
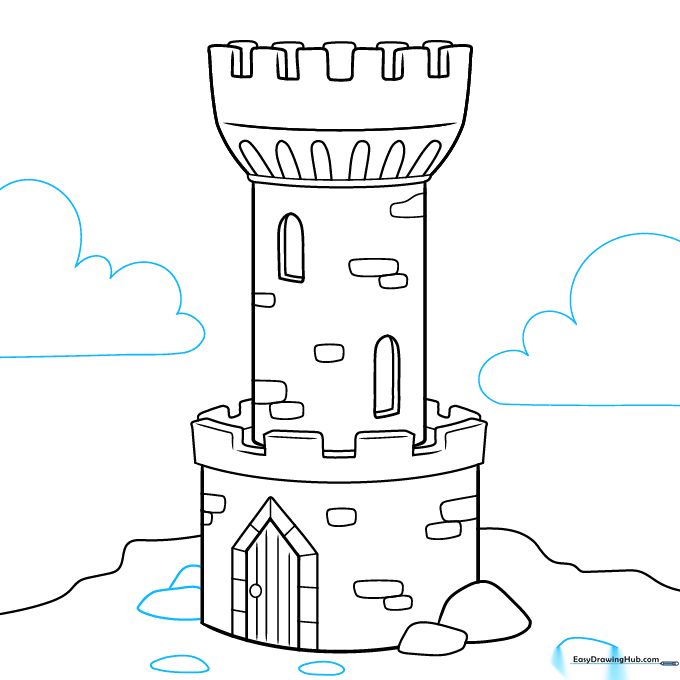
Add a few fluffy clouds in the sky to complete the scene. Tip: Keep your clouds light and airy to contrast with the heavy, solid look of the stone tower.
Step 10: Coloring Your Masterpiece

Now for the fun part! Use shades of grey, blue, and brown to color your stone tower. Tip: Use a darker grey for the shadows on one side of the tower to make it look even more three-dimensional.
More Tutorials


